To texture a drywall repair, make the patch flat and solid, identify the surrounding pattern under side light, prime the repair, then test the texture on scrap drywall. Feather the new pattern past the edge of the patch, let it dry, prime it and paint a natural wall section. Texture is often quick. The inspection and test pass are what keep a repair from showing as a smooth circle or a heavy bump once the room is painted.
Small nail holes and shallow dents are one thing. An old TV cutout, loose seam, damaged corner or patch after a leak needs a sound repair first. If the wall is still raised, hollow, soft or stained from active moisture, correct the surface or the source before moving to the finish.
1. Identify the Texture Before You Start
Stand a few feet back and shine a work light across the wall from the side. Raking light makes the surface relief visible in a way overhead room light does not. Check an untouched area beside the repair, then look again from the doorway. You are matching the size, spacing and direction of the pattern, not trying to create more texture.
Orange peel has separate small bumps. Knockdown begins as raised splatter, then the tips are lightly flattened with a wide knife. Stipple has a more regular brush or roller pattern. Skip trowel has broad, hand-made arcs and gaps. Smooth wall is its own finish: a raised repair edge will show under paint even when the color is right.
Orange peel, spatter and knockdown use different motions, even when they look similar at a glance. A spray that matches orange peel can still look wrong on a hand-applied skip-trowel wall, so the test board should decide the method.
2. Finish the Patch Until It Feels Like the Wall
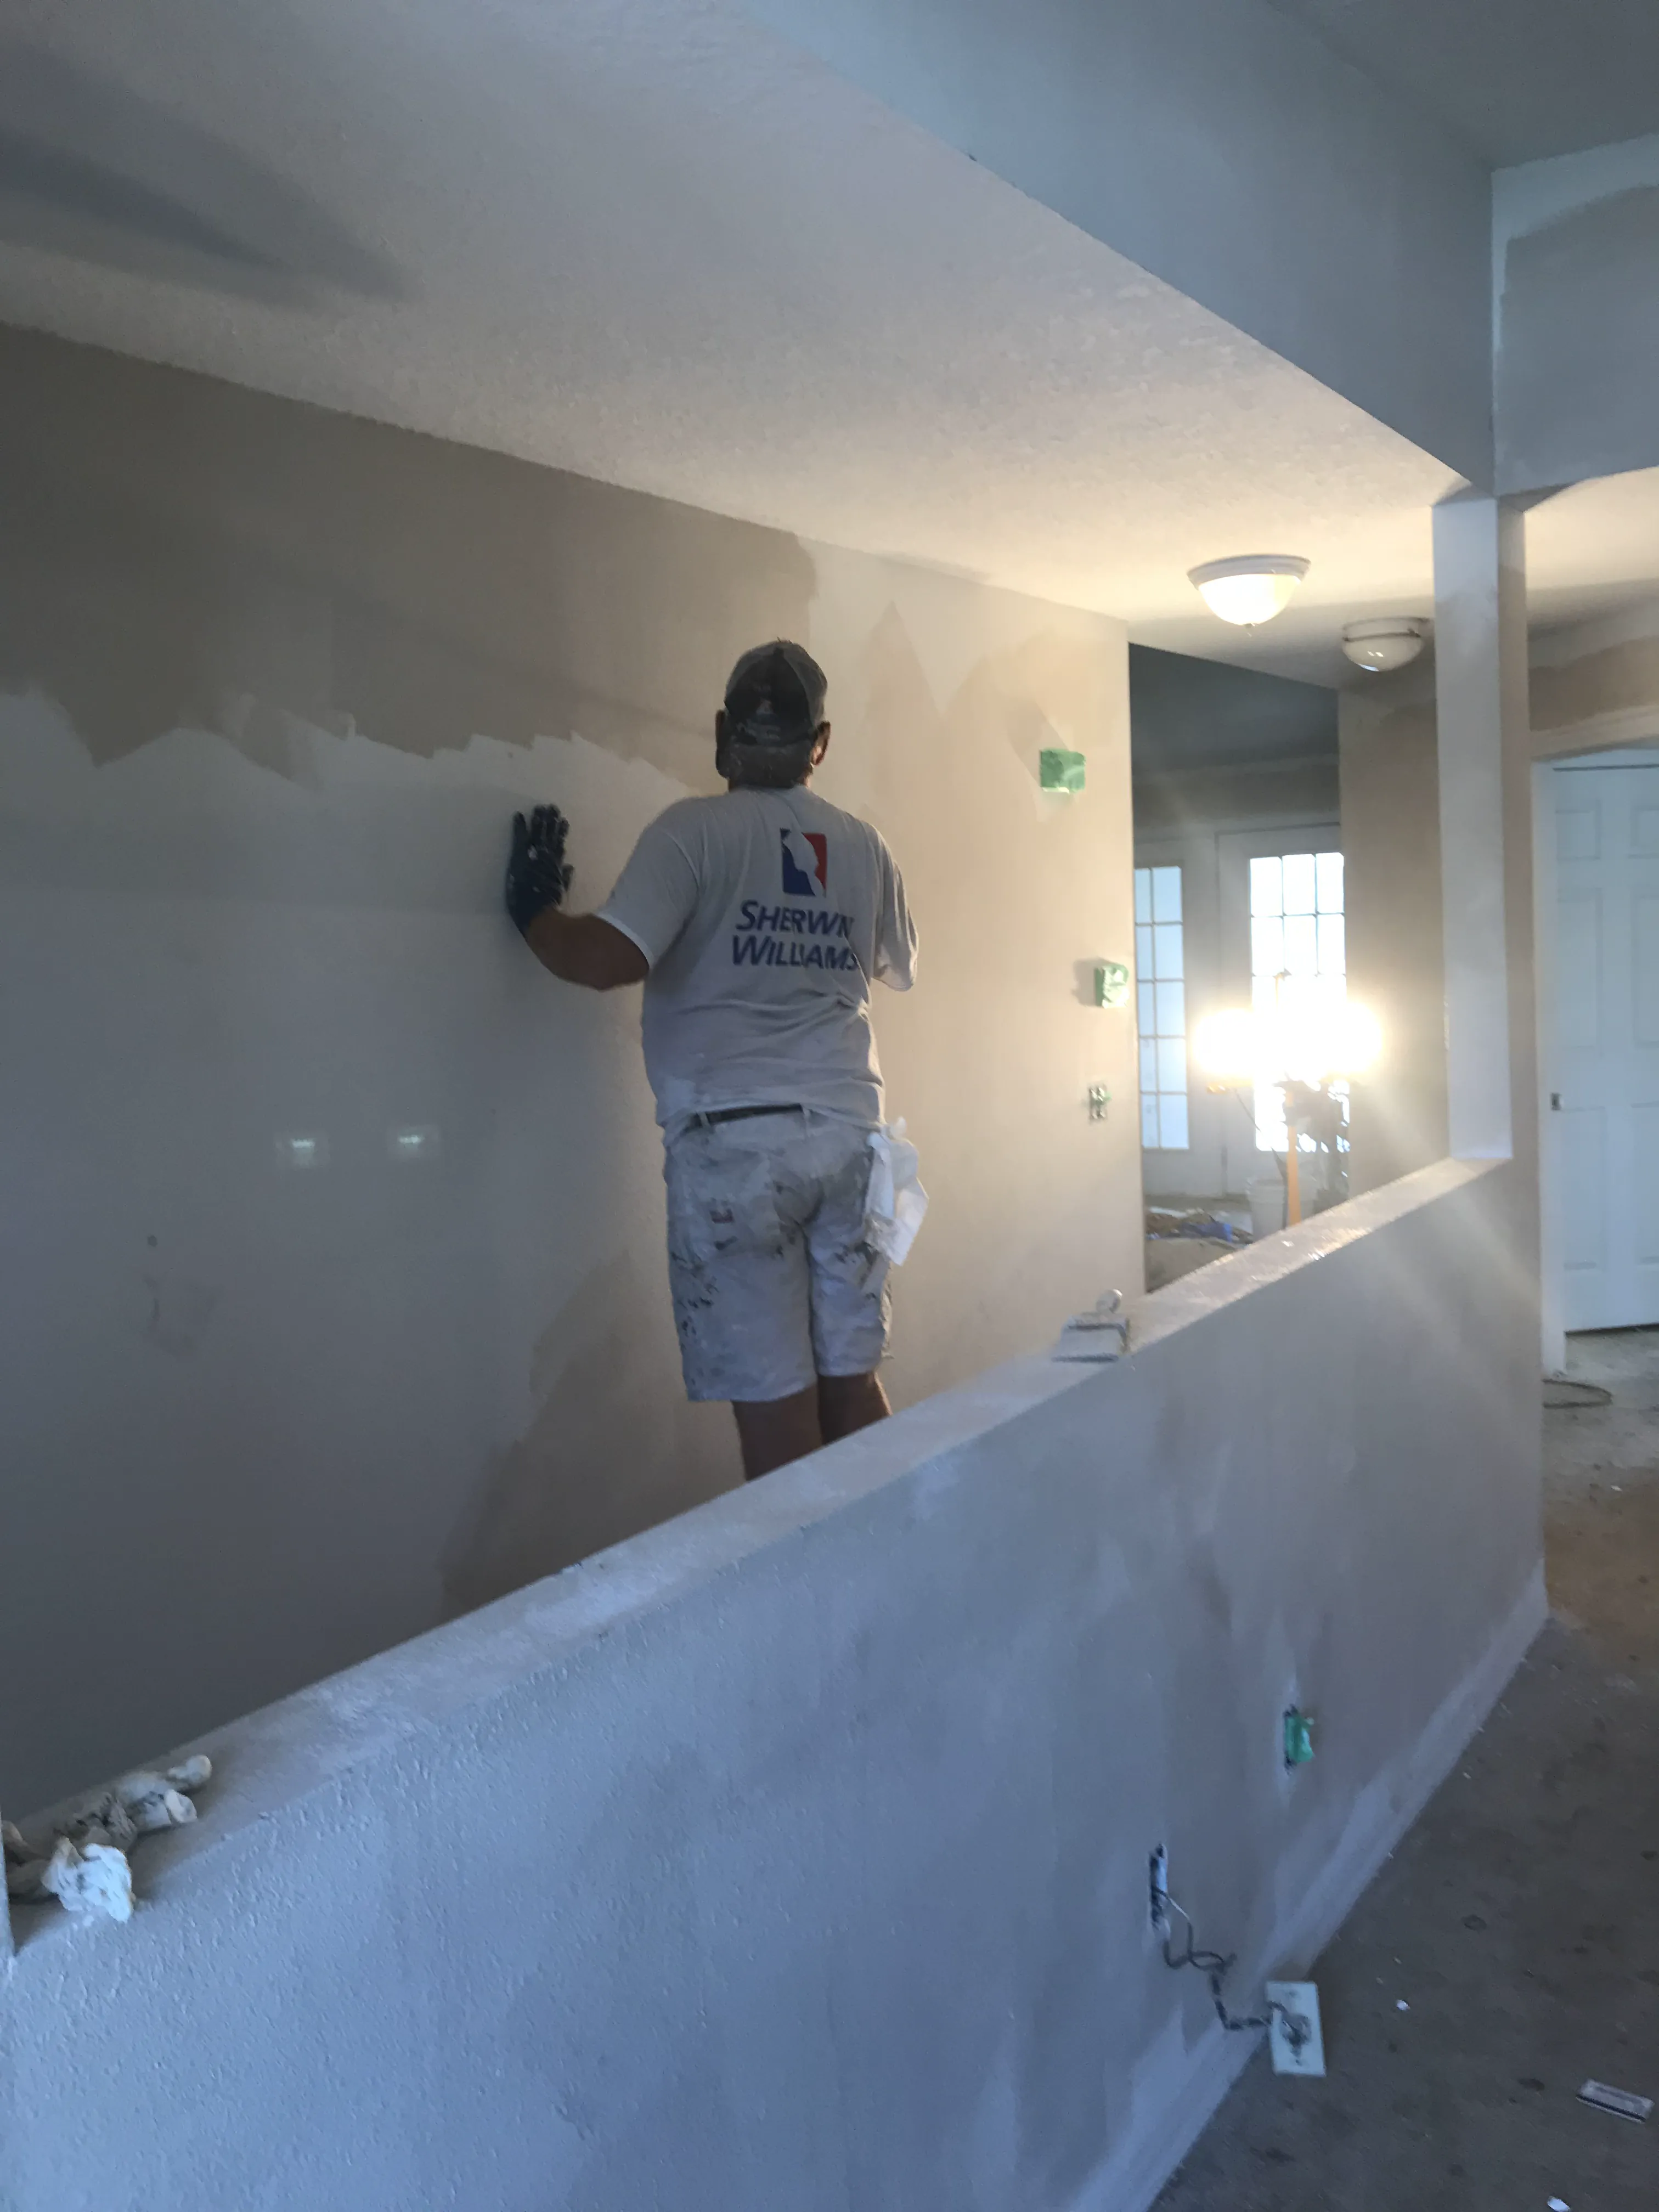
Texture cannot hide a bad patch. Make the repair firm, flush and free of loose paper or tape. Spread joint compound in thin coats, extending each coat farther than the last so the transition disappears into the surrounding wall. A six-inch knife works for a small patch; a wider knife makes it easier to feather a larger area without leaving a hard ridge.
After the compound dries, sand only until the surface feels even when your hand crosses from old wall to repair. Use a sanding sponge to soften the perimeter rather than digging a hollow into the patch. Vacuum or wipe away dust, then check again with the work light. Any ridge, pinhole or proud edge will remain visible after texture and paint.
Prime bare compound before texturing. The primer gives the repair a uniform surface, helping the new texture sit consistently instead of soaking in at a different rate. USG says its spray texture is intended for properly prepared interior surfaces and should be overpainted once dry.
3. Test the Pattern on Scrap Drywall
Use a piece of scrap drywall or stiff cardboard as a test board. It lets you compare droplet size, thickness and coverage without turning the wall into the experiment. Put the test board beside the existing wall so light hits both surfaces the same way.
For orange peel, use light passes and build gradually. Hold the spray at a consistent distance, move continuously, and overlap each pass just enough to avoid thin stripes. For a small repair, ready-mixed spray texture can be easier to control than a hopper. The goal is an irregular field of fine dots, not a wet coat that runs or creates large blobs.
For a hand-applied pattern, thin joint compound only enough for the tool to leave the same character as the existing wall. A stiff brush can make splatter, a roller can make stipple, and a trowel can make a skip pattern. The tool matters because every texture leaves its own edge and rhythm.
4. Build Orange Peel or Splatter in Thin Passes
Mask trim, floors and nearby finished surfaces before spraying. Start just outside the repair and work across it with short, even passes. The overlap onto sound wall is deliberate: a hard circular edge is what makes a patch announce itself after paint. Keep the center no heavier than the surrounding field.
Pause after the first light pass and compare it from the same angle used to inspect the wall. If the pattern is too fine, add another light pass. If it is too heavy, reset the small area while the material is workable rather than trying to bury it under paint. Start conservatively because more texture is easy to add and difficult to remove cleanly.
USG’s repair guidance describes a light skim coat extending beyond the repair, then different compound amounts and brush speeds for spatter or orange peel. Its installation guidance calls for at least 55°F for the product, air and surface during finishing. Follow the label for the texture in hand.
5. Knock Down Raised Peaks at the Right Moment
Knockdown texture is a two-stage finish. First create a scattered raised splatter. Then wait until the shine begins to dull and the peaks hold their shape. With a clean wide flexible knife held nearly flat, glide across the tips in one steady direction. The blade should flatten the tops, not scrape the wall back to smooth.
Too early and the compound smears. Too late and the peaks resist the knife, leaving sharp or broken edges. Timing changes with product, room temperature and airflow, which is why the test board matters. Let the test tell you when the texture releases cleanly from the blade before you touch the repair.
6. Prime the Texture and Paint a Natural Wall Section
Let the repaired texture dry fully, then feel it lightly for sharp points or a raised edge. Knock down only the isolated defect with a fine sanding sponge. Prime the new texture so paint does not flash differently over the patch. A textured repair can match perfectly and still show if paint absorbs into it differently from the older wall.
For a small wall repair, painting from corner to corner is often the cleanest way to avoid a different sheen around the patch. Choose the same product and sheen when those are known. A spot touch-up can work on a recently painted wall with stored leftover paint, but it is more likely to show on an older, cleaned or sun-exposed finish.
High indoor humidity can slow water-based materials, especially in a room with limited airflow. Give the repair the dry time its product requires and keep the room ventilated before primer or paint goes on.
Common Texture-Matching Mistakes That Make a Patch Stand Out
Matching the name, not the pattern. Two walls can both be called orange peel and still have different droplet size, coverage and relief. The goal is not to buy a can with the closest name. It is to compare the test board against the actual wall in the same light. Make small changes to coverage before changing products or tools.
Stopping at the repair edge. A patch can be perfectly textured in its center and still fail because the new pattern ends in a clean circle. Extend the texture gradually beyond the compound repair, then taper the amount toward the sound wall. The pattern should become less obvious at the edge, not form a ring around the repair.
Trying to repair texture with paint alone. Paint changes color and sheen, not the shape of the wall. A smooth patch below orange peel often becomes more visible after the final coat because light reflects from it differently. Correct the surface profile first, then use primer and paint to make the finish consistent.
Rushing from wet compound to paint. Drywall compounds, spray textures, primer and paint each need their own drying window. A surface can look dry while a thicker area remains soft underneath. Follow the material instructions, check the room airflow and avoid stacking wet products together because the repair needs to hold up after the room goes back into use.
A Simple Checklist Before You Paint
Run your hand across the repair and feel for a ridge, hollow or sharp point. Look at the wall from the doorway with side light on it. Compare the texture patch with the wall beside it, not just with the repair in front of you. Confirm that every bare compound area has primer and that the texture is fully dry before the finish coat. Remove sanding dust from baseboards, nearby trim and the repair itself before opening the paint.
Then decide where paint should stop. A corner, doorway, ceiling line or trim break gives a natural place to end a wall repaint. Stopping in the middle of an open wall is more likely to leave a sheen shift, especially if the existing paint has been cleaned or faded unevenly. A little more paint preparation can save a visible touch-up later.
When a Texture Match Needs a Wider Repair
A small patch becomes harder to hide when it sits in a long open wall, under a large window, beside a ceiling plane or inside a strong hand-applied texture. The wall may need a wider skim area, a broader texture blend or paint that stops at a corner, doorway or other natural break. The same is true after a leak: the moisture source needs to be resolved before any wall finish is rebuilt. Ceiling texture deserves particular caution because the field is visible from across the room and overspray can affect every surface below it.
Walls with a strong light source across them deserve the same care. A doorway, large window or bright lamp can reveal the transition at a repair that would disappear in dimmer light. Check those views before painting, because correcting a thin edge in primer is easier than correcting it after the finish has dried.
Good Fellas can handle drywall repair and texture matching in St. Augustine when the patch needs to disappear into the finished room. If paint belongs in the same scope, coordinating the repair and interior painting keeps preparation and final sheen in one plan. The wall-prep checklist explains what to correct before any finish coat goes on.
Frequently asked questions
Texture matching after a drywall repair
Should drywall texture go on before or after primer?+
Prime the sanded patch before texture, then prime the dried texture before paint. That makes the repair absorb the finish more evenly.
Can a roller match orange peel texture?+
A roller makes a directional stipple. A fine spray texture is usually a closer way to match orange peel because its droplet size and spacing can be tested first.
Why does a textured patch show through paint?+
The usual cause is a mismatch in texture, sheen or porosity. A flat patch, a hard texture edge, unprimed compound or a small touch-up on aged paint can leave a visible halo.
When is a texture repair too large for a patch?+
Large open walls, ceiling fields and repeated hand-applied patterns often need a wider skim, a broad texture blend or paint carried to a natural break such as a corner.