Before staining a wood deck, clean it, let it dry, deal with any loose material or damaged boards, and sand in the direction of the grain until the surface feels even. Vacuum the sanding dust from the boards, gaps and rail details before applying stain. Sanding has a purpose: it removes rough fibres and weak finish so the new coating starts on a sound surface.
Do not treat sanding as a way to hide a deck that needs repair. A board that is soft, split or loose needs a closer look first. The same goes for a finish that is peeling across a large area. Good preparation can make stain look more even, but it cannot turn failing wood into a sound deck.
Do I need to sand the whole deck before staining?
Clear furniture, planters and rugs so you can see the full surface. Then walk the deck slowly. Look for raised fasteners, loose boards, splinters, soft spots, deep cracks and peeling finish. Mark the trouble areas before you bring out a sander. Those details are easier to deal with when the deck is empty than when they interrupt the sanding work.
A deck that is dirty, mildewed or carrying loose coating should be cleaned before it is sanded. Sherwin-Williams advises cleaning the wood and allowing it to dry completely before a light sanding step, so the surface is ready for its next finish. Follow the directions for the cleaner and stain system you are using rather than relying on a fixed wait time.
Check older paint before you create dust
If the deck was built or painted before 1978, pause before sanding or scraping the old coating. The U.S. Environmental Protection Agency warns that renovation, repair and painting work in pre-1978 homes can create dangerous lead dust when lead-based paint is present. Its lead-safe renovation guidance for homeowners explains the precautions to take before disturbing an older painted surface.
Wear eye protection, hearing protection when using power tools, and the dust protection specified for the work. Keep children and pets away from the work area. A project that produces more dust than expected, exposes unknown layers of old paint or reveals widespread failure is a good reason to stop and get qualified advice before going further.
Clean and dry the deck before sanding
Sweep away leaves and loose grit first. Then use a deck cleaner or the preparation method recommended by the stain manufacturer to lift surface dirt and residue. Rinse as directed, and give the wood enough time to dry completely. Damp wood can clog abrasives and makes it harder to tell whether you are smoothing the surface or simply smearing moisture and residue across it.
Pay extra attention to board gaps, stair treads, the underside of rail caps and places where water settles. If grime, mildew or failed coating remains tucked into those areas, the stain can telegraph the unfinished prep later. Cleaning is not an optional cosmetic step. It gives you a clearer read on the condition of the wood before you decide how much sanding it needs.
Random-orbit, block and detail sanders suit different deck surfaces
For broad, relatively even deck boards, a random-orbit sander is often easier to control than a more aggressive tool. A sanding block or detail sander can help around railings, edges and tight spaces. Start with the mildest approach that removes the rough fibres or loose finish you can actually see. If the surface is heavily weathered or an old coating is failing, the work may need a different preparation plan than a light smoothing pass.
Keep the sander moving and let the abrasive do the work. Pressing hard or holding the machine in one spot can leave dips, heat marks or uneven patches that become more visible once stain goes on. Change a worn sanding disc or sheet rather than trying to force it through the job. A fresh abrasive is usually easier to control than a tired one.
Sand with the grain, one board at a time
Move in the same direction as the wood grain. Work steadily from one end of a board to the other, then overlap the next pass enough to avoid leaving a stripe between them. Sanding across the grain can leave scratches that become more noticeable after the stain darkens the wood.
Check your work as you go instead of sanding the whole deck on autopilot. The goal is an even surface without loose fibres, sharp splinters or flaky edges. You do not need to polish the wood until it feels like furniture. Over-sanding can make the surface needlessly uneven or leave the next step dependent on guesswork rather than the stain label.
Give railings, stairs and edges their own pass
Handrails, stair treads, board ends and the boards beside the house often show wear differently from the main deck field. Use a smaller tool or hand sanding where it gives you better control. Be careful around fasteners, corners and rail details, where a large tool can do more harm than good.
Run a gloved hand lightly over the dry wood after sanding. If you find a splinter, a sharp transition or a loose edge, correct it before moving to the next area. If a board flexes, feels soft or shows a deep crack, sanding is not the next solution. Note it for repair so the finish is not asked to hide a structural or moisture-related issue.
Remove every trace of sanding dust
Vacuum the boards, gaps, steps and rail details once the sanding is complete. Then look across the deck in low-angle light for dust caught along edges or in the grain. Dust left behind can interfere with a clean, even stain application, particularly around railings and where one board meets another.
Once the deck is clean, keep it dry and free of leaves, pollen and foot traffic until you are ready to stain. Before opening the can, test the chosen stain in a small, discreet spot and follow the product label for application conditions. The label should settle the final questions about temperature, drying time and the number of coats, because those requirements vary by product.
Know when preparation has become a repair project
Stop and reassess if sanding exposes soft wood, widespread peeling, loose rail components, fasteners that will not hold, dark staining that keeps returning, or a deck that stays damp in one area. Those signs can point to a material or moisture issue that needs attention before any finish is chosen.
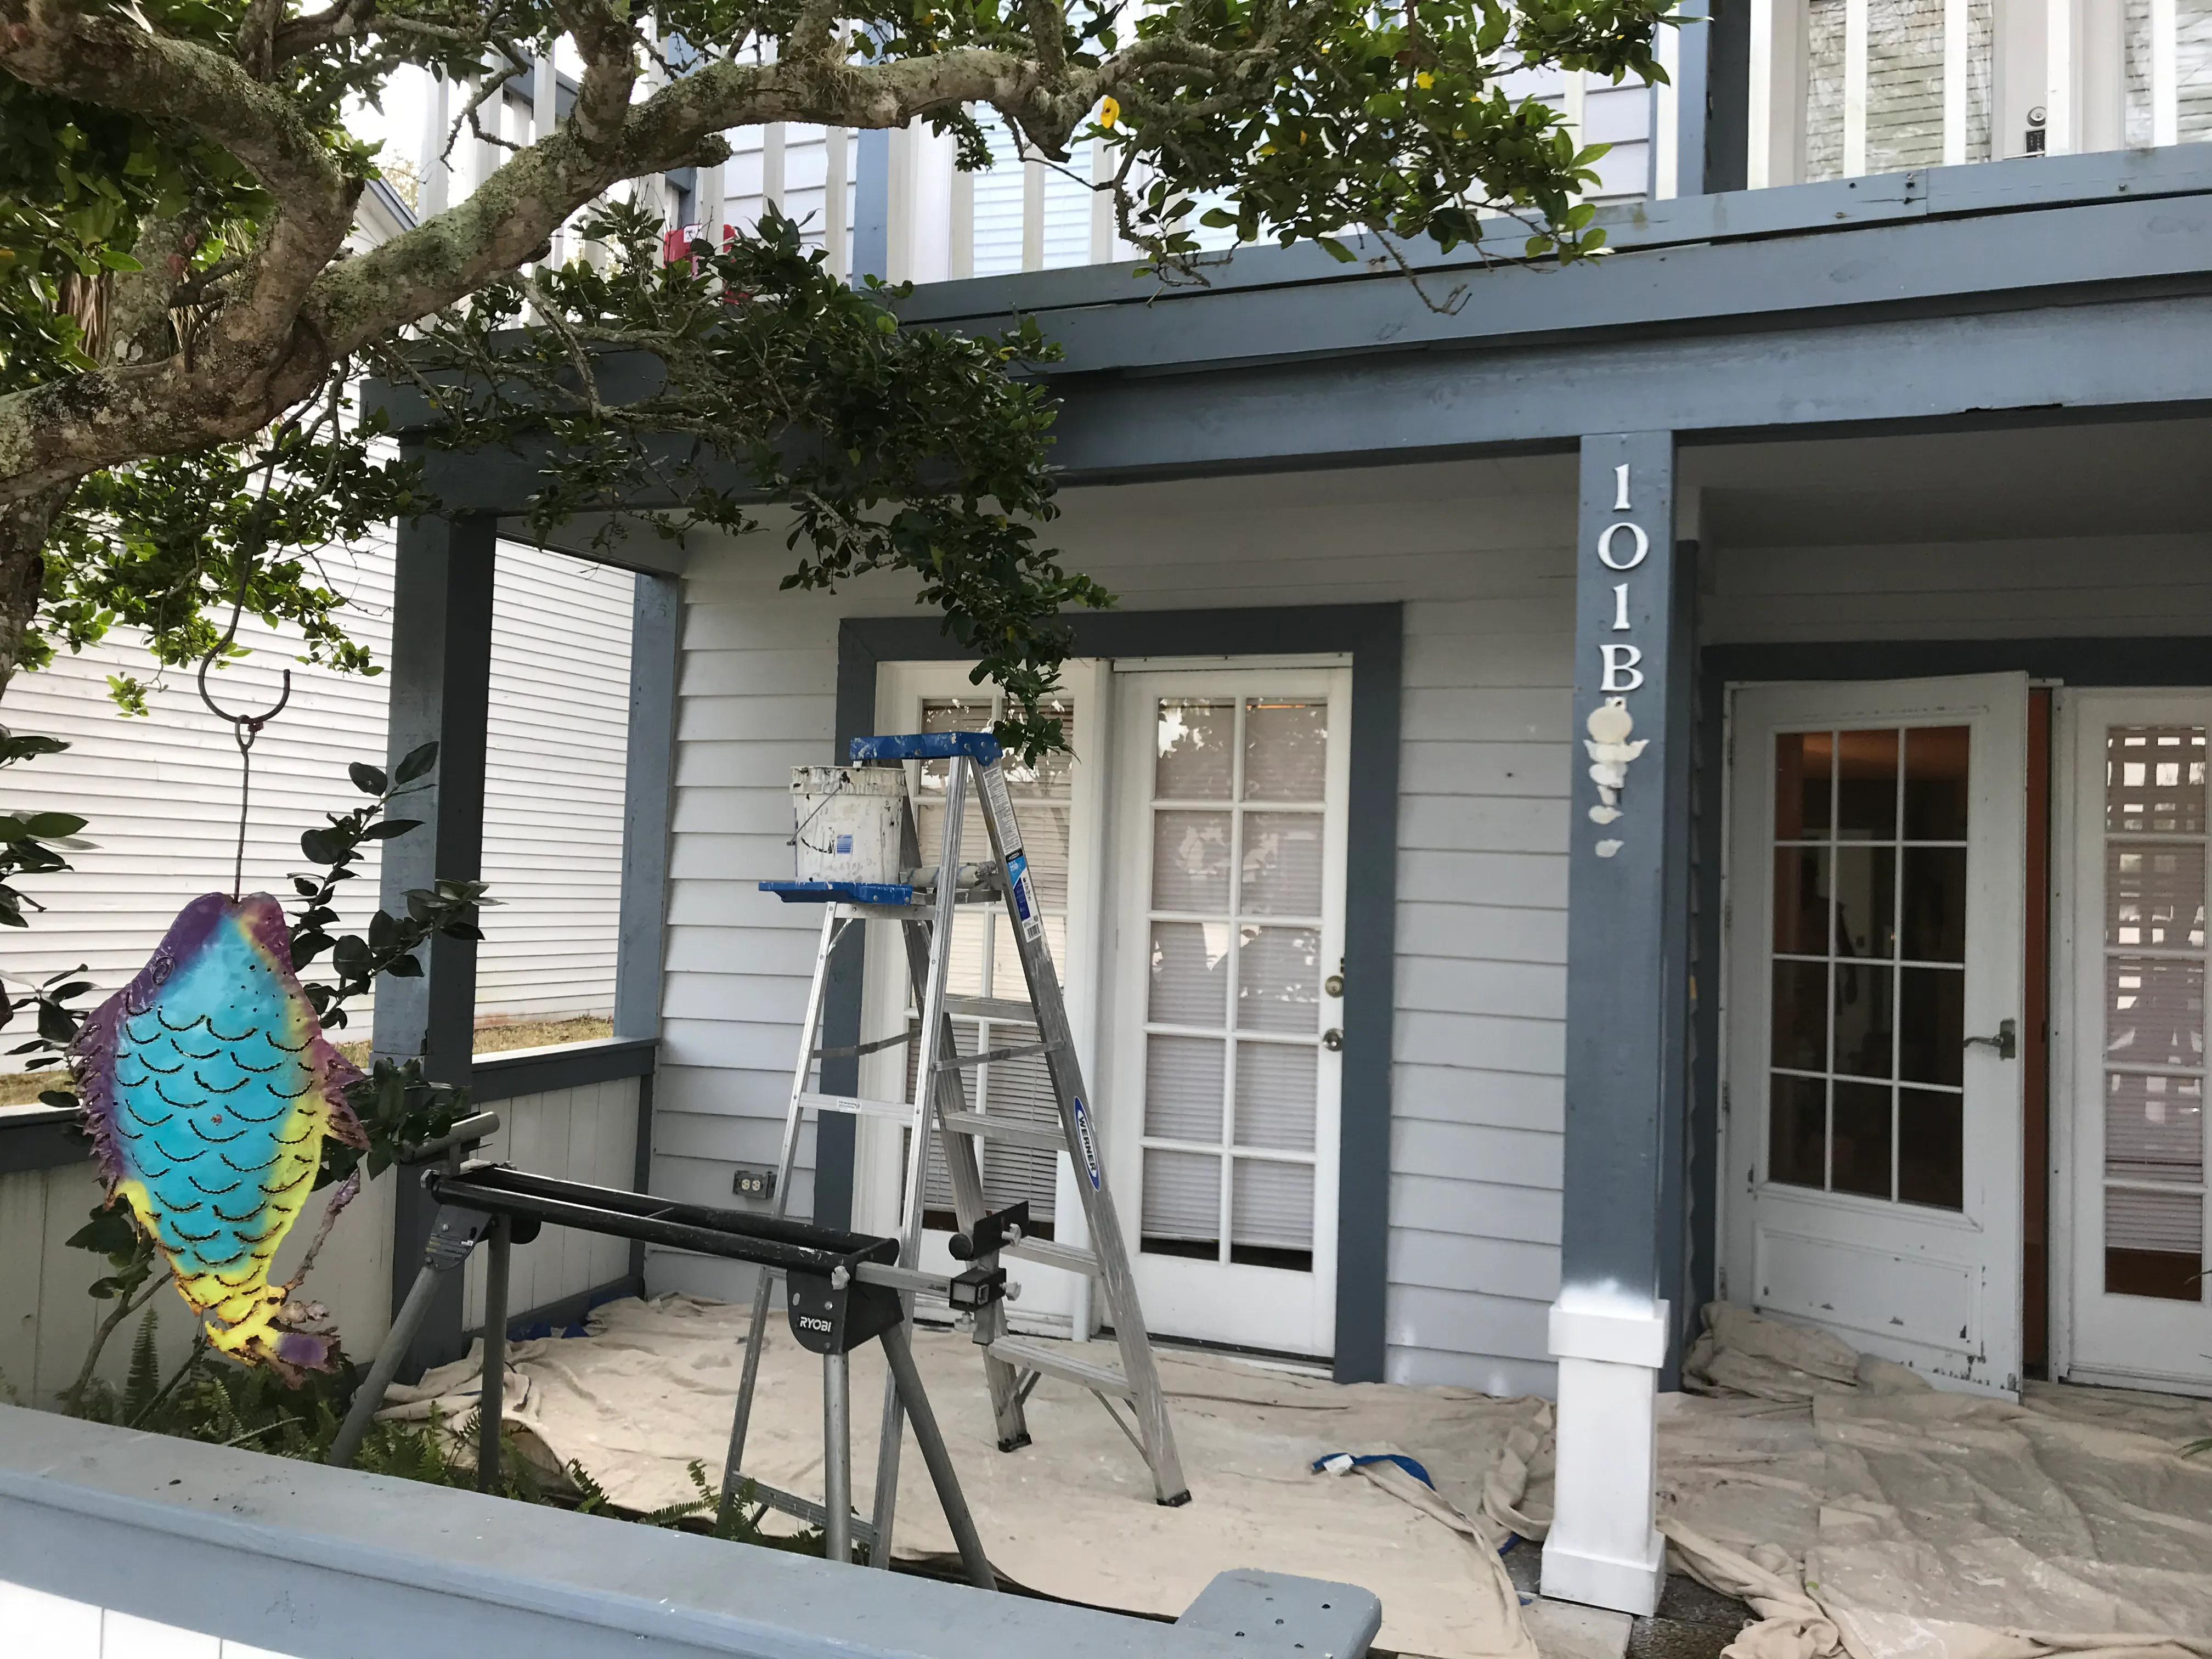
Good Fellas’ deck-staining service starts with the condition of the wood, previous coating and areas that need preparation or repair. At a Vilano Beach rental, the team repaired and refinished the deck and rail system before completing the exterior finish. If your deck needs more than a careful sanding pass, request a quote with clear photos of the boards, rails and any areas that concern you.