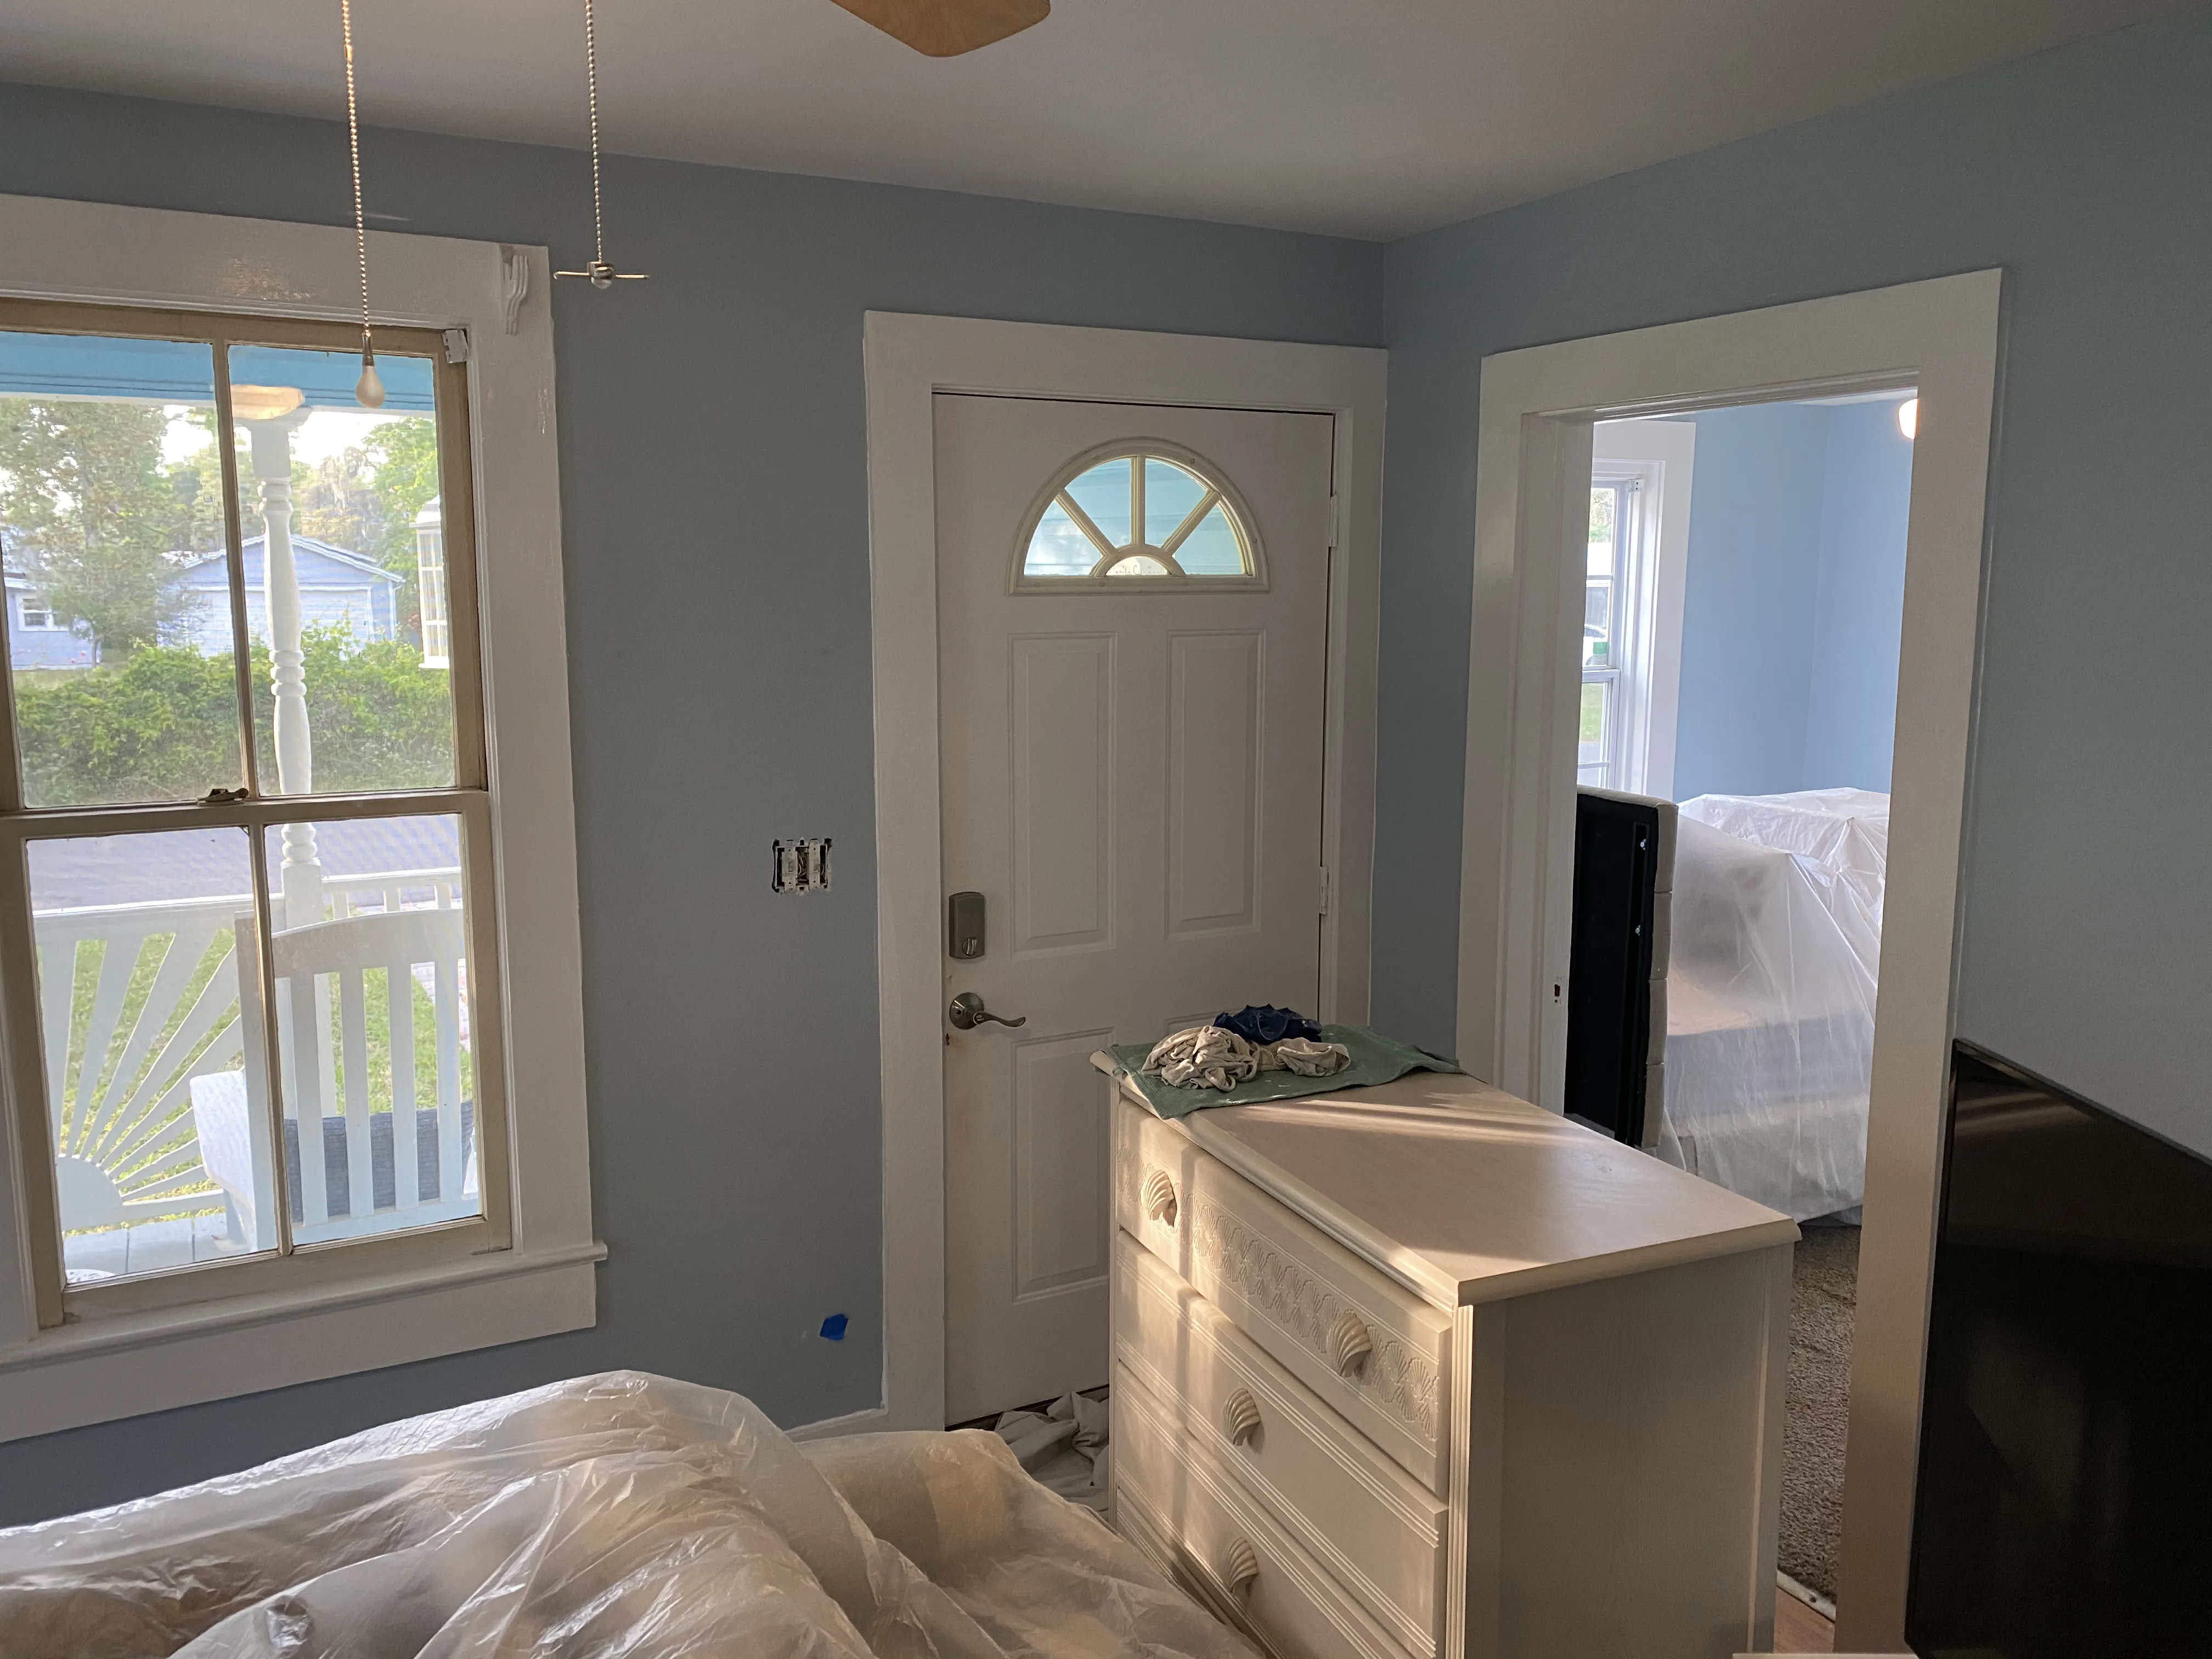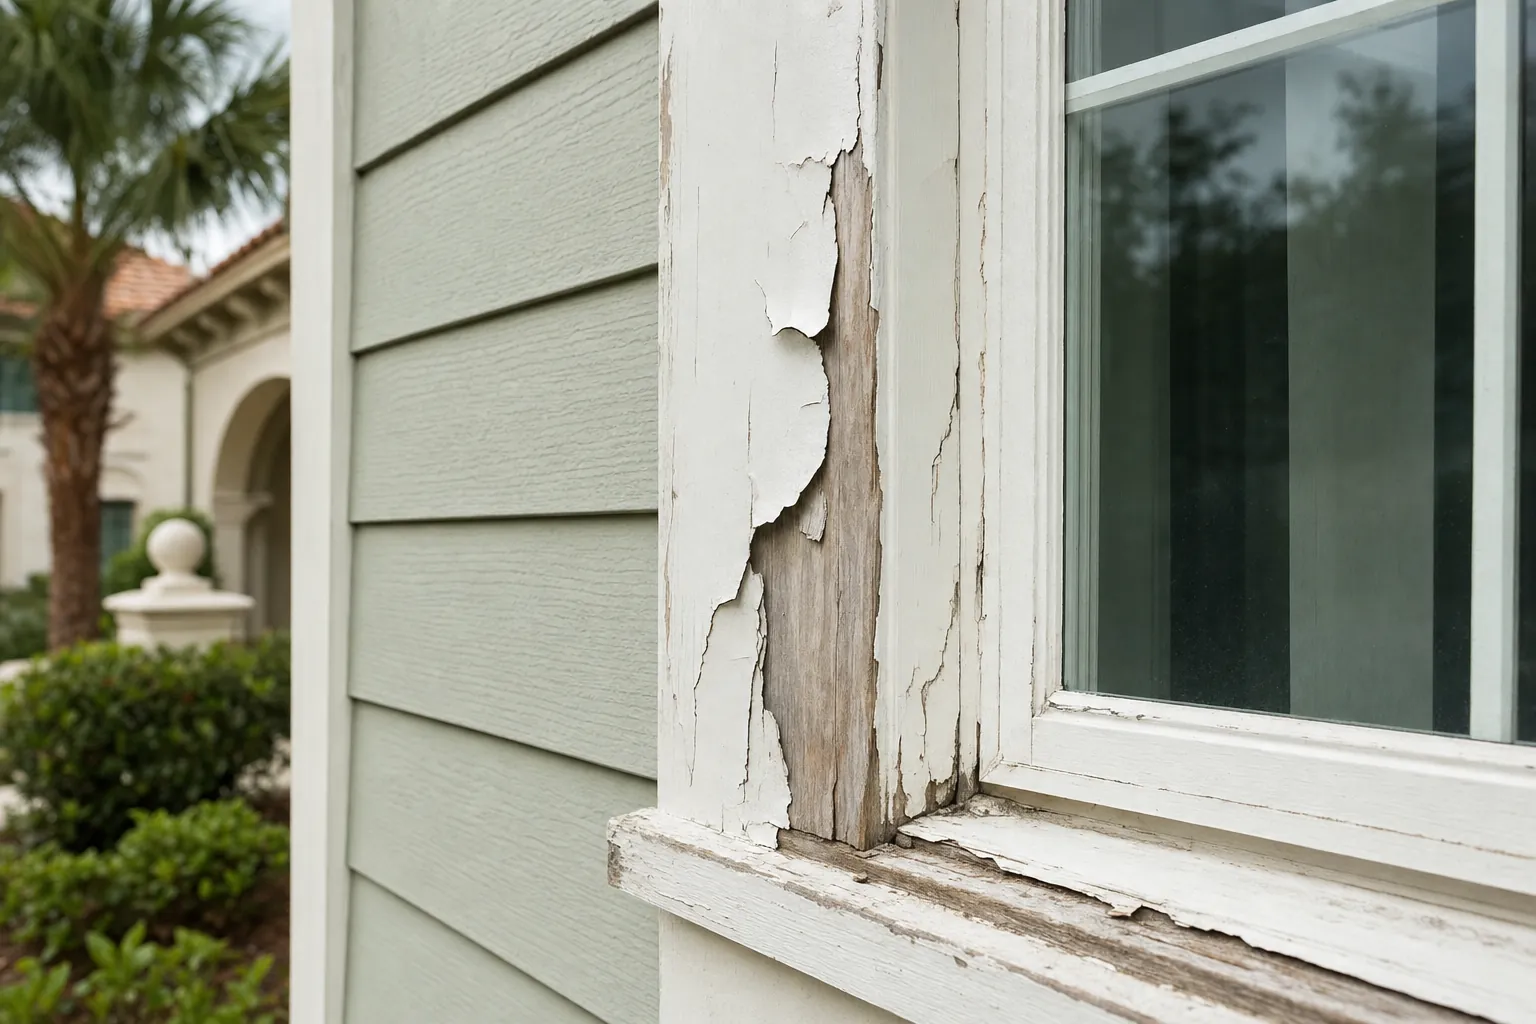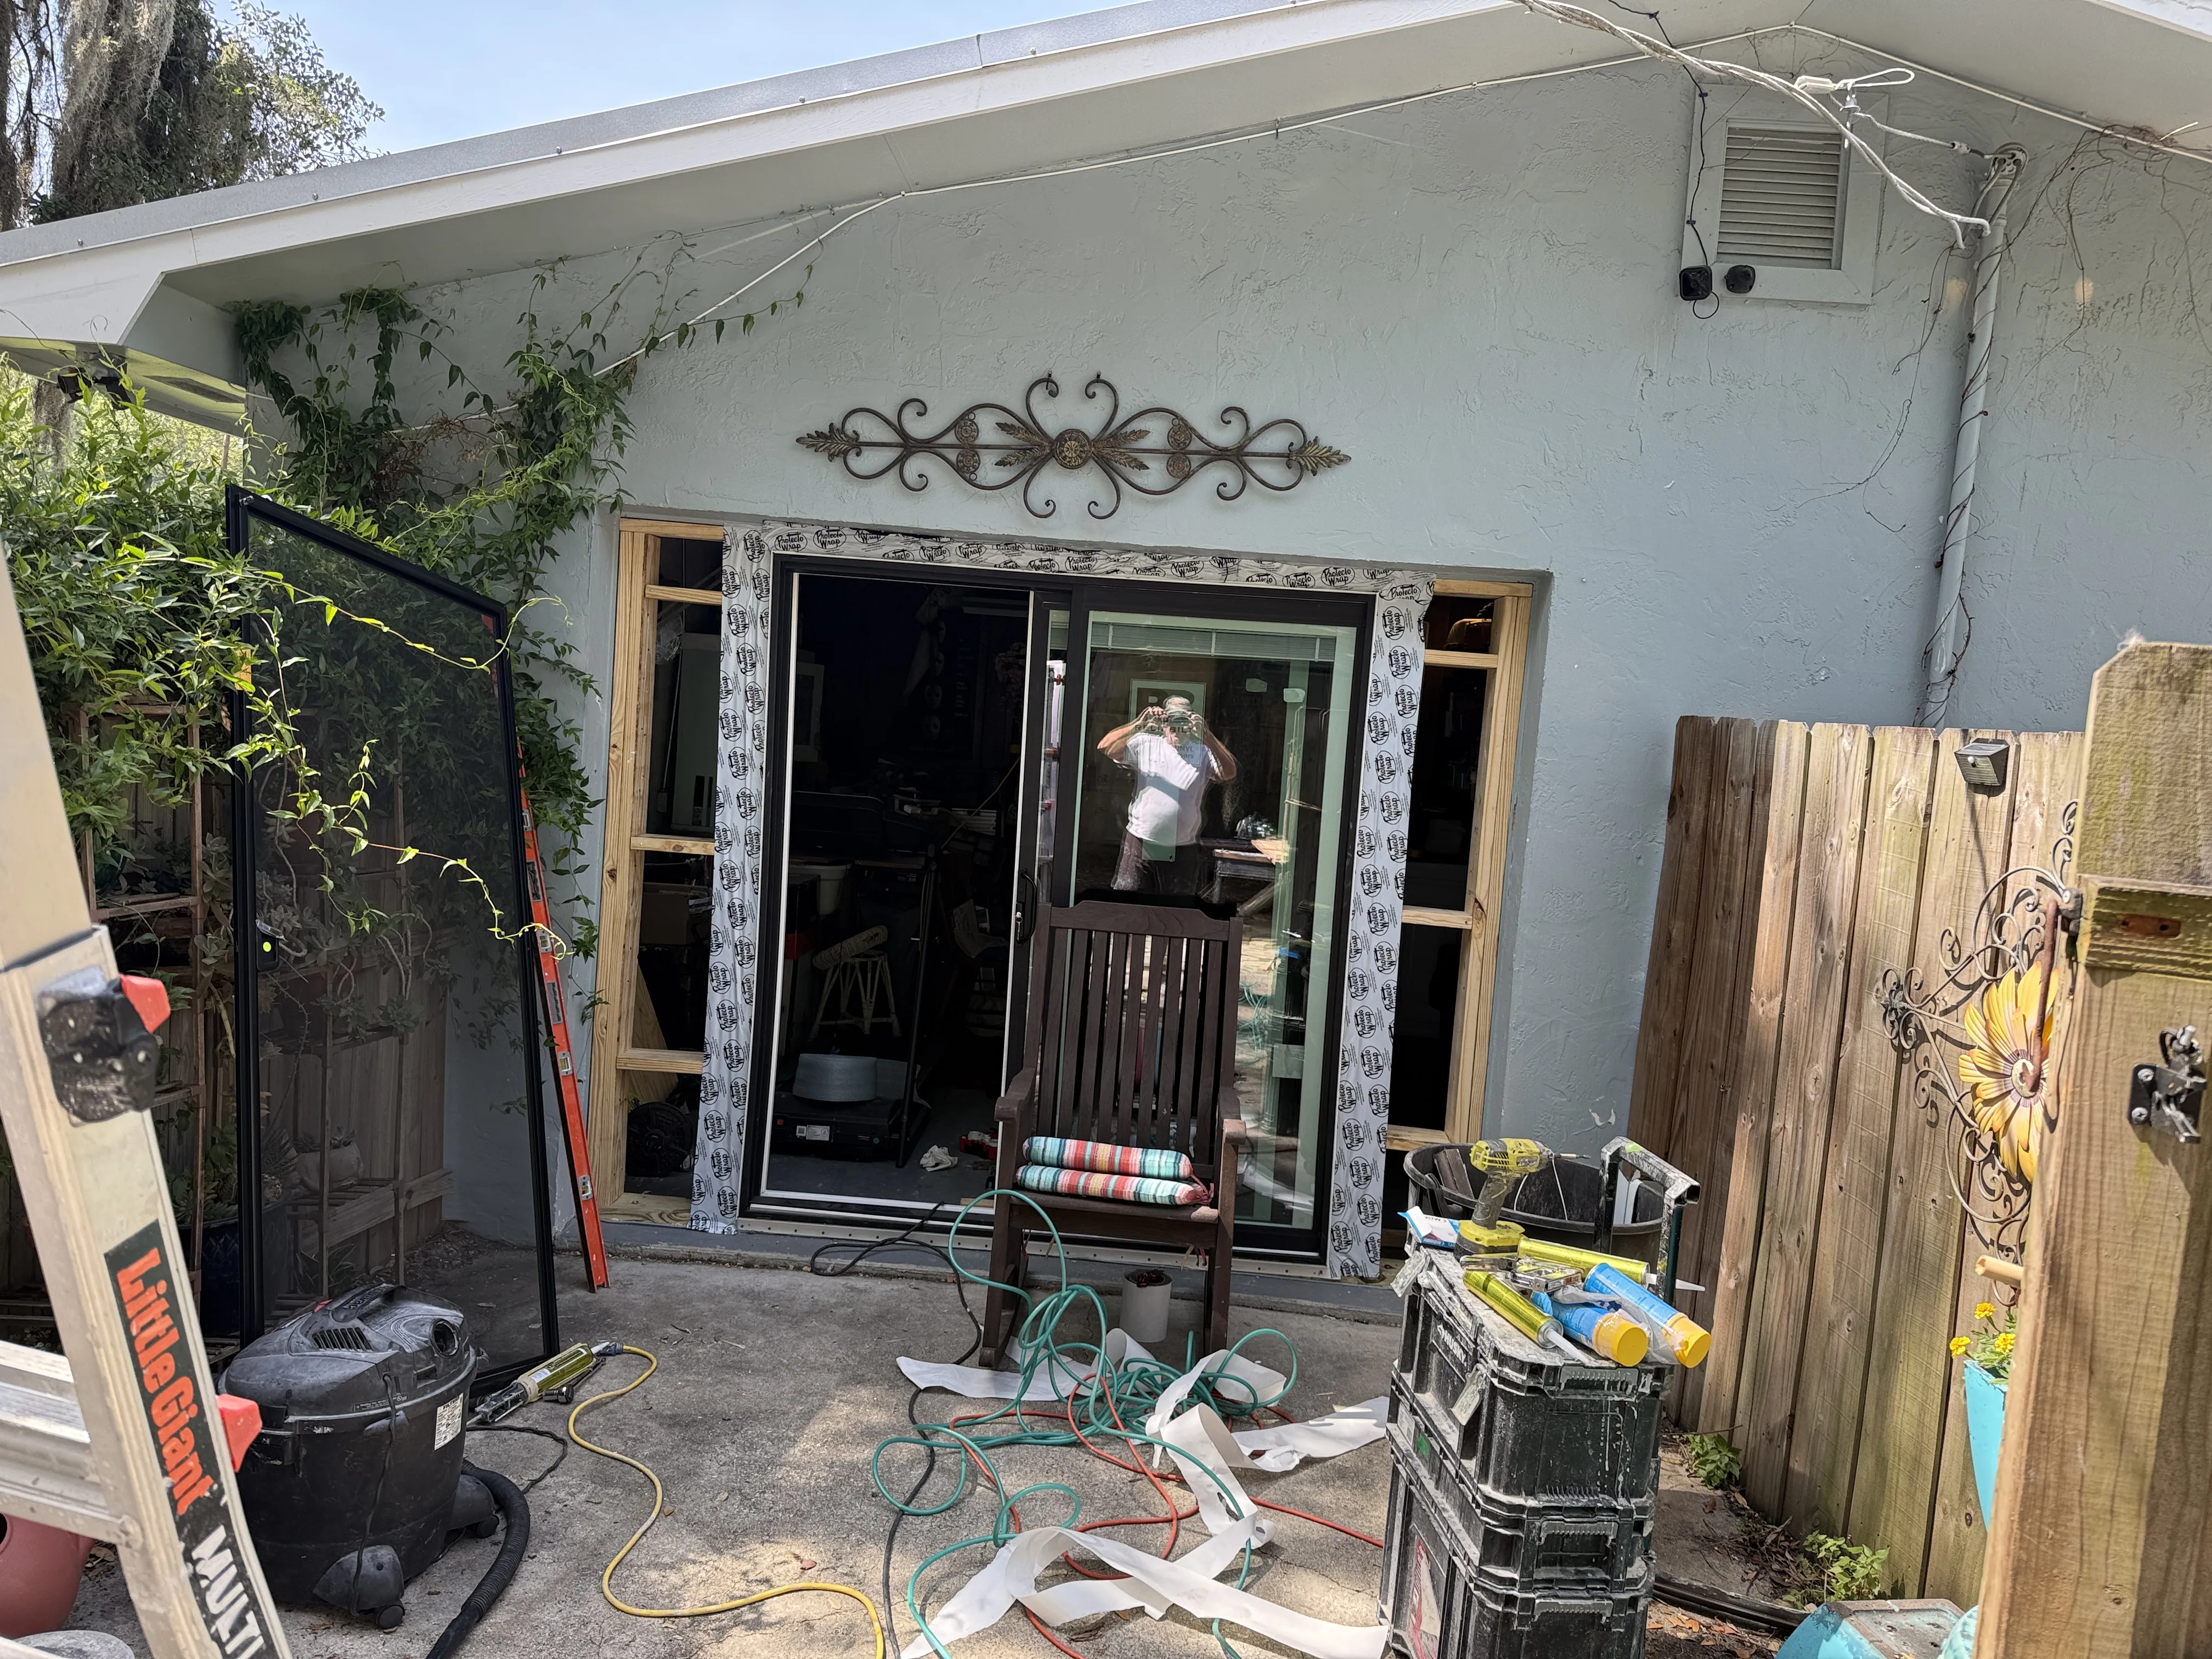
Exterior paint is supposed to sit tightly against the surface it protects. When you see rounded bubbles, blisters or raised patches, something has interrupted that bond. Sometimes the cause is limited to one recently painted area that dried too fast. Other times, the bubble is the most visible clue that water is getting behind the paint, caulk has opened up, wood is deteriorating or the existing coating was never properly prepared.
For Florida homeowners, the useful response is not to rush into another coat. Start by figuring out whether the paint failed because of the surface, the weather conditions, the previous paint system or a moisture source that still needs attention. That distinction determines whether the repair is a manageable preparation job or a problem worth investigating before the finish conceals the evidence.
What Exterior Paint Bubbling Usually Means
A paint bubble forms when the coating loses contact with the layer beneath it. That can happen when moisture or air is trapped under the film, when the existing paint is weak, or when a fresh coat skins over before it can dry and bond the way the product is designed to. The raised area may look small, but it should be treated as a signal to check the surface instead of as a flaw to simply cover.
Look at the pattern. A few bubbles on a recently painted, sunny wall may point to heat, application conditions or a localized adhesion issue. Bubbles around a window, door, fascia board, gutter, roofline or horizontal trim deserve more attention because those places can collect water or develop open joints. A recurring problem in the same location is rarely solved by paint alone.
Common Causes of Bubbles and Blisters
Moisture behind the paint. Rain, wind-driven water, irrigation, roof runoff, condensation or a failed joint can allow moisture into trim, siding or a porous wall. As the surface warms, moisture can push against the coating and weaken adhesion. This is why paint failure around windows and trim should be checked with the surrounding caulk, flashing, sill edge and material condition in mind.
A surface that was not dry or sound. Paint needs a clean, dry, stable base. Dirt, chalky residue, mildew, loose paint, failing caulk and damp material can all interfere with the bond. Sherwin-Williams’ surface-preparation guidance makes the same point: preparation depends on the substrate and environment, and the coating system needs a dry, sound surface.
Heat and direct sun. A hot wall can make a fresh paint film set too quickly. That does not mean every sunny day causes bubbles, but it does mean air temperature alone is not enough. The wall, trim or metal surface can be much hotter than the forecast. The Florida heat guide explains why shade pattern, surface temperature and the next dry window matter together.
A weak or incompatible older coating. Sometimes the new paint is not the original problem. If the older layer has lost its grip, a new finish can pull loose with it. A glossy, contaminated or poorly prepared surface can have the same effect. The repair then has to reach a firmly bonded edge instead of treating the visible bubble as an isolated spot.
How to Check the Area Before You Repair It
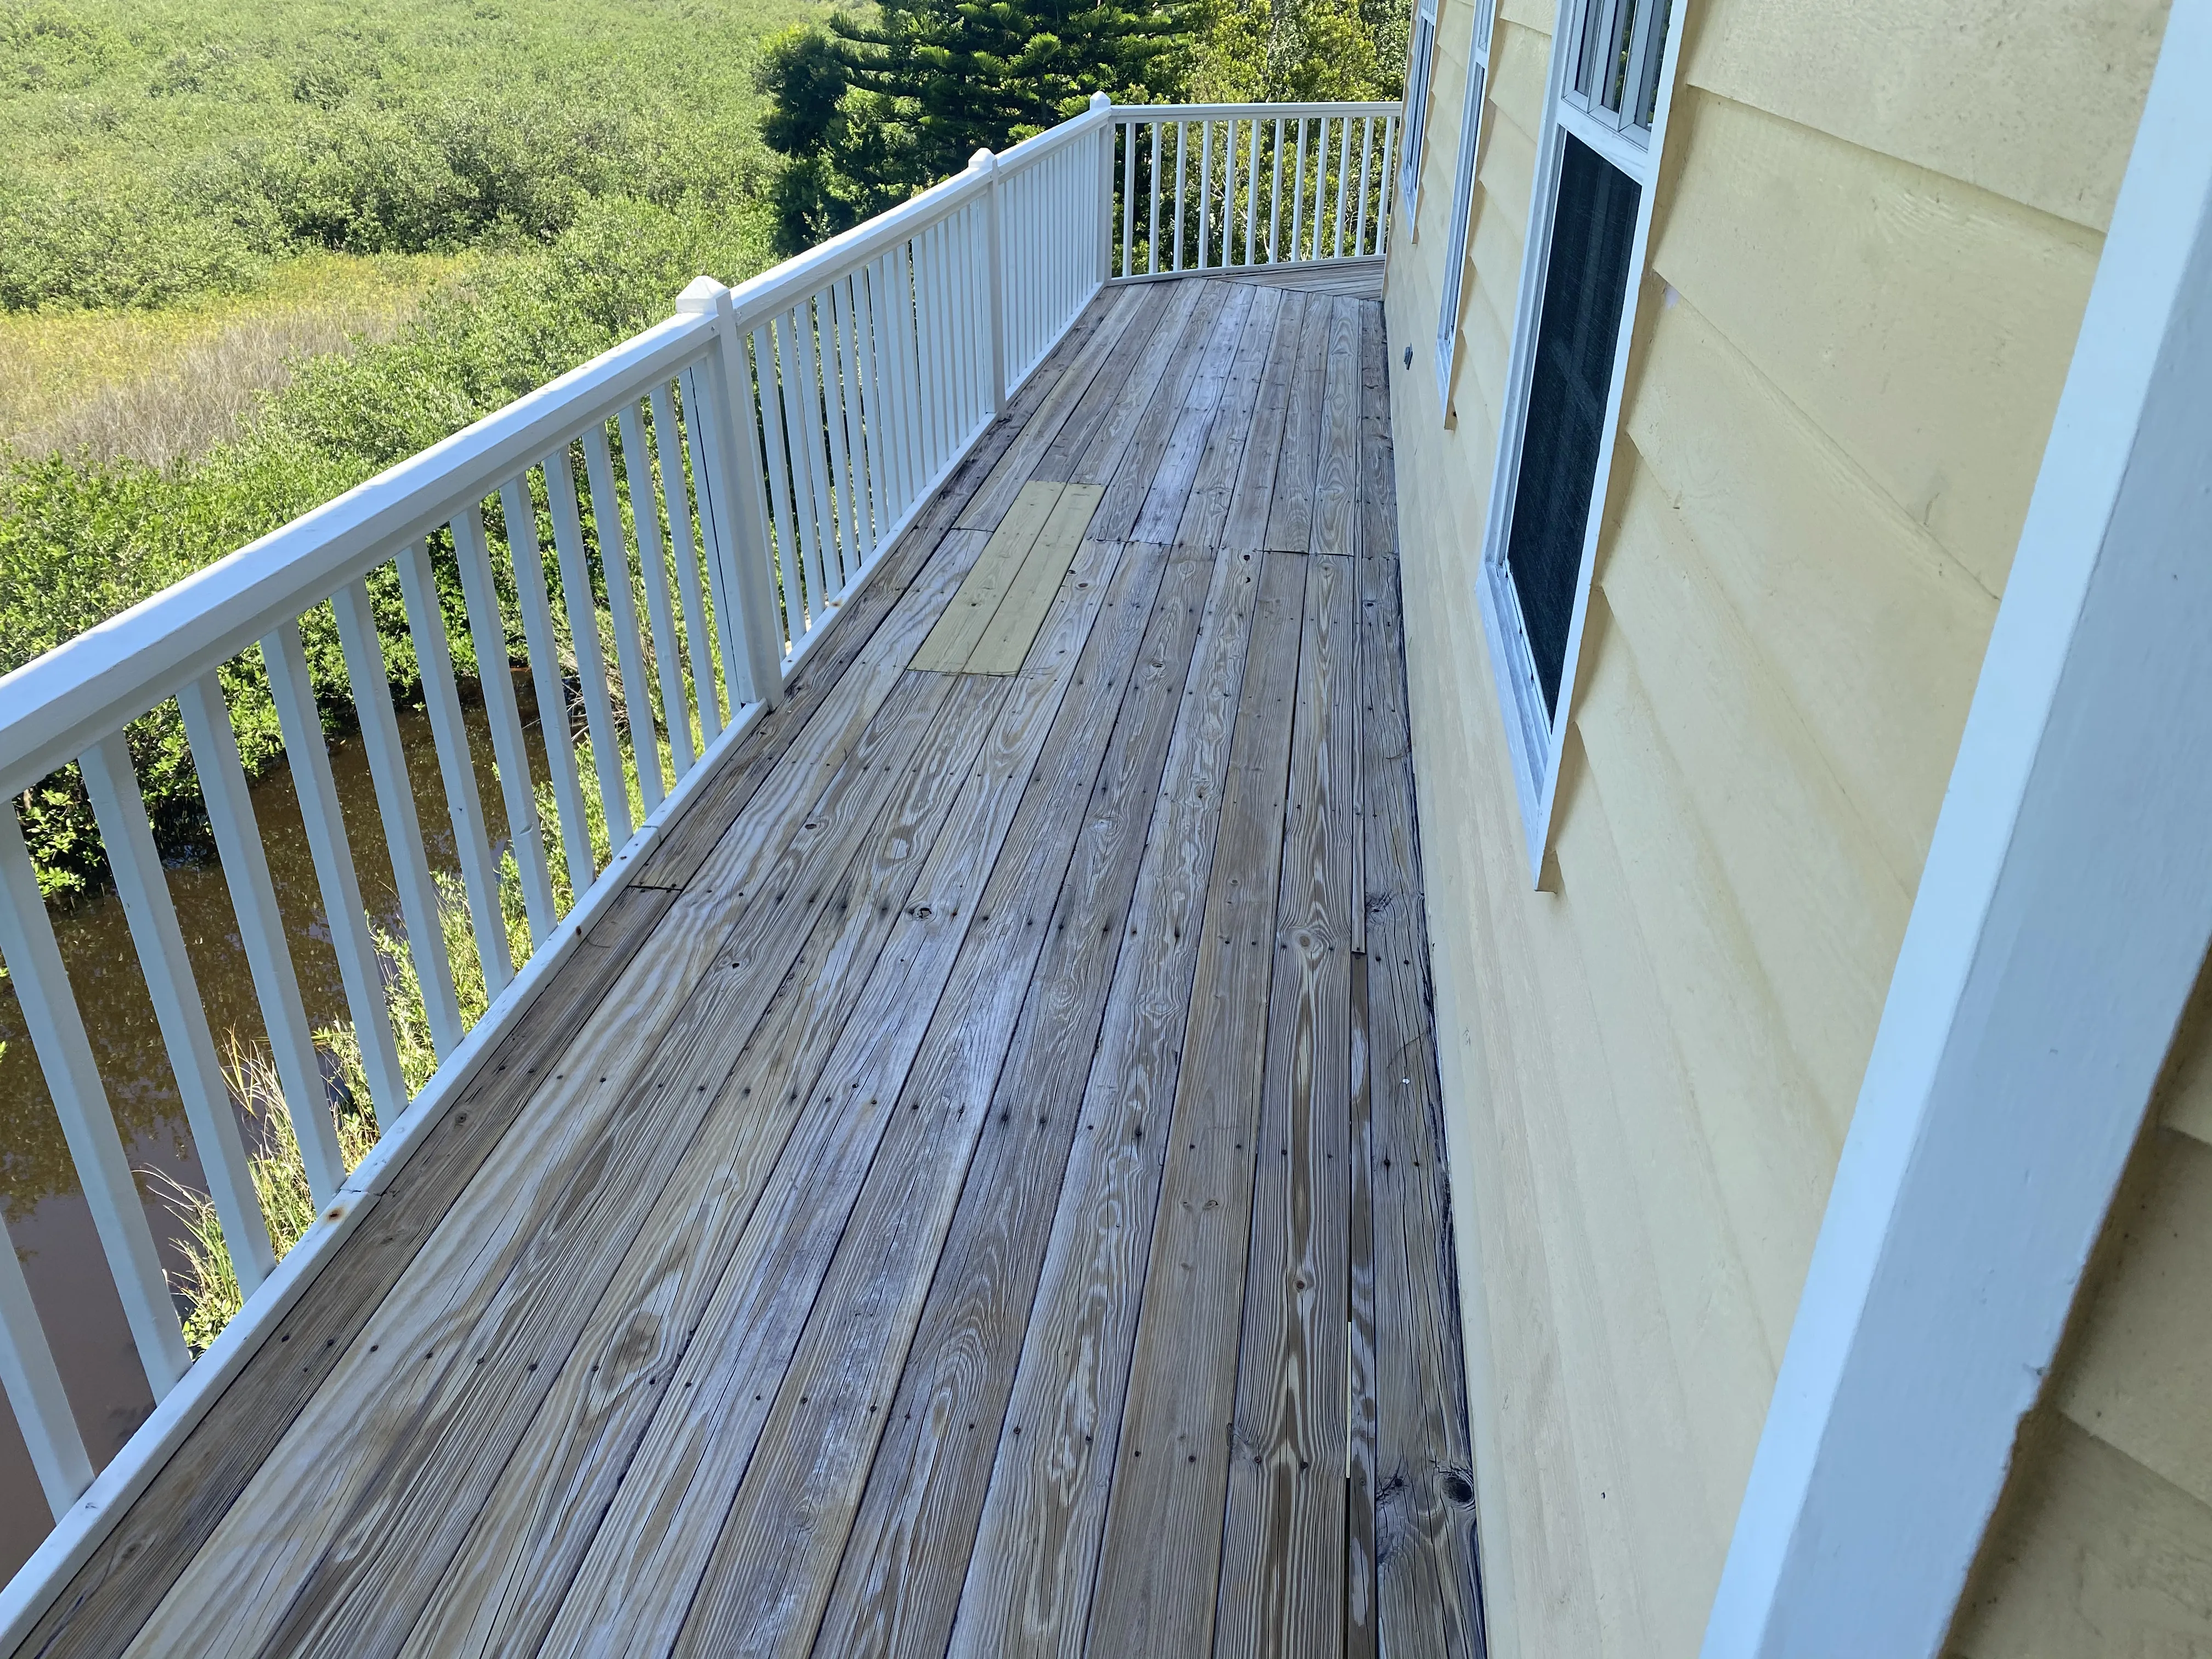
Choose a dry day and inspect the area without poking or scraping aggressively. Note where the bubbles are: near a window, at the bottom of a wall, under an eave, beside a gutter, on a sun-heavy elevation or across a broad field of paint. Then look for open caulk, staining, soft wood, cracked siding, a failing gutter, a roof or flashing detail, landscaping that keeps the wall wet, or a nearby irrigation head.
Press gently around the failed area. Sound material should feel solid. If the trim feels soft, crumbles, flexes or shows dark staining, the job is no longer just a paint repair. Take photos before removing anything, especially if the same area has been painted before. A simple record helps distinguish a one-time finish problem from a pattern that has been growing over time.
For homes built before 1978, pause before sanding, scraping or disturbing older painted surfaces. The EPA’s Renovation, Repair and Painting guidance explains when lead-safe work practices and certified renovators are required. That safety decision comes before cosmetic repair.
When a Small Repair May Be Enough
A localized repair can be reasonable when the surrounding surface is dry, solid and well bonded, the bubble is limited, and there is no evidence of a continuing moisture source. The basic sequence is to remove the loose material back to a firm edge, smooth the transition, clean the area, allow it to dry fully, prime any bare or repaired substrate when the paint system calls for it, and finish with compatible exterior paint.
Do not skip the edge work. A patch that is left with a sharp raised rim can telegraph through the finish and become a new place for water to work underneath the coating. The goal is a clean transition from the sound paint to the repaired area, not simply a hole in the paint that has been filled with a heavier coat.
After rain or washing, give the material enough time to dry rather than relying on how it feels at the surface. Wood, stucco, trim joints and shaded edges can hold moisture after the face of the wall looks ready. The after-rain drying guide walks through the places that often need the extra check.
What Not to Do With Bubbling Paint
Do not paint directly over a raised area in the hope that a thicker coat will flatten it. The new paint may briefly disguise the bubble, but it cannot restore the bond underneath. It can also make the failed area larger when the original layer continues to release from the surface.
Do not aggressively pressure wash a suspect area just before repainting. Cleaning is important, but strong water pressure can drive moisture into joints, behind trim or into damaged material. Use a cleaning method suited to the surface, then allow the area to dry before deciding whether it is ready for primer or paint.
Do not assume every bubble is a paint-product problem. Product choice matters, but repeated failure near one window, door, gutter or roof transition is often a reason to inspect the house detail around it. The finish is the last stage of the repair. It is not the way to solve a water path that remains active.
When Bubbling Paint Needs a Bigger Investigation
Step back from a spot repair when bubbles cover a broad area, reappear after a previous repaint, follow a consistent path below a roofline or window, or come with staining, soft wood, open joints or visible water damage. Those symptoms can mean that the paint failure is downstream of another problem. Recoating the area before that cause is addressed can make the surface look better for a short time, but it does not create a lasting repair.
Window and door trim deserve special attention because water can reach them from several directions. Failed caulk, an unsealed sill edge, a drainage issue, wind-driven rain or worn exterior material can each create a small entry point. The same is true near gutters and roof transitions, where overflow or repeated runoff can keep one section of trim wet long after the rest of the house has dried.
When the substrate is compromised, the scope may include repair or replacement before primer and paint. Good Fellas handles connected exterior repair and finish work, so the condition of the material can be considered alongside the paint plan. The exterior home repair service is a useful starting point when the failure seems tied to more than the coating itself.
Florida Weather Can Make Timing Part of the Repair
Exterior painting in Florida is a weather-window decision. Humidity can slow drying, direct sun can overheat a surface, evening dew can arrive early, and a quick rain shower can reach joints or porous materials that look dry a few hours later. None of those conditions automatically rules out painting, but they do make preparation and timing more important.
Plan the repair so cleaning, scraping, patching and any carpentry work are complete before the best painting window opens. Then assess the slowest-drying areas, not only the most exposed wall. The high-humidity painting guide explains why the wall, the paint label and the full drying window matter more than one humidity number.
A sound exterior job also works with the sun. On a hot day, a painter may start on the shaded elevation, avoid an overheated trim board and leave enough time for the fresh film to set before moisture returns. That deliberate sequencing is part of protecting the repair, not an optional extra.
A Five-Minute Check Before You Ask for a Quote
Take one wide photo that shows the failed area in context, then take a close photo of the bubble, blister or loose edge. Include any nearby window, door, gutter, roofline or trim joint that might help explain where water is coming from. If the location is hard to reach, photograph it from the ground rather than climbing on a roof or ladder to investigate it yourself.
Make a short note about what happened before the paint failed. Did the area recently get painted? Did it appear after a storm, a long humid stretch, a gutter overflow or a change to landscaping or irrigation? Has the same location been repaired before? Those details help separate a finish failure caused by application conditions from a problem that needs a closer look at the substrate or the surrounding exterior detail.
Finally, check whether the damage is isolated or part of a broader pattern. One small bubble on otherwise solid paint calls for a different conversation than repeated blisters across a sunny elevation or a band of paint failure under a window. The more specific the starting information, the easier it is to build a repair scope that addresses the problem instead of just repainting its surface.
What a Good Repair Plan Should Cover
A useful repair plan should identify the failed area, the likely cause, the material condition and the preparation needed before finish paint goes on. That may mean cleaning, removing loose paint, sanding a sound transition, replacing damaged material, resealing joints, priming bare areas and choosing a dry weather window. It should also make clear which nearby surfaces are being protected while the work is done.
For a homeowner comparing options, the best question is not simply, “Will you paint this bubble?” Ask what will be removed, what will be checked for moisture, which repairs are included, where primer is needed and what conditions need to be in place before the finish coat. Those answers make it easier to compare real scopes instead of comparing a quick touch-up with a complete repair.
When the exterior needs a closer look, Good Fellas can help connect the repair, preparation and finish details into one plan. Browse the exterior painting service, review the repair-and-refresh project, or request a quote to discuss the area that is failing.
Frequently Asked Questions
Can I paint over bubbling exterior paint?
Not until the loose paint has been removed and the reason for the failure has been addressed. A new coat can only hold as well as the surface beneath it, so moisture, heat, failed caulk or poor adhesion need attention first.
Does bubbling paint always mean there is a leak?
No. Bubbling can also happen when paint is applied to a damp surface, over a weak coating, or in conditions that make the film dry too quickly. Repeated bubbling in the same spot is a reason to look closely for a moisture path or damaged material.
Should I pop paint bubbles before repainting?
Do not treat popping the bubble as the repair. The loose paint needs to be removed back to a sound edge, the surface needs to dry, and the cause of the failure needs to be resolved before primer or finish paint is considered.
When should I call a professional about bubbling paint?
Ask for a closer look when the bubbling repeats, the area is soft or stained, the paint is failing around windows or rooflines, or the damaged area is large. Those signs can point to water entry, failing caulk, deteriorated wood or a larger preparation problem.