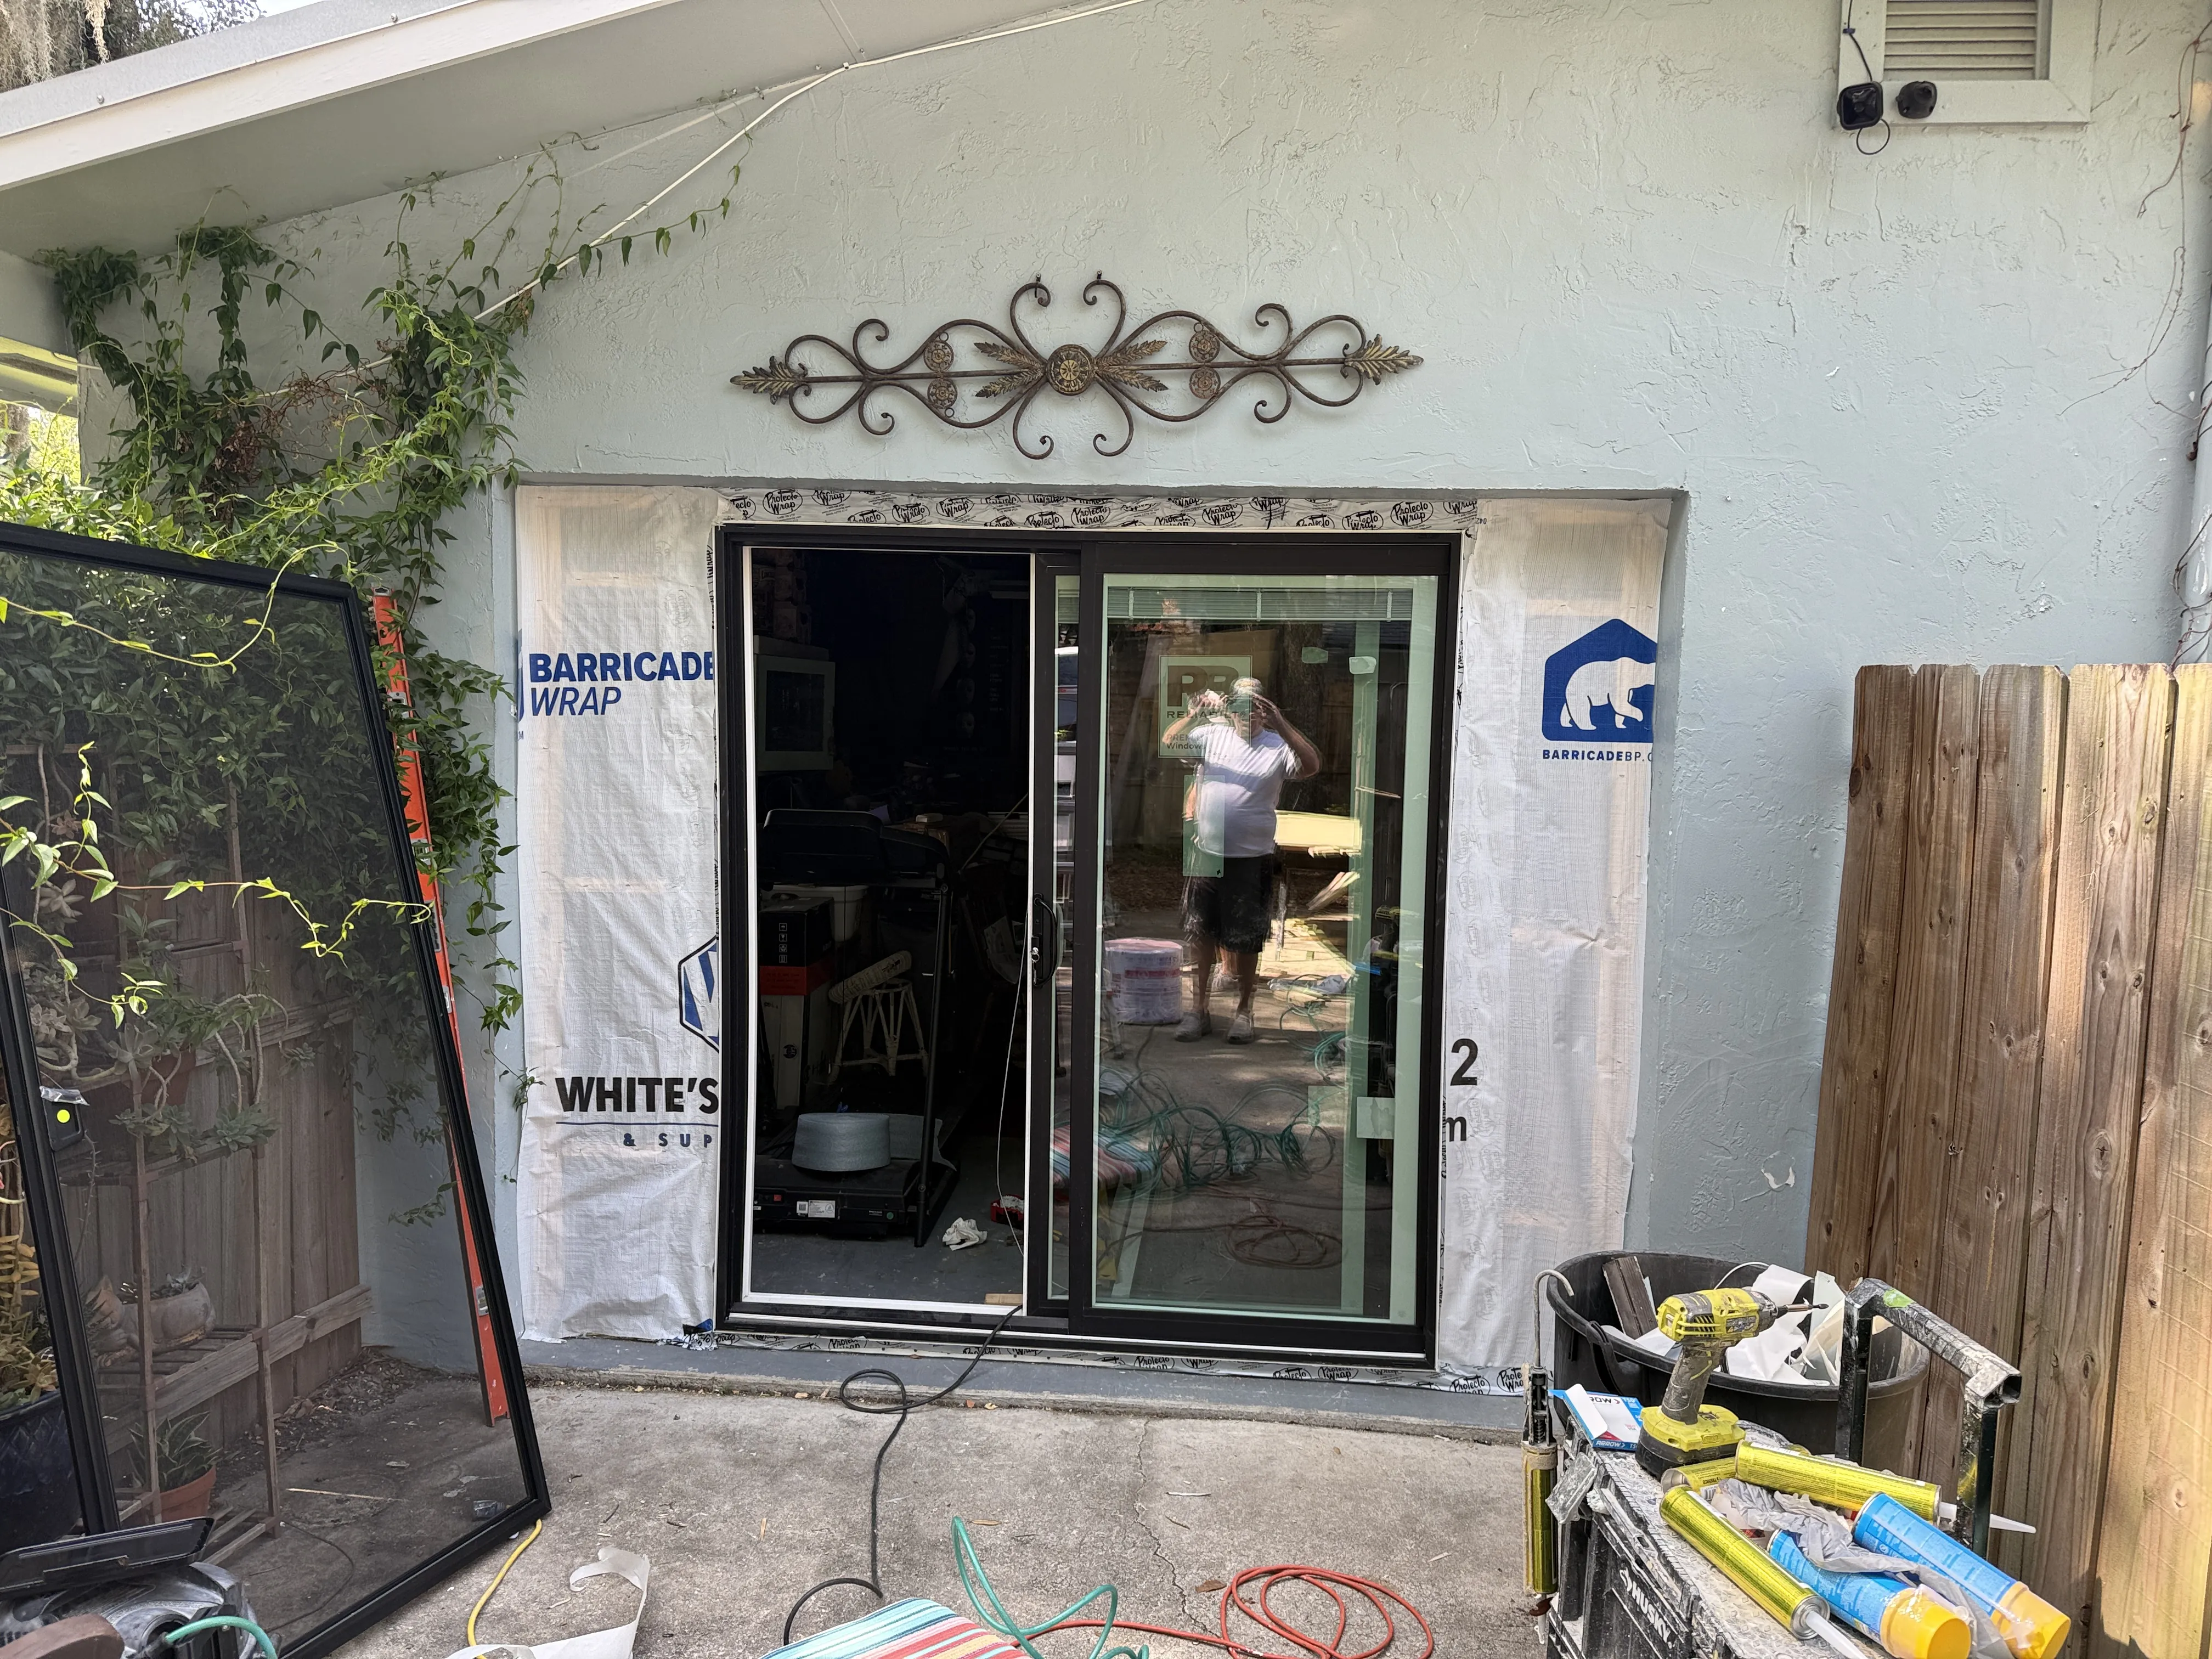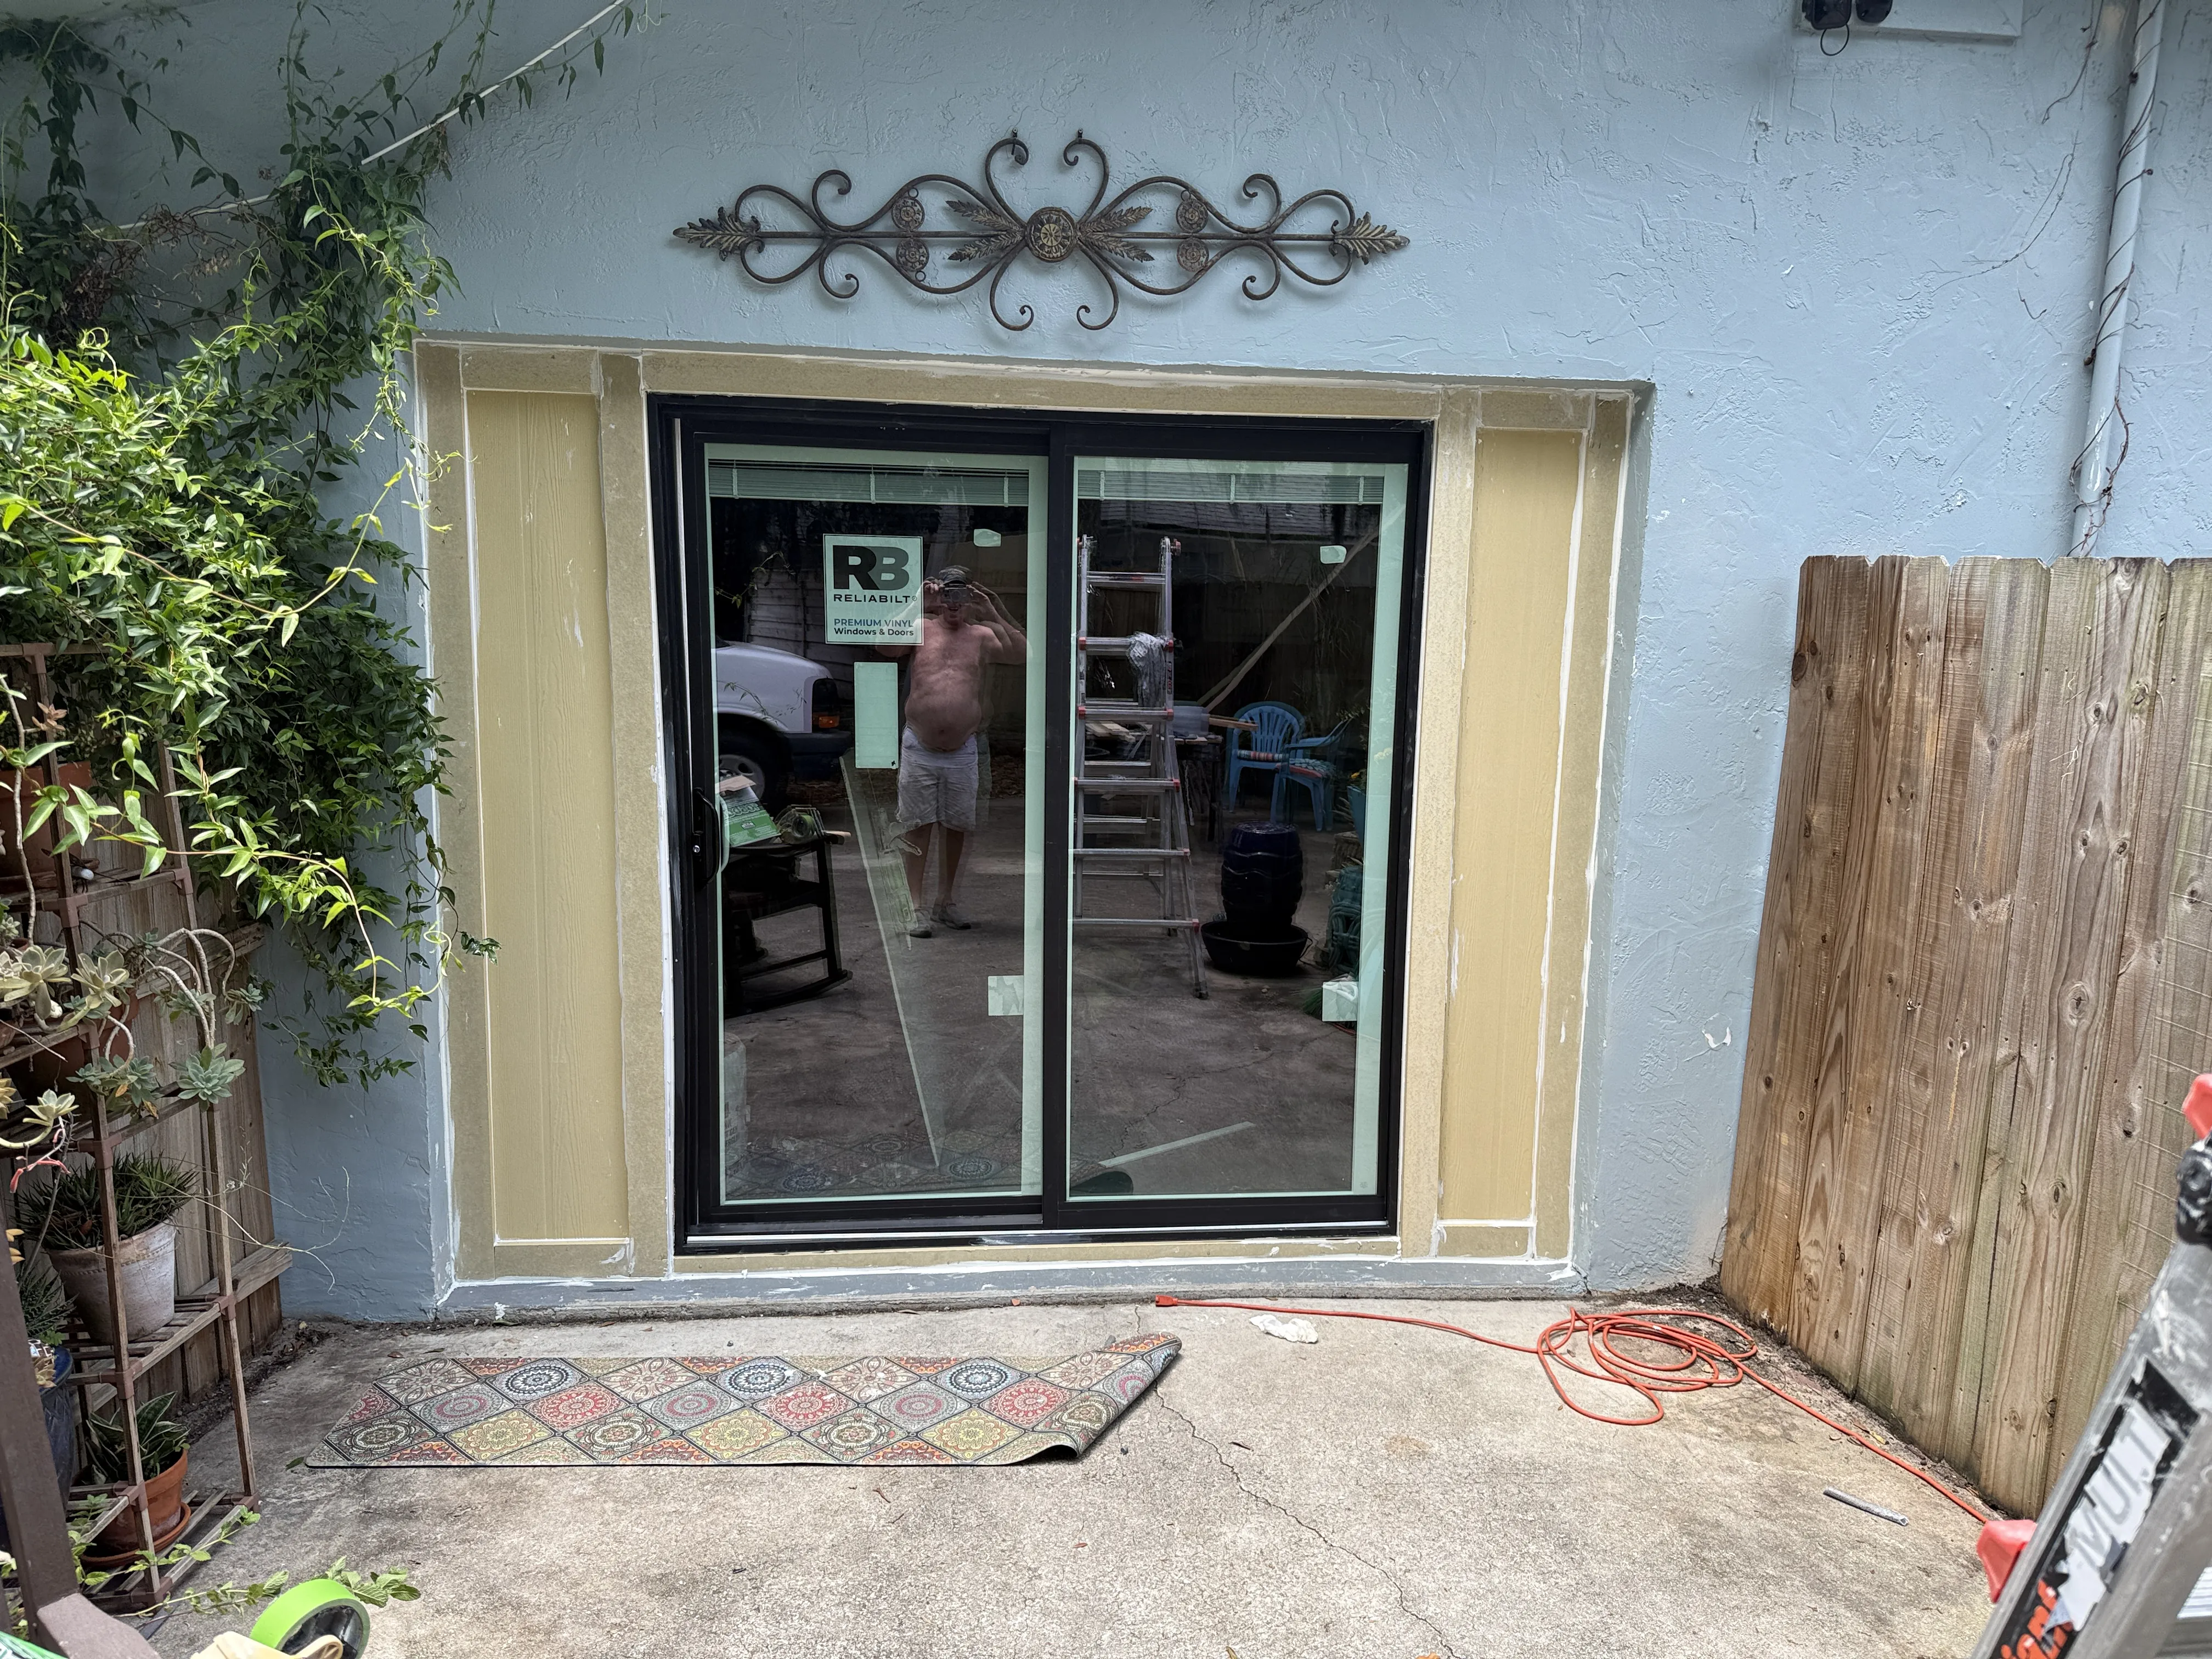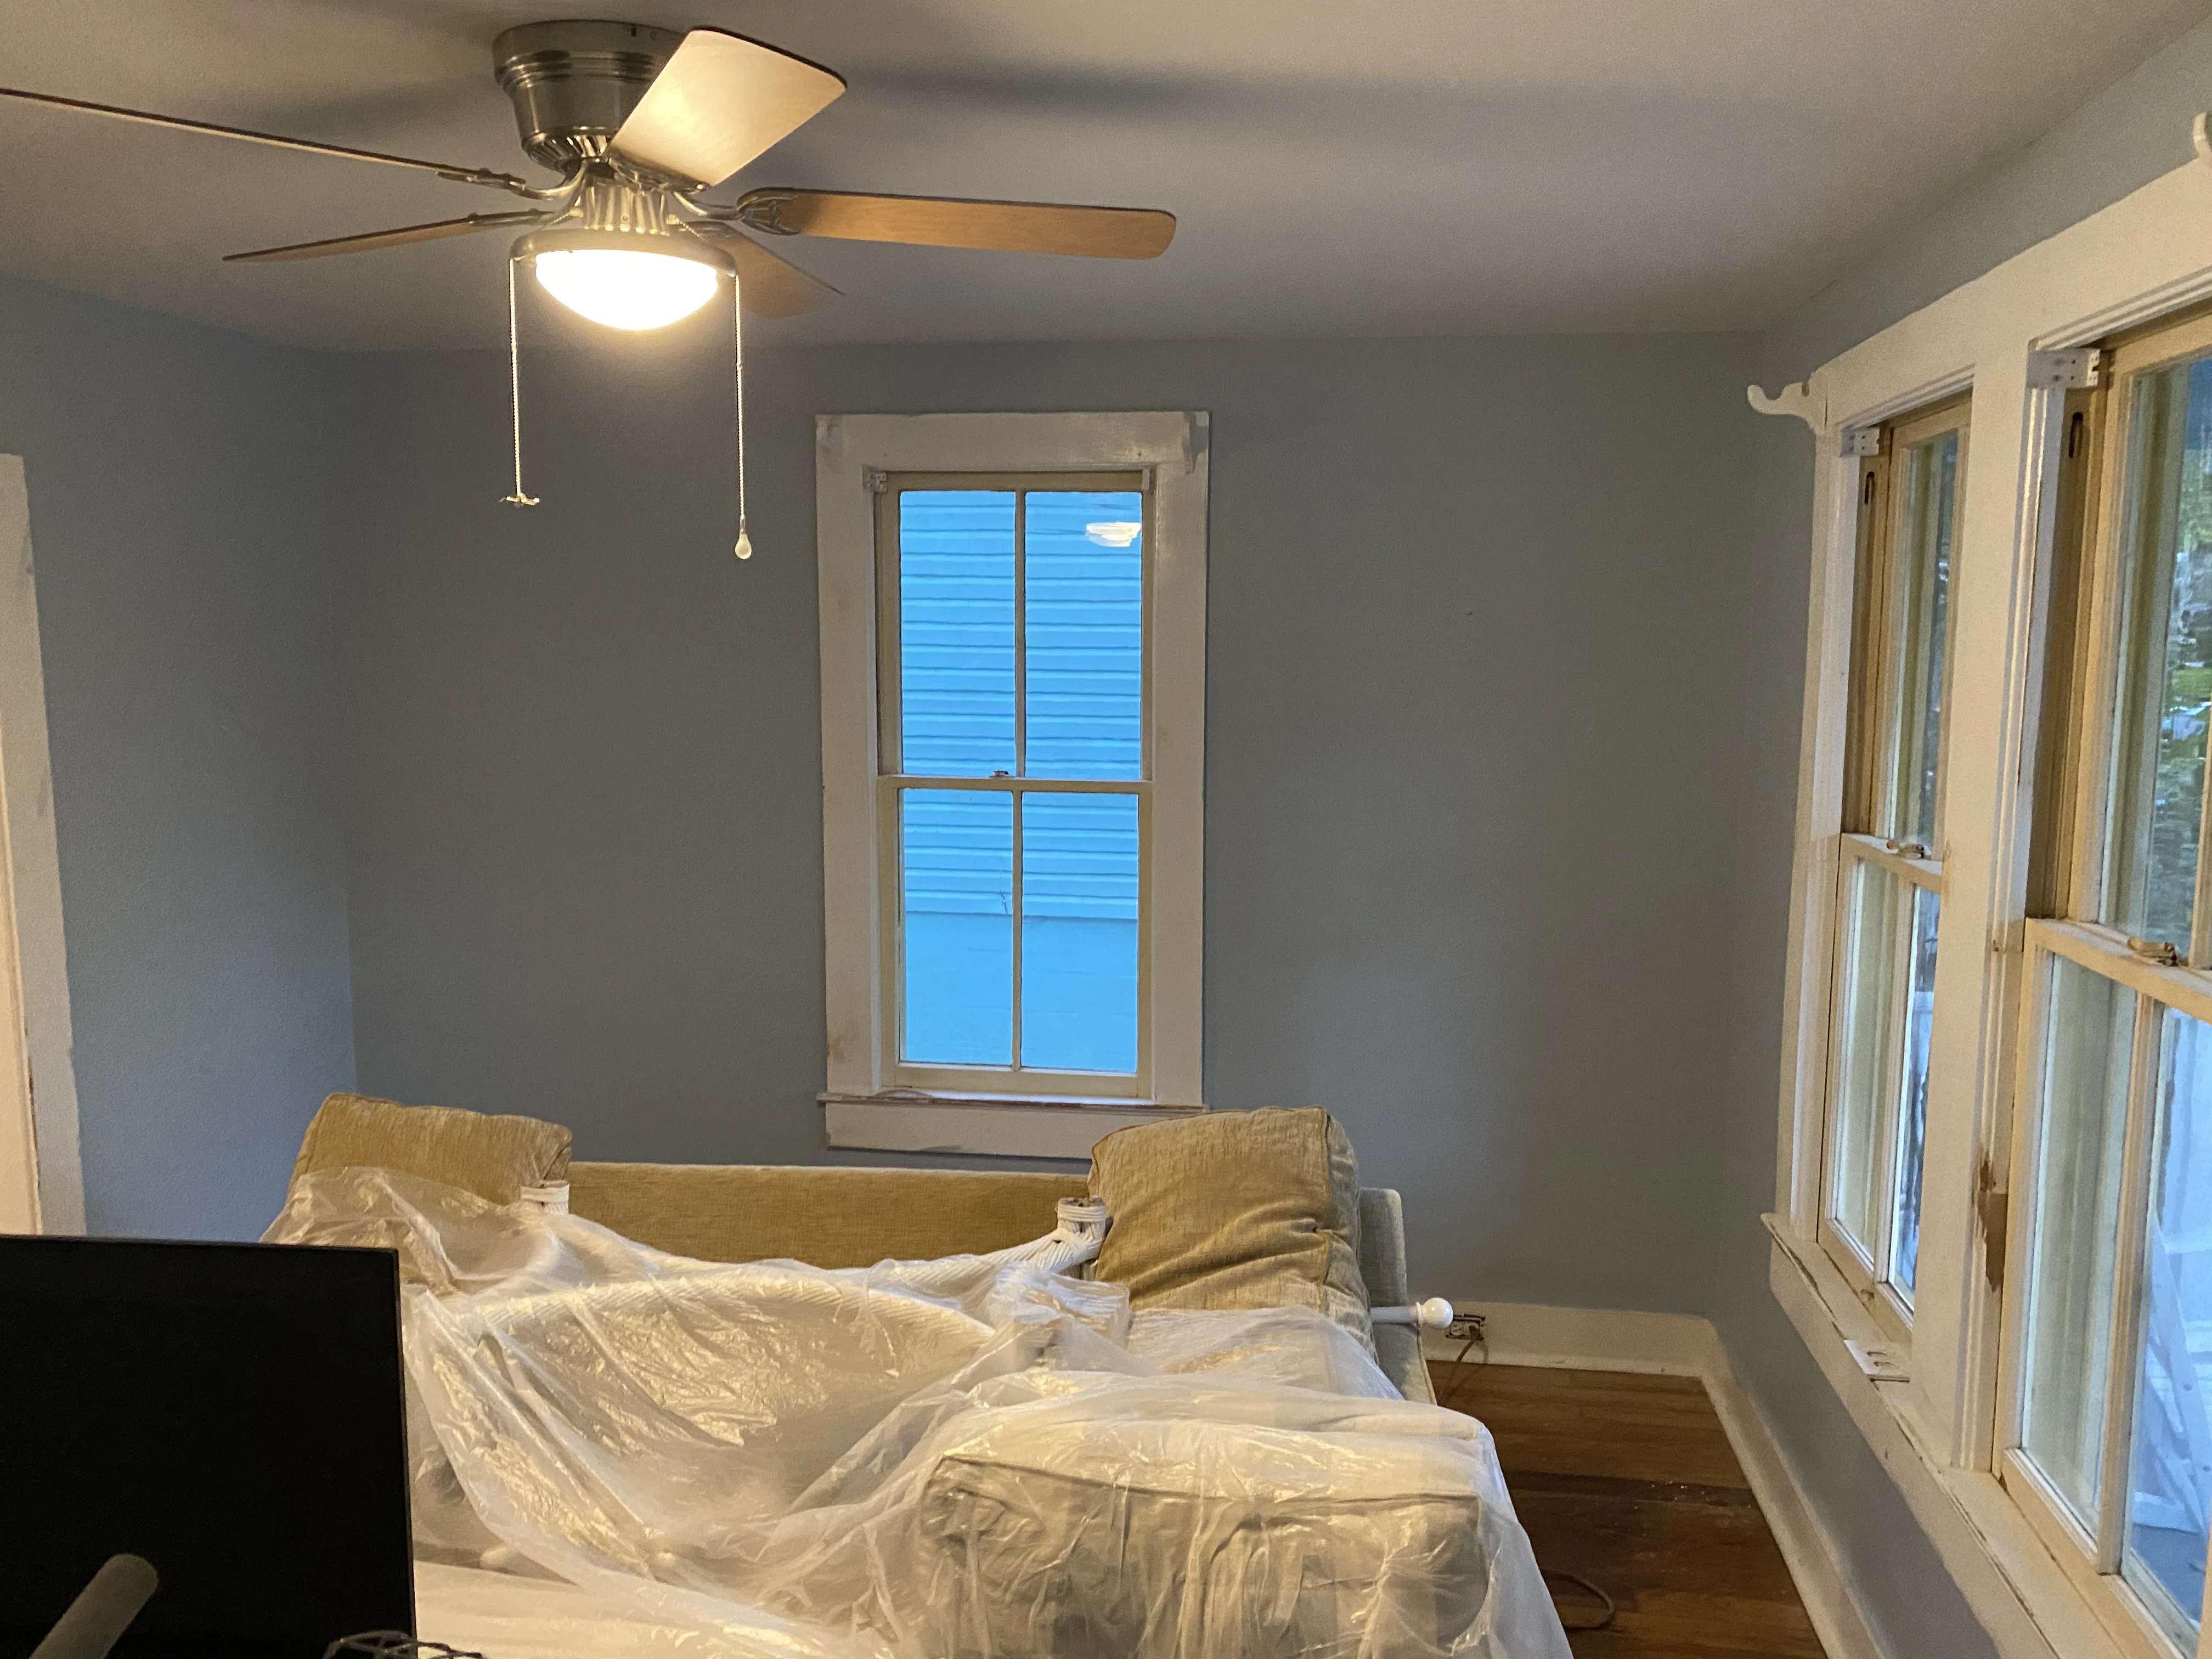
Choose a painting contractor by comparing the written scope, preparation plan, materials, schedule and final walk-through, not by comparing one total against another. Two estimates can look similar at first glance while one includes walls, trim, repair work and protection and the other only names paint. Start with a clear picture of the rooms or exterior surfaces you want changed, then ask each contractor to price the same work.
Start With the Project You Actually Need
Before collecting estimates, walk the property and make a simple list. Name the rooms, walls, ceilings, doors, trim, siding or porch details you want painted. Note what you can see: nail holes, cracked caulk, peeling edges, water staining, rough patches, weathered wood or an old repair that shows through the finish. Take a wide photo to show the overall area and a close photo for each condition that needs attention.
That list does not need to be technical. It gives every contractor the same starting point. A hallway repaint, a full interior refresh and an exterior with damaged trim are different jobs, even when each begins with paint. The clearer the starting list, the easier it is to see whether one estimate left out a surface, repair or protection step that another contractor included.
Compare Preparation Before You Compare Color
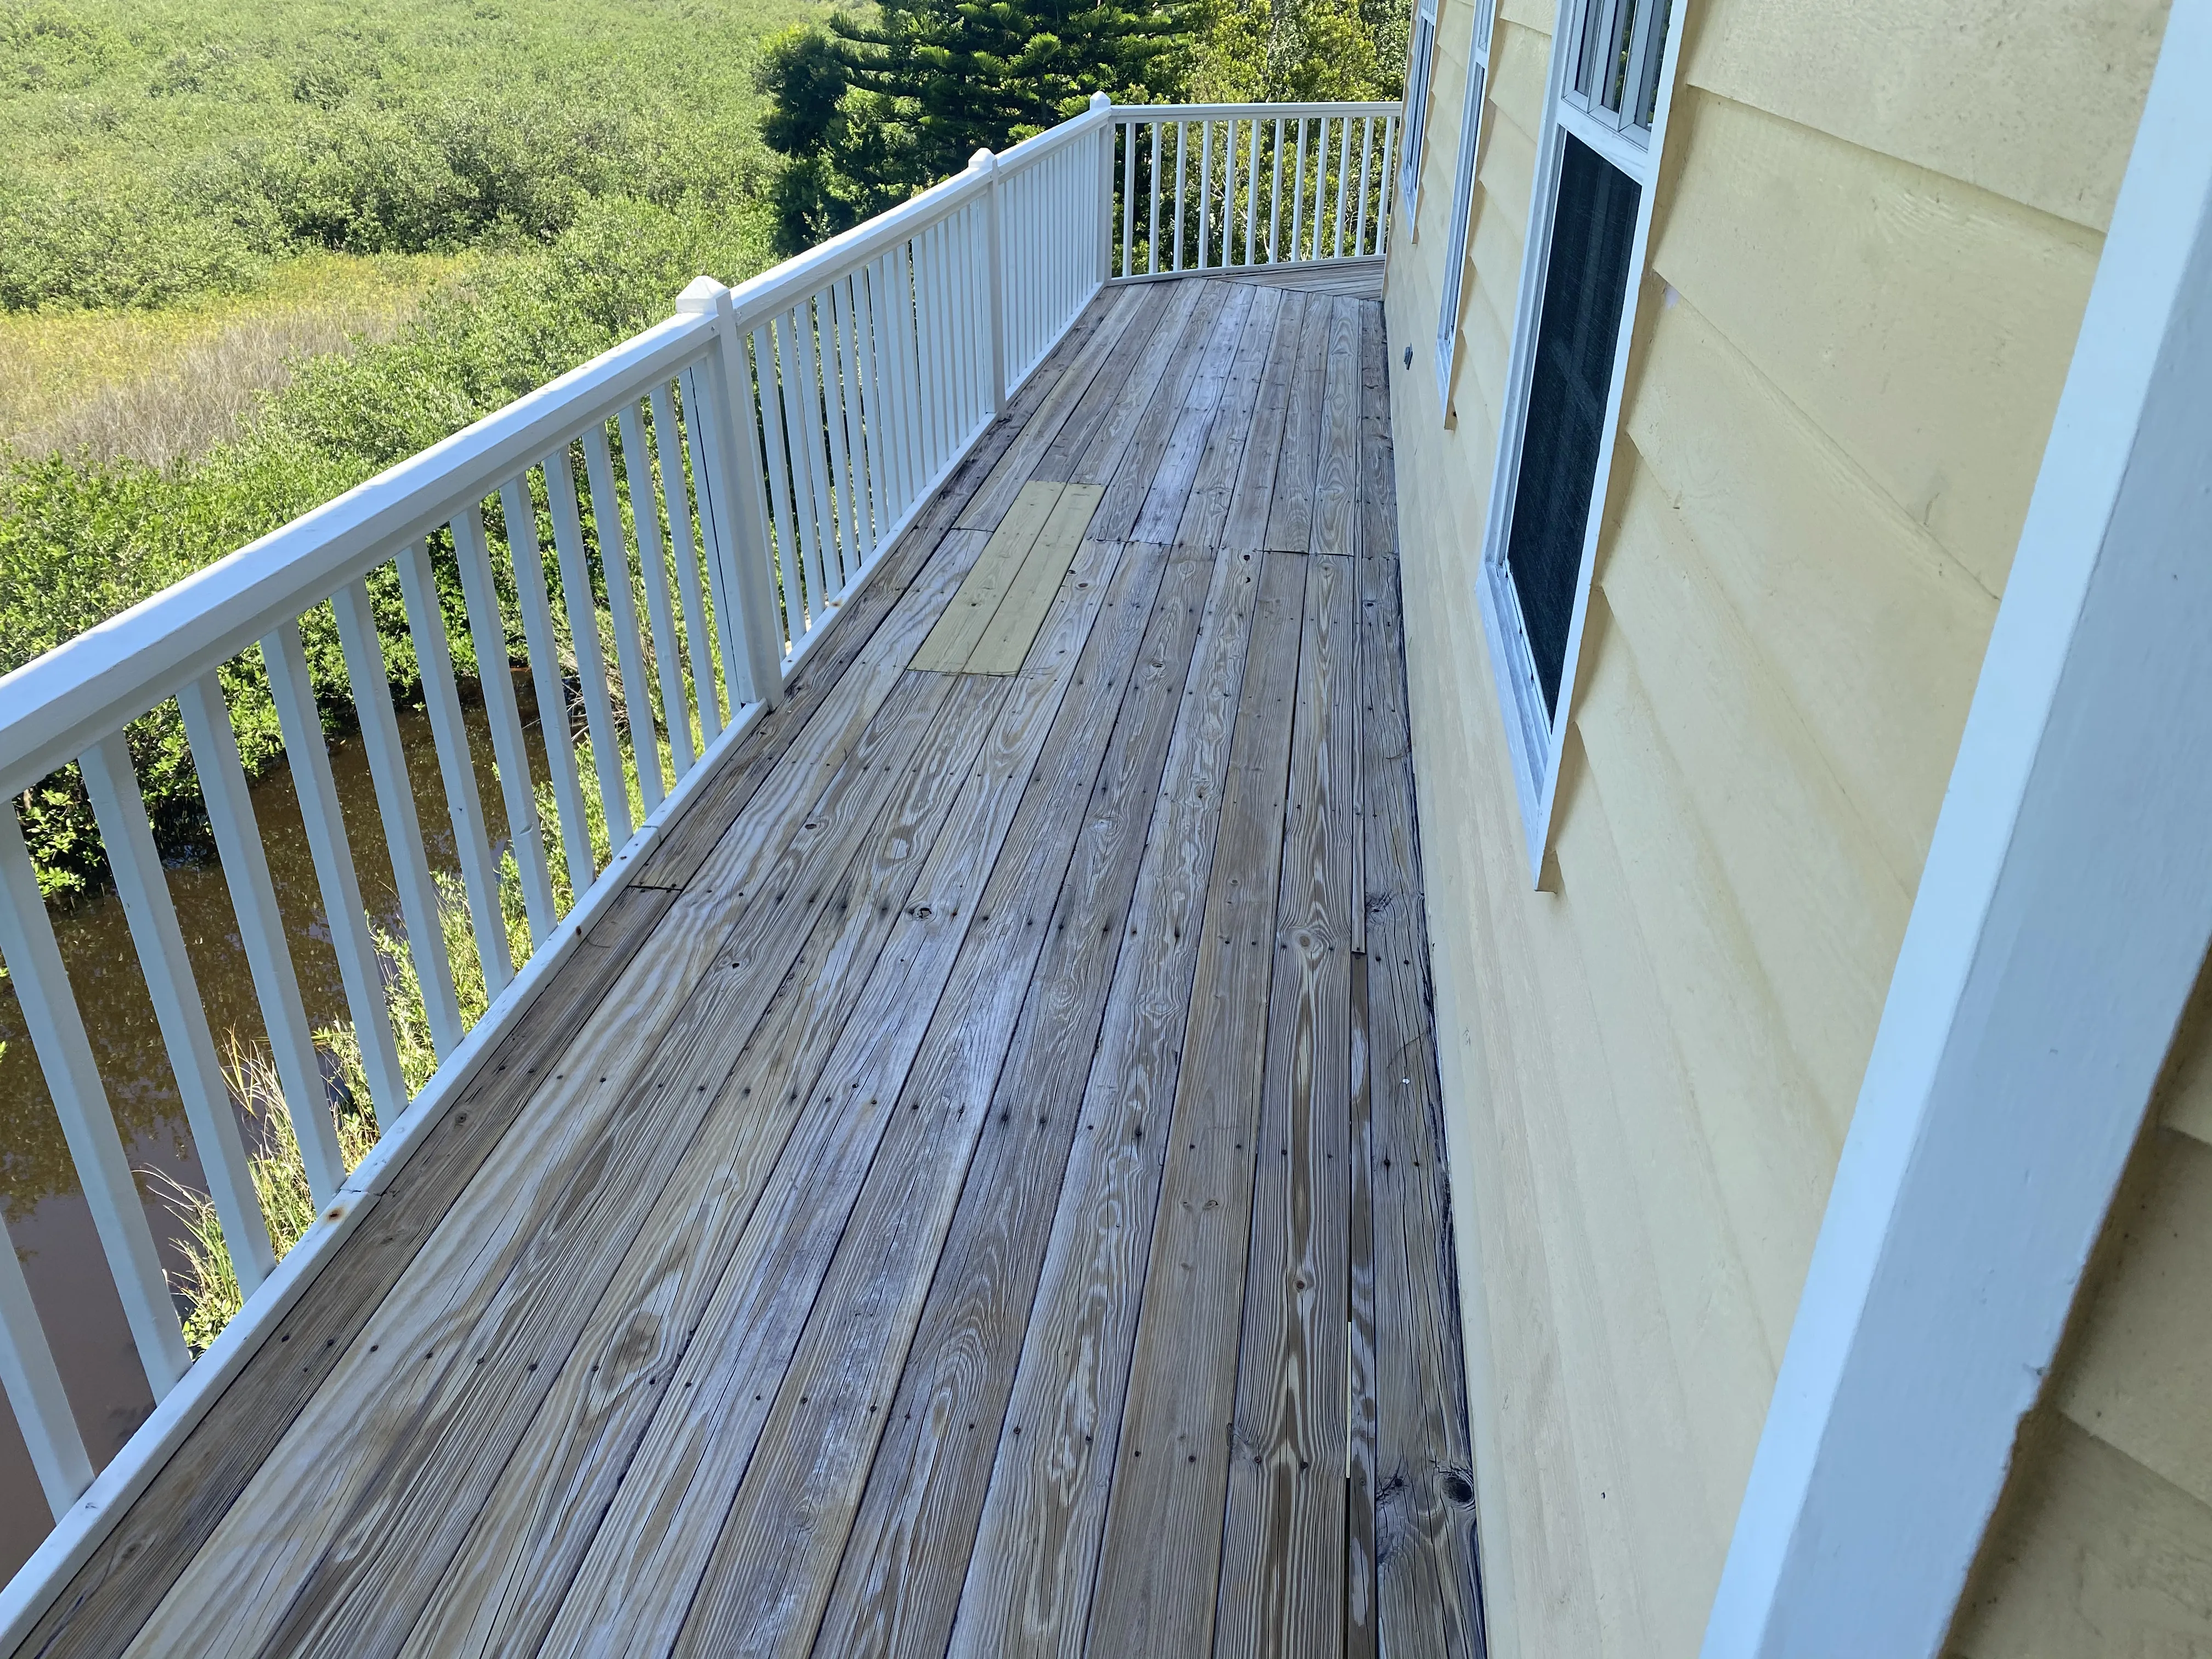
Preparation has a direct effect on what the finished surface looks like. Interior work may need furniture protection, patching, sanding, stain treatment, caulk at trim or primer over repairs. Exterior work can involve cleaning, loose-coating removal, failed-joint repairs, surface drying time and primer where bare or repaired material needs it. A proposal that says only “paint walls” does not show how the surface will be made ready.
Ask each contractor how they handle the visible conditions on your list. Listen for a work sequence: protect the area, correct the surface, remove dust or loose material, prime where needed, then apply the finish. A clear sequence is more useful than a vague promise of quality because you can compare it against the condition in front of you. It also helps separate a small touch-up from work that needs a broader repair or repaint.
Read the Estimate as a Scope of Work
A useful painting estimate gives a homeowner something specific to approve. It should identify the surfaces and areas being painted, any preparation included, the paint system or product information, the number of finish coats when that is part of the plan, the schedule, cleanup and the total. It should also make exclusions visible. For example, a contractor may identify a damaged trim board or an active moisture issue as separate work rather than quietly treating it as included in the paint price.
Keep the estimates side by side and mark the lines that do not match. If one lists walls and ceilings while another lists walls only, those are different scopes. If one includes stain blocking, drywall repair or trim prep and another does not, the totals cannot be compared fairly. Ask for the missing detail in writing before deciding. The best comparison is not the cheapest quote. It is the clearest proposal for the result you want.
Check How the Contractor Looks at the Property
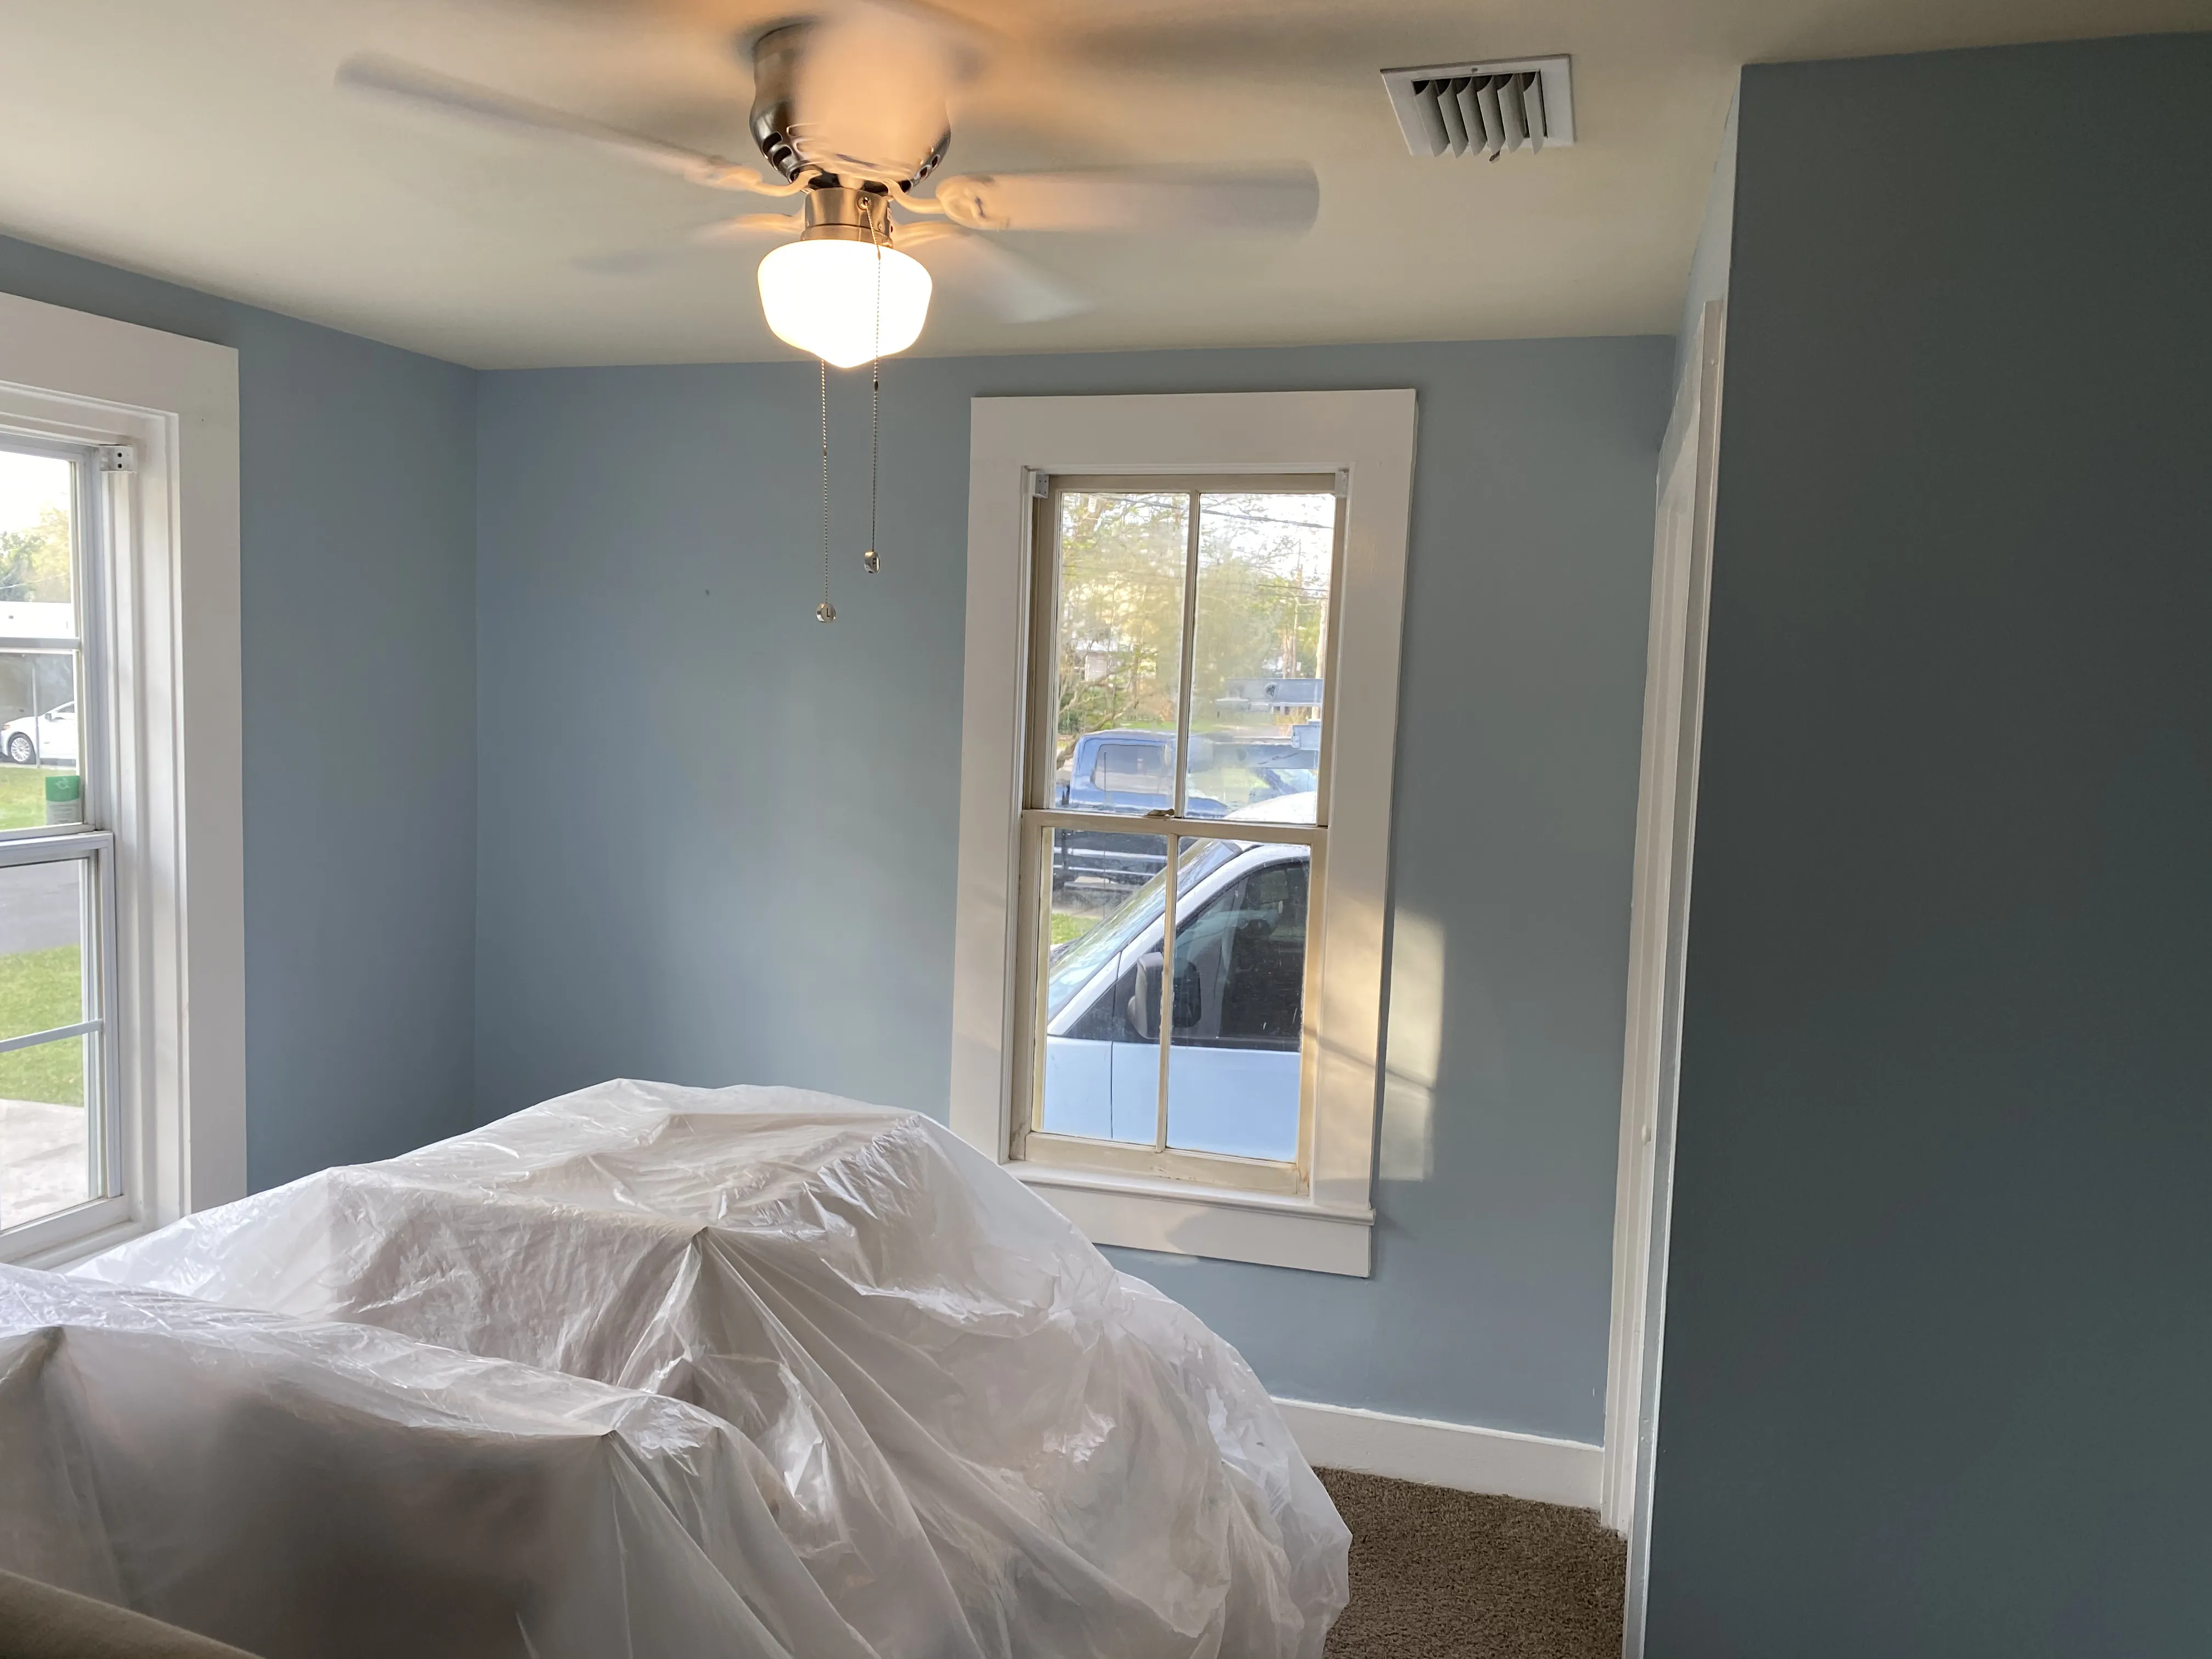
A painting conversation should reflect the property, not just a room count. In an occupied home, access, furniture, pets, children, doors and daily routines affect the plan. On an exterior, gates, landscaping, windows, porch details, sun exposure and weather-sensitive surfaces matter. For a rental, office or shared space, timing and how the area stays usable can shape the scope as much as the paint color.
Notice whether the contractor asks about those details and looks closely at the areas you named. A useful walkthrough brings the visible concerns into the proposal before work starts. It is also the right time to describe work that belongs with painting, such as a drywall patch, rough trim, old wall mount, loose baseboard or failed exterior caulk. Those details are easier to plan before the finish is underway than after a room or wall has been painted.
Ask Practical Questions About Materials and Timing
Paint is part of a system, not a single color choice. The surface condition, primer needs, sheen and use of the space can all change what belongs in the scope. A kitchen, busy hallway, bathroom, bedroom, door and exterior trim do not see the same kind of wear. The conversation should explain the finish being proposed and where it will be used, without treating every surface as identical.
Ask how the work will be sequenced, how access will be handled and what needs to be moved or protected. For an exterior project, ask how the contractor plans around surface moisture, shade and rain windows. For an interior project, ask which rooms can be completed together and when the room can return to normal use. A realistic plan makes it easier to prepare the property and reduces surprises once the first coat starts.
Make Changes and Boundaries Visible Before Work Starts
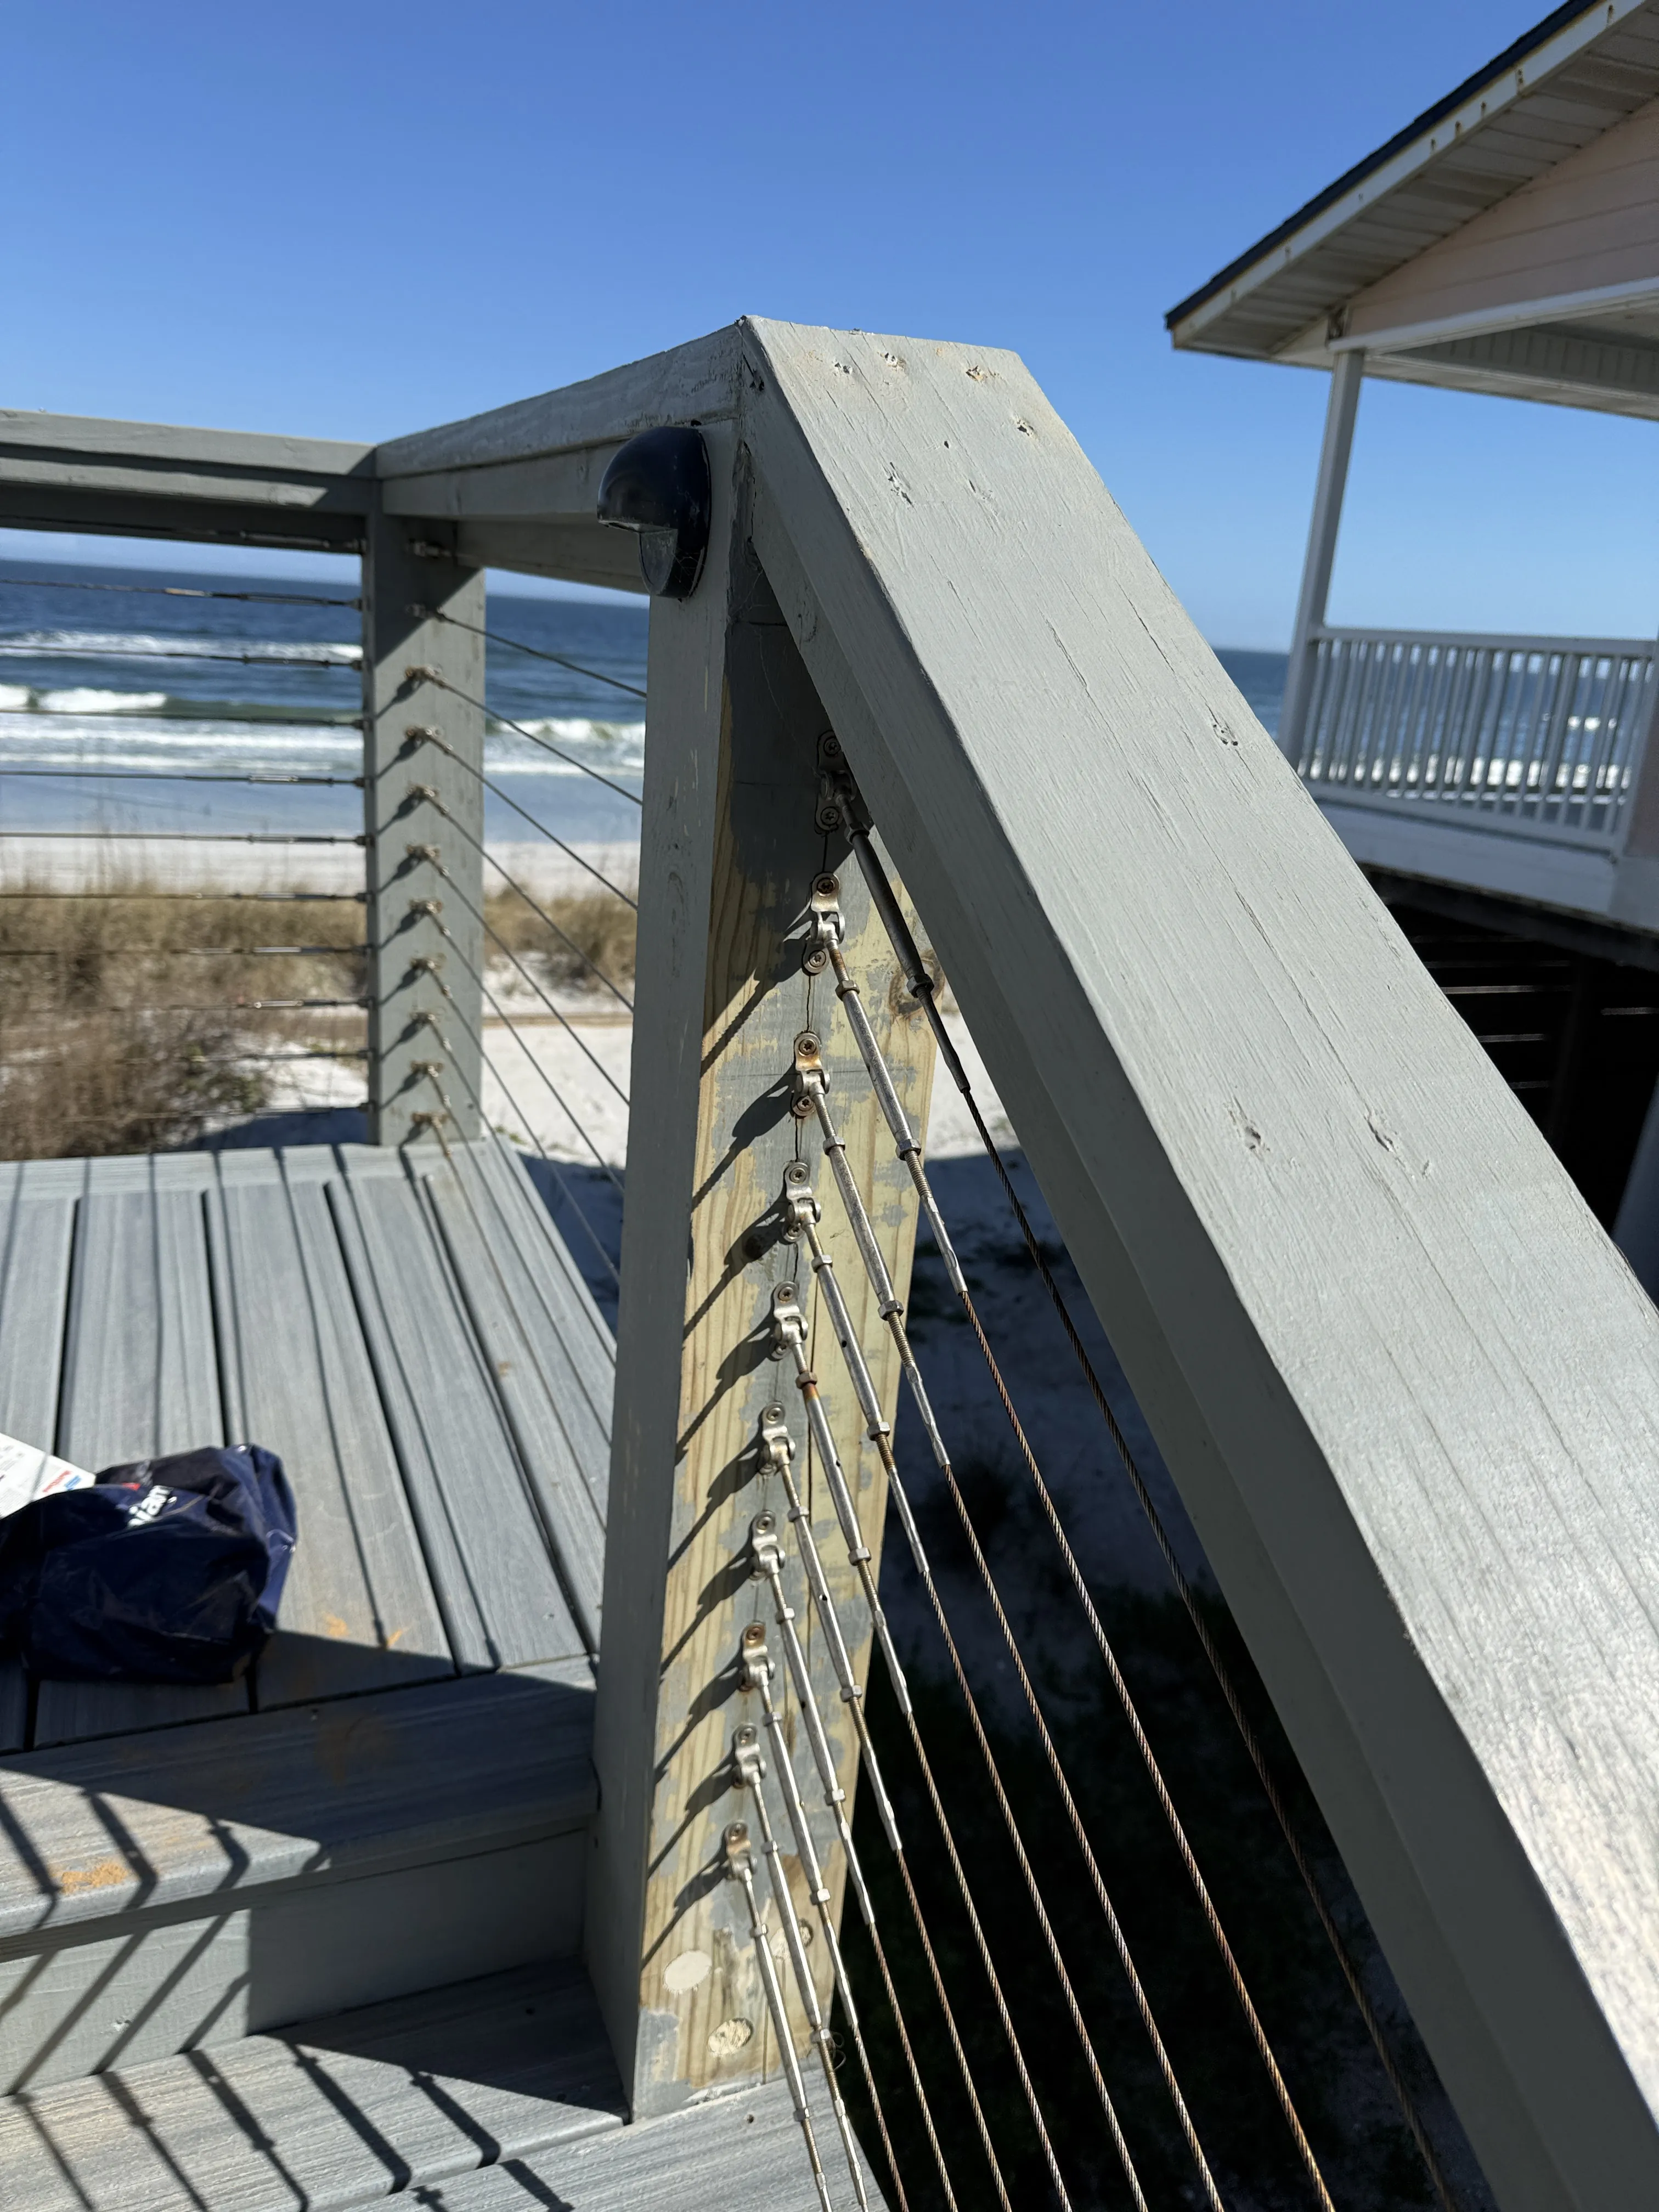
Every project has a boundary. One contractor may include a damaged window casing in the painting scope, while another may identify it as carpentry work before paint. One estimate may include moving lightweight furniture, while another expects the room to be cleared. Neither approach is automatically wrong. The important part is that the boundary is written clearly enough for you to plan around it.
Ask what happens if the walkthrough reveals a condition that could not be seen in advance. A loose section of drywall, soft exterior wood, active staining or a failed seal may need a separate decision before paint can continue. The right response is not a surprise bill or an assumption that paint will solve it. It is a clear conversation about the condition, the repair options and the effect on the planned finish.
For a larger project, it also helps to name the areas that will stay out of scope. A living room repaint may stop at a doorway. An exterior refresh may cover siding and trim but not a deck finish. A clean boundary protects both the homeowner and contractor from treating an adjacent surface as an unspoken promise. It also gives you a useful way to sequence later work without changing the meaning of the current proposal.
Pay Attention to Communication Before the First Coat
Good communication is visible before work begins. A contractor should be able to turn the walkthrough into a clear next step: a written scope, a material decision, a schedule question or a note that a repair needs more attention. You should know who to contact, how changes will be discussed and what information the crew needs to enter, protect and work through the space. That simple clarity matters on a one-room project and on a whole-house repaint.
Use the early conversation as a test. If a contractor can explain how preparation, repairs, paint and the final finish connect, it becomes easier to make decisions when the work is underway. If the estimate stays vague after you ask about visible conditions, compare it with a scope that makes those choices clear. A paint project does not need complicated paperwork, but it does need enough detail that the property and the finished surface are being discussed honestly.
Use References and Project Examples to Test the Fit
Examples are most useful when they resemble your project. A contractor may be a strong fit for a focused room repaint, a weathered exterior, a rental turnover or a commercial refresh, but each type of work has different access and preparation needs. Look for work that shows careful edges, consistent coverage and surfaces that were prepared before the finish went on. Ask about a project’s scope rather than trying to judge everything from one final photo.
When you speak with a reference, keep the questions practical. Did the contractor describe the scope clearly? Did the work area stay organized? Were changes explained before they became surprises? Did the finished surfaces match the planned work? These questions help you understand how the project was handled from the first walkthrough to the final check.
Decide With the Final Walk-Through in Mind
Think about the final walk-through before choosing a contractor. The finished project should have clear boundaries: the surfaces that were included, the repairs that were completed, the details that were left for another trade and the cleanup that brings the space back into use. A final check is easier when the original scope was written clearly enough to compare against the completed work.
Walk the painted areas in normal daylight and look along trim, corners, repaired spots, doors and transitions between rooms. On an exterior, look at caulk lines, trim edges, doors, railings and the areas where the original problem was most visible. A clean final conversation does not need a long list. It needs the work to be defined well enough that homeowner and contractor can look at the same finish details together.
A Simple Checklist Before You Hire
Bring the same room, surface and repair list to every estimate conversation. Compare written scopes line by line. Confirm what preparation, primer, paint, protections, cleanup and finish details are included. Ask what is excluded or needs a separate decision. Make sure the schedule suits how the property will be used. Finally, choose the contractor whose proposal gives you the clearest understanding of the work, not merely the smallest number at the bottom of the page.
For a local project, Good Fellas can discuss painting contractor services in St. Augustine with the rooms, surfaces and visible repairs in view. If the project is paint-led, the interior painting service and exterior painting service pages explain the practical work that can be planned around a finished surface. For an exterior where trim or porch details need attention first, see exterior home repair.
Frequently Asked Questions
How many painting estimates should I compare?
Compare enough written scopes to see whether each contractor is describing the same surfaces, preparation and finish work. The goal is a fair comparison, not a race to collect the most numbers.
What should a painting estimate include?
A useful estimate identifies the areas being painted, the preparation included, paint and primer information, protection and cleanup, the schedule, payment terms and any work that is excluded or still needs a closer look.
Should I choose the lowest painting estimate?
A lower number can be legitimate when the scope is smaller. Compare the preparation, repairs, coats, materials and access work line by line before deciding whether two estimates are actually priced for the same job.
Can painting and small repairs be planned together?
They can when the repair work affects the finished surface. Drywall patches, rough trim, old mounting holes and failing caulk are easier to address before primer and finish paint are underway.