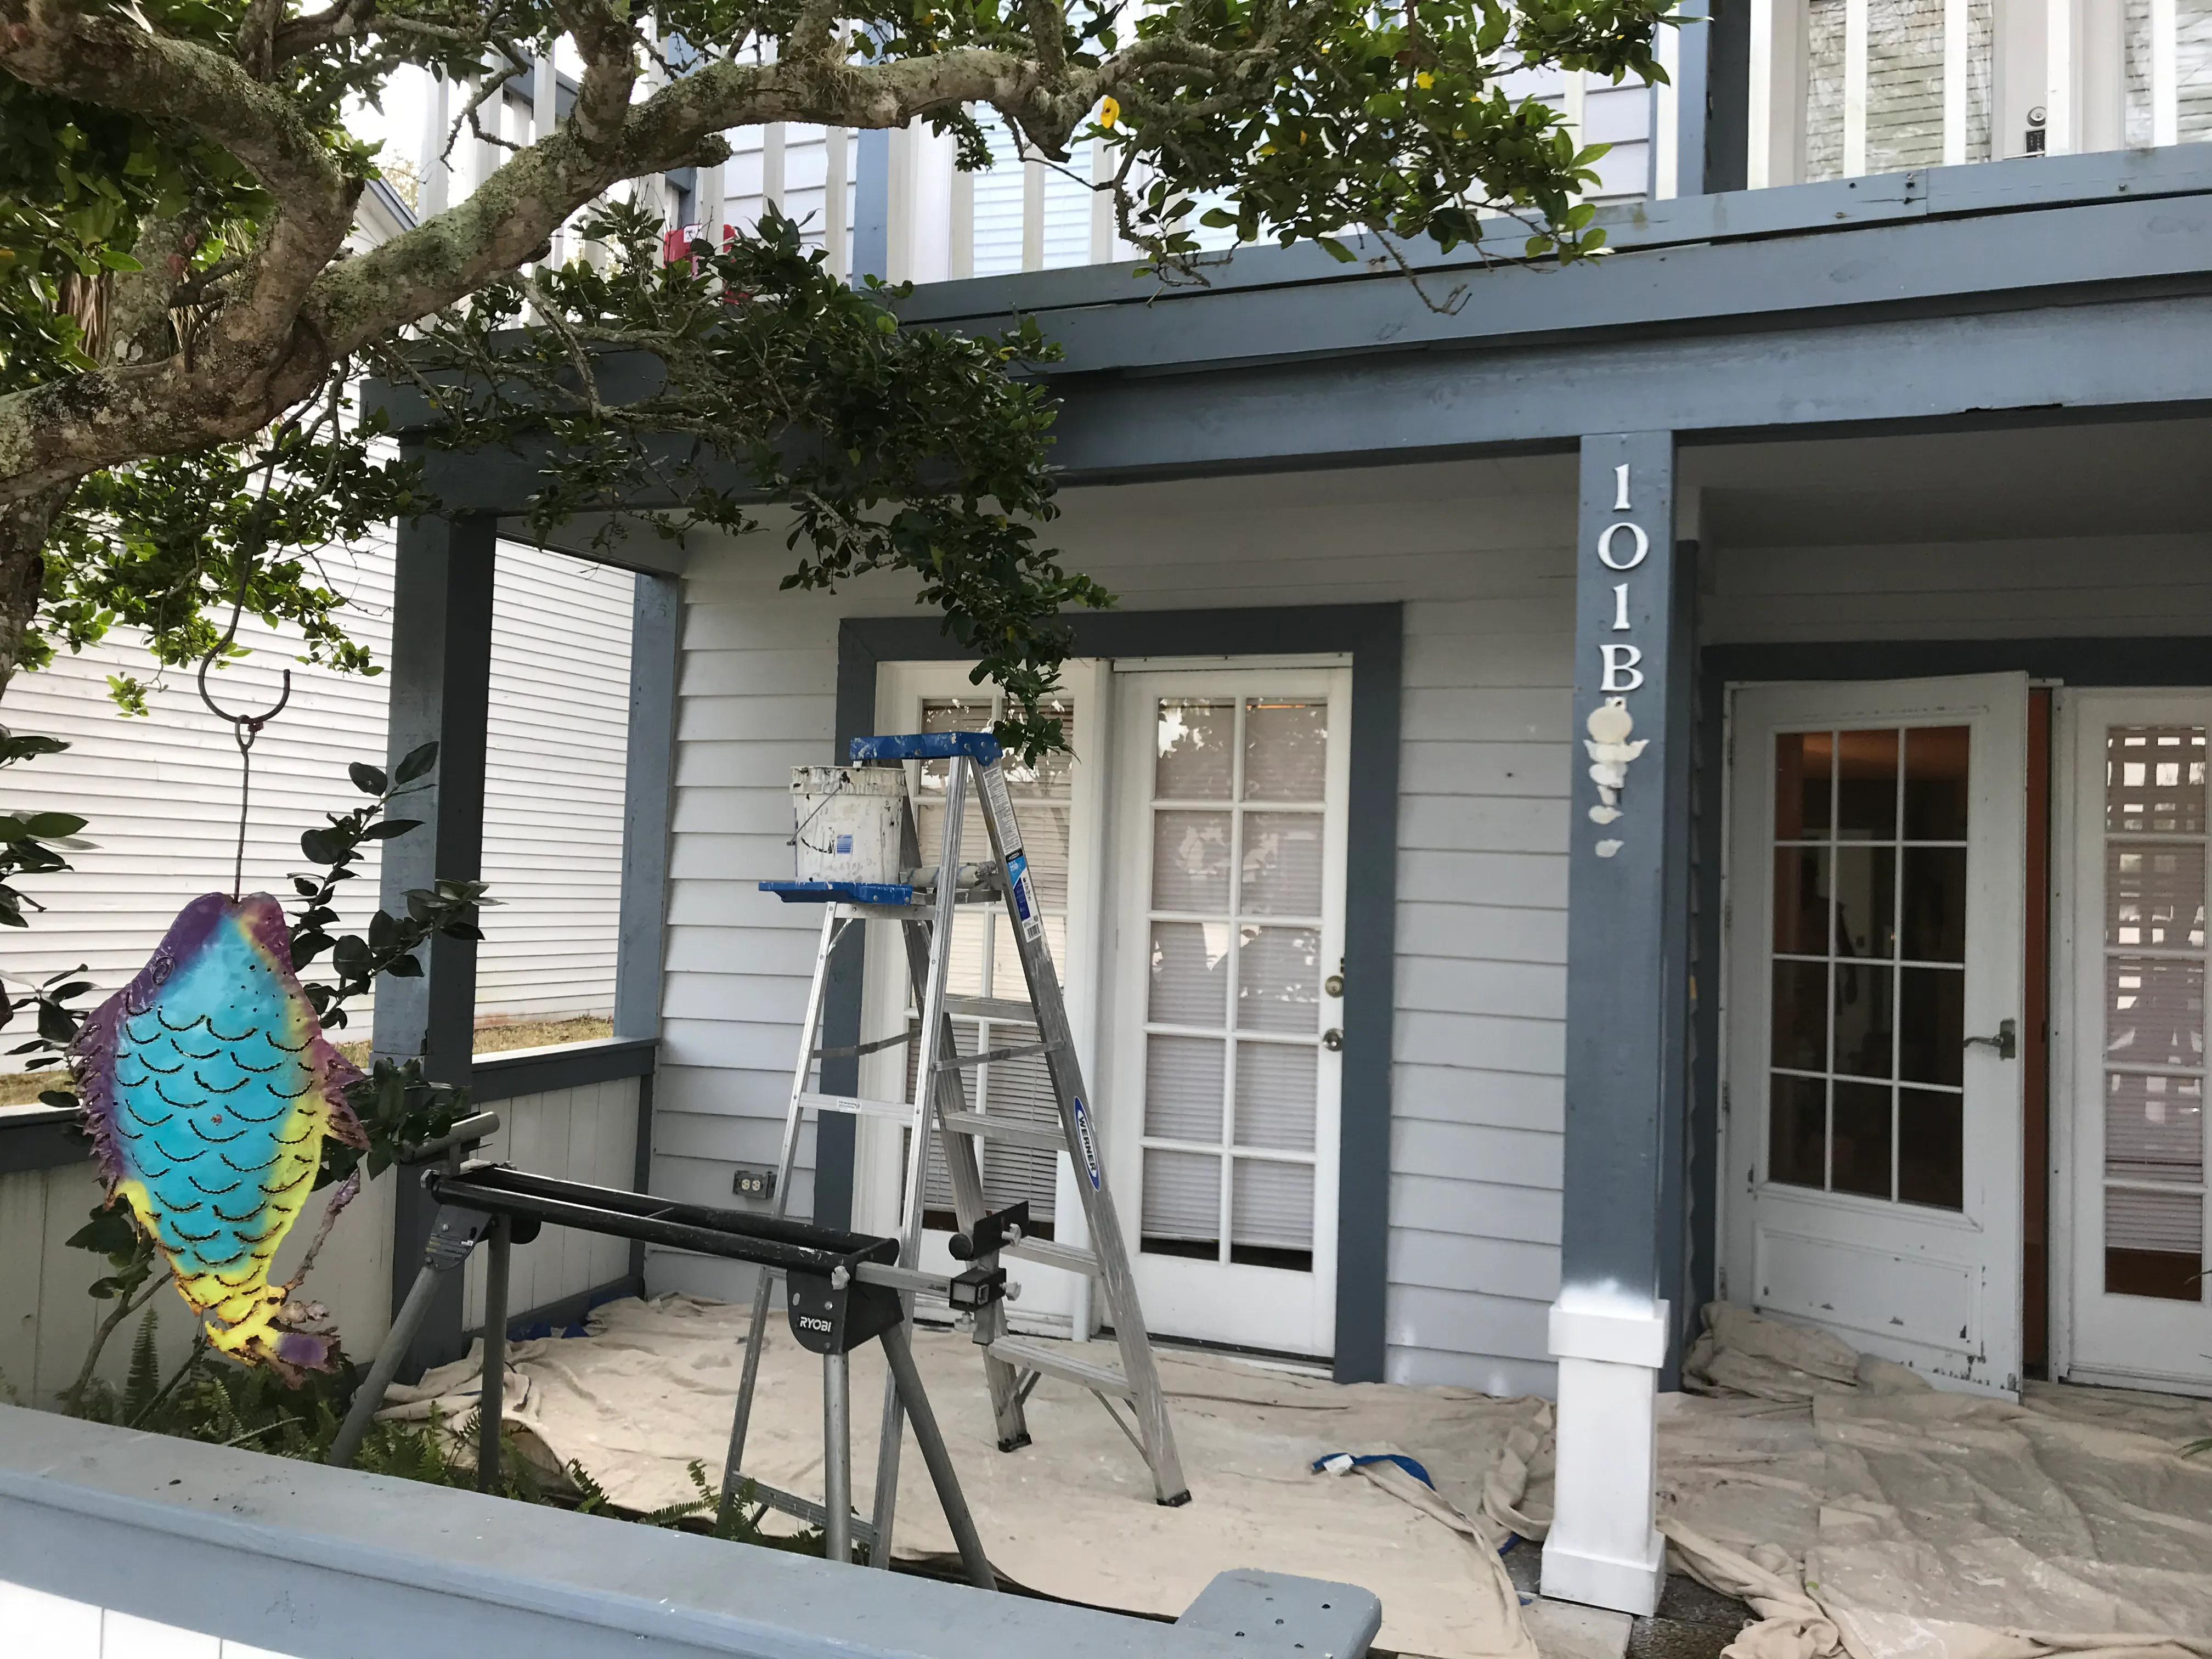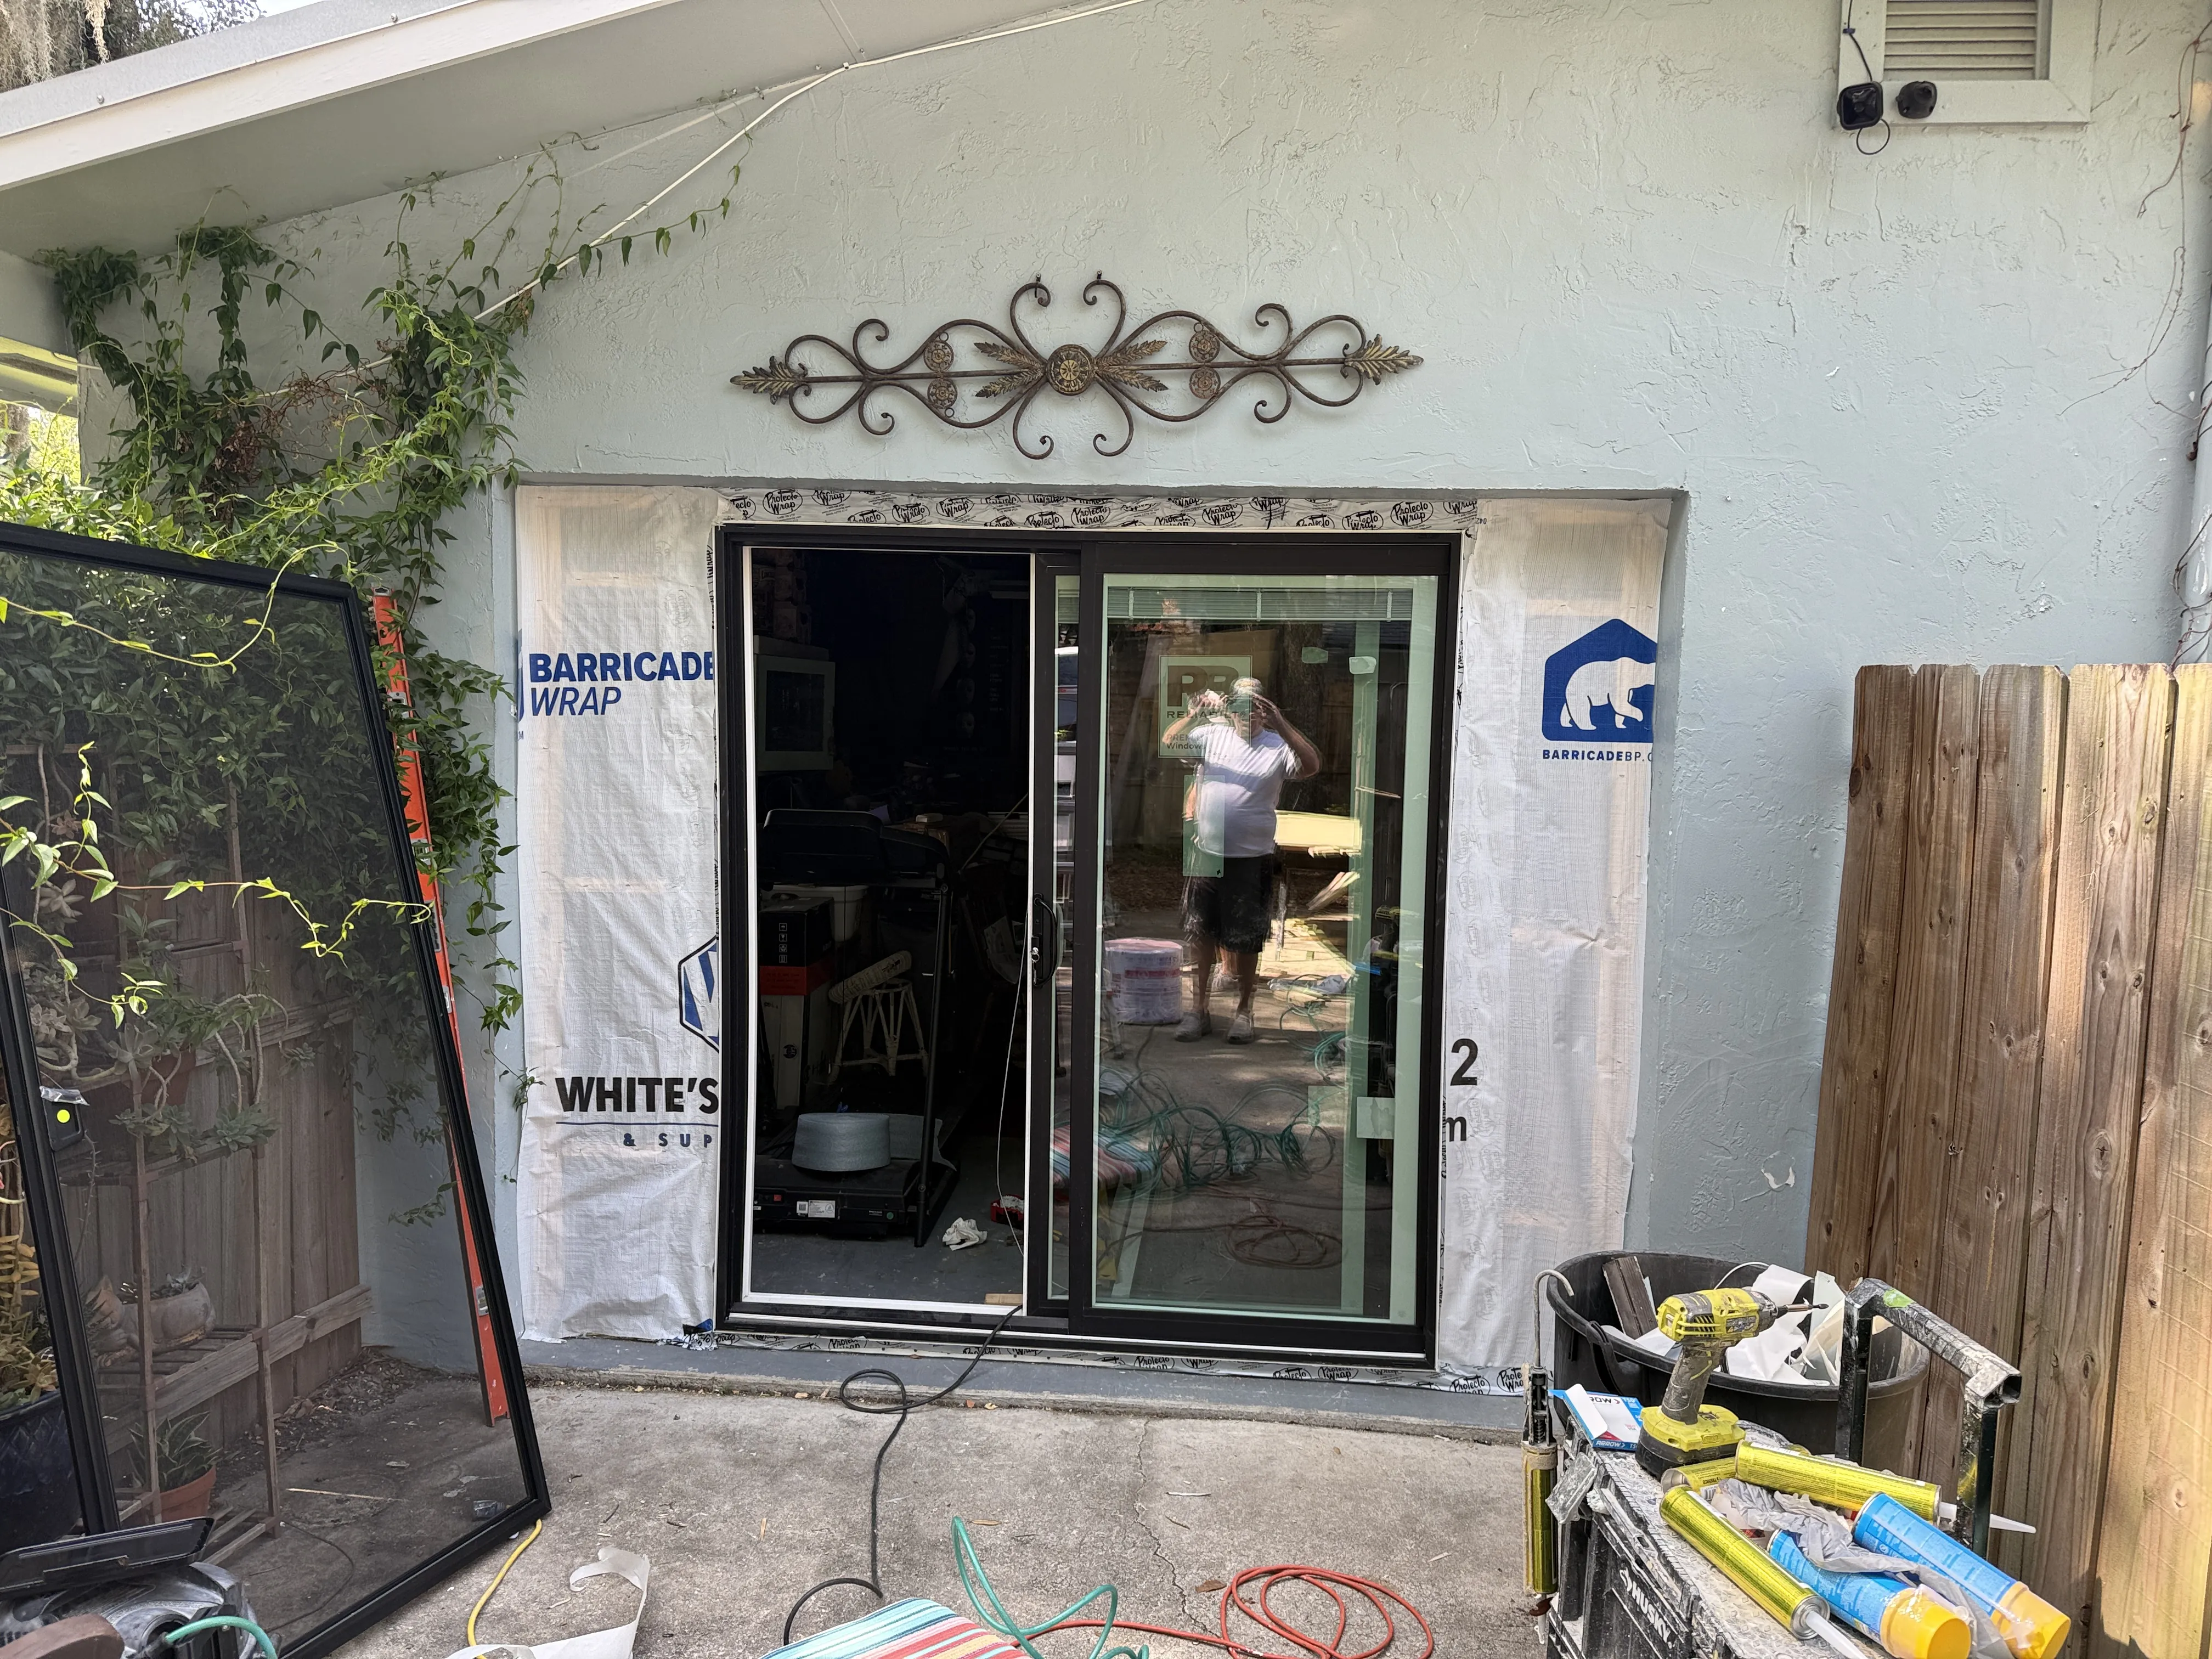
Home exterior trim repair begins with one useful distinction: paint failure and wood failure are not the same job. A cracked paint edge on firm, dry trim may need careful preparation and a coating repair. A soft corner, open joint or repeated stain needs the water path and the material beneath the paint addressed first. Window casing, door trim, fascia, porch details and railings deserve a close look because they have seams and end grain where water can linger.
Start the inspection in daylight. Run a hand along the lower edges, sill corners and joints. Look for paint that has lifted at the same seam more than once, caulk that has pulled away, dark staining, split fibers, a board that moves, or wood that yields under gentle pressure. Those signs tell you where the repair should start before another coat makes the trouble harder to read.
Start with the condition, not the finish
Sound trim holds its shape. It feels firm when pressed near joints and fasteners, its paint is attached, and its edges are not separating from the wall or window. Surface chalking, faded color and a few shallow coating cracks can often be addressed during a normal repaint once the area is cleaned, sanded and primed as the coating system requires.
Damaged trim changes the scope. Soft wood, a deep split, a loose board, a crumbling lower corner or an open joint means the finish is no longer sitting on a stable base. Paint can slow weather on sound material, but it cannot turn compromised wood solid. The repair needs to reach stable material before a primer or finish coat has a useful job to do.
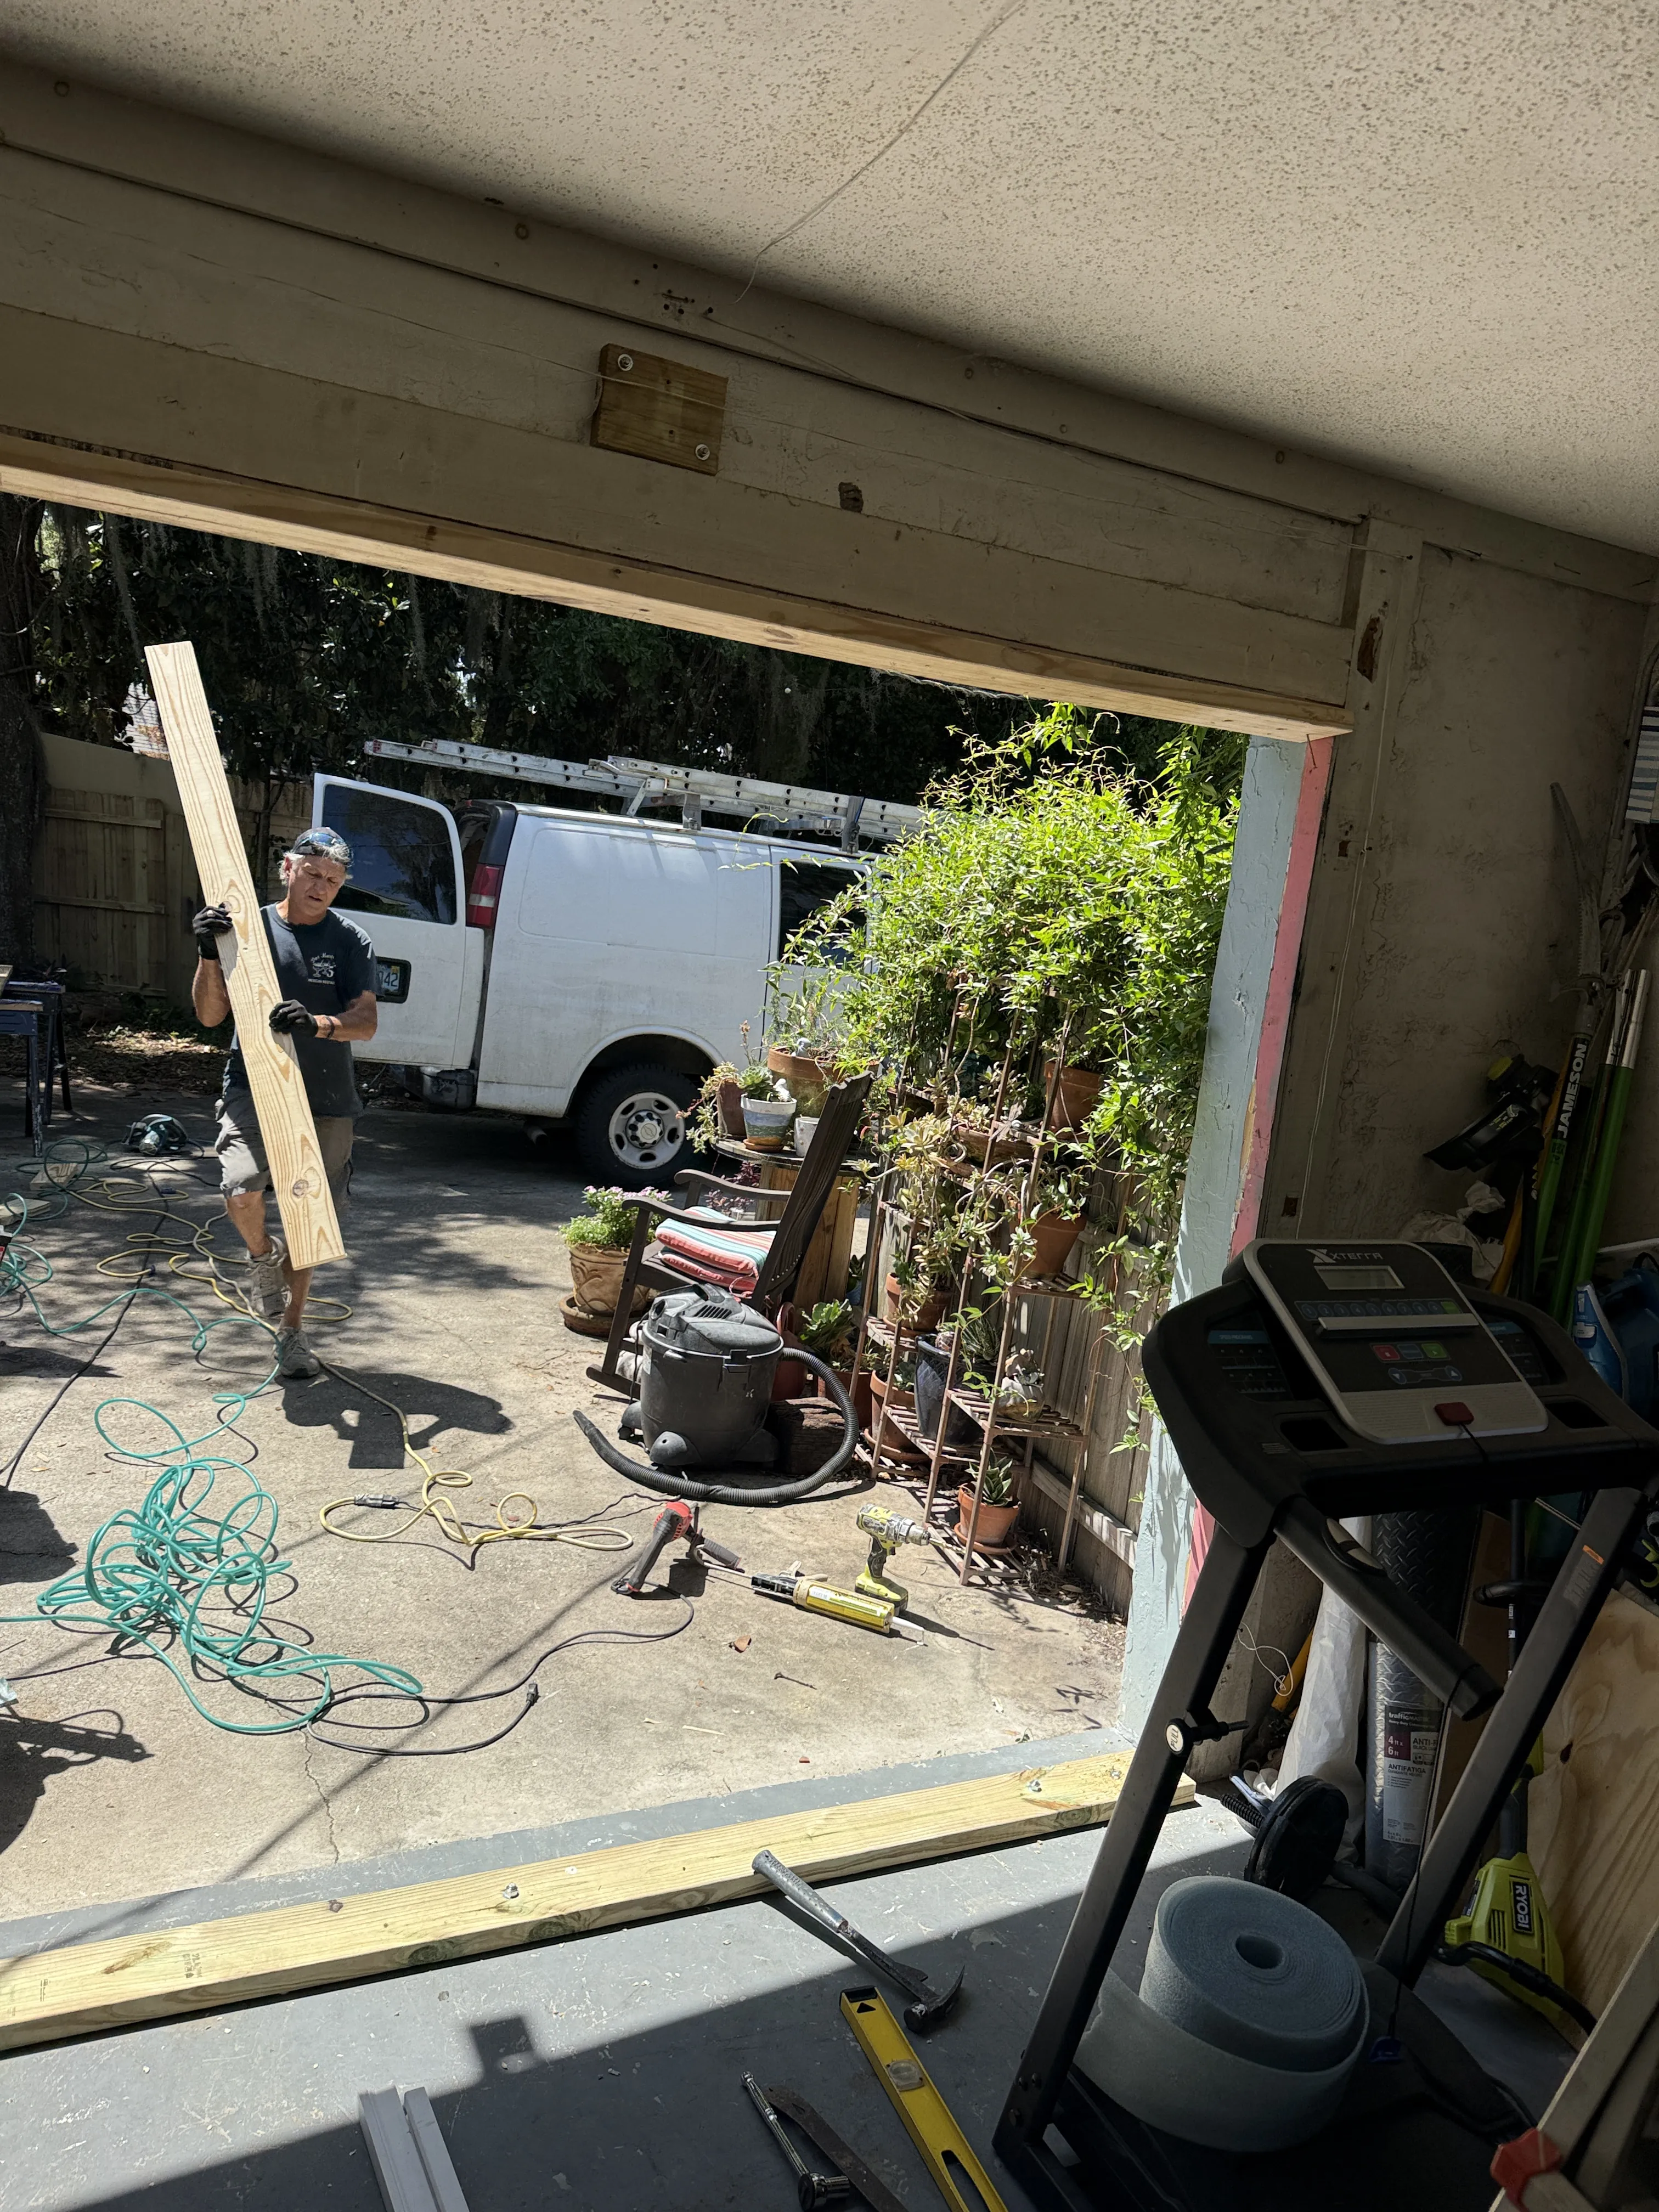
Read the clues around windows, doors and rooflines
Trim rarely fails without a reason. Water can enter at a failed caulk joint, an unprotected end grain, a window or door detail, a roof edge, a gutter overflow, a splash zone or a connection where two materials meet. The broad wall may look fine while the lower end of a casing board, the top of a window, or a horizontal ledge stays wet longer than it should.
Look above the failed spot before deciding the board itself is the whole problem. A stain under a window corner can point to a joint or flashing detail. Peeling at the bottom of a porch post may be related to splashback or a ground-level moisture path. Failure along a fascia board can be connected to the roof edge or gutters. The repair holds up better when the water has a way to shed before the wood is repaired and painted.
Florida weather makes the drying check especially useful. Humidity, afternoon rain and shaded sides of a home can keep trim joints damp after the wall face looks dry. The guide to painting after rain explains why joints, wood and protected edges need more attention than a quick look across the siding.
Separate a small repair from a replacement decision
A small exterior trim repair can make sense when the surrounding board is dry, firm and securely fastened. The work starts by removing loose paint and unsound fibers, opening the repair only as far as necessary to reach stable material, then cleaning the area so a compatible repair material can bond. Once the repair is cured and shaped to the original profile, it is sanded smooth, primed and finished as part of the broader coating system.
Replacement becomes more sensible when softness runs along the board, a split reaches through the trim, the original profile cannot be rebuilt reliably, or the piece no longer fastens securely. Replacing only the visibly failed face while leaving soft material or a water path behind it produces a neat-looking short-term patch, not a durable repair. The surrounding siding, casing, flashing and paint edges should be protected so the new connection meets cleanly.
Older painted surfaces call for a safety pause before scraping or sanding. Confirm the appropriate lead-safe preparation before disruptive work begins, not after dust is already in the work area.
Check each trim detail for the job it does
Window and door casing. Casing frames the opening and closes the transition from wall to window or door. Check the bottom ends first, then the mitered upper corners and the joint where the casing meets the siding or masonry. A gap at the top can send water behind the face of the trim. A worn lower end can wick moisture up from splashback or a sill detail. The repair needs to preserve the drainage and the profile that makes the opening look finished.
Fascia and soffit edges. Fascia sits at the roofline and can show trouble from a gutter, roof edge or repeated overflow. Look for paint failure directly beneath a gutter seam, a board that has separated at a joint, or staining that runs down from the roof. Soffit panels and vented edges have a different job, so any repair should keep the airflow and connections that were there before instead of sealing a detail shut without understanding it.
Porch posts, railings and trim at steps. These details take direct weather, hand contact and splashback. Check the bottom of a post where it meets the porch or base, the tops of rails, the end grain of cut pieces and the connection between a baluster or rail and its support. A small loose area can be a safety issue as well as a finish issue. If a rail, stair or structural connection moves, it needs a closer scope than a simple cosmetic patch.
Decorative bands and corner boards. These pieces often fail where a horizontal ledge holds water or a long vertical joint opens. Look for a paint crack that follows the same line as a board seam, then inspect whether the boards have moved or the caulk has lost contact. A clean, flexible joint is more useful than stacking new caulk over old failed material.
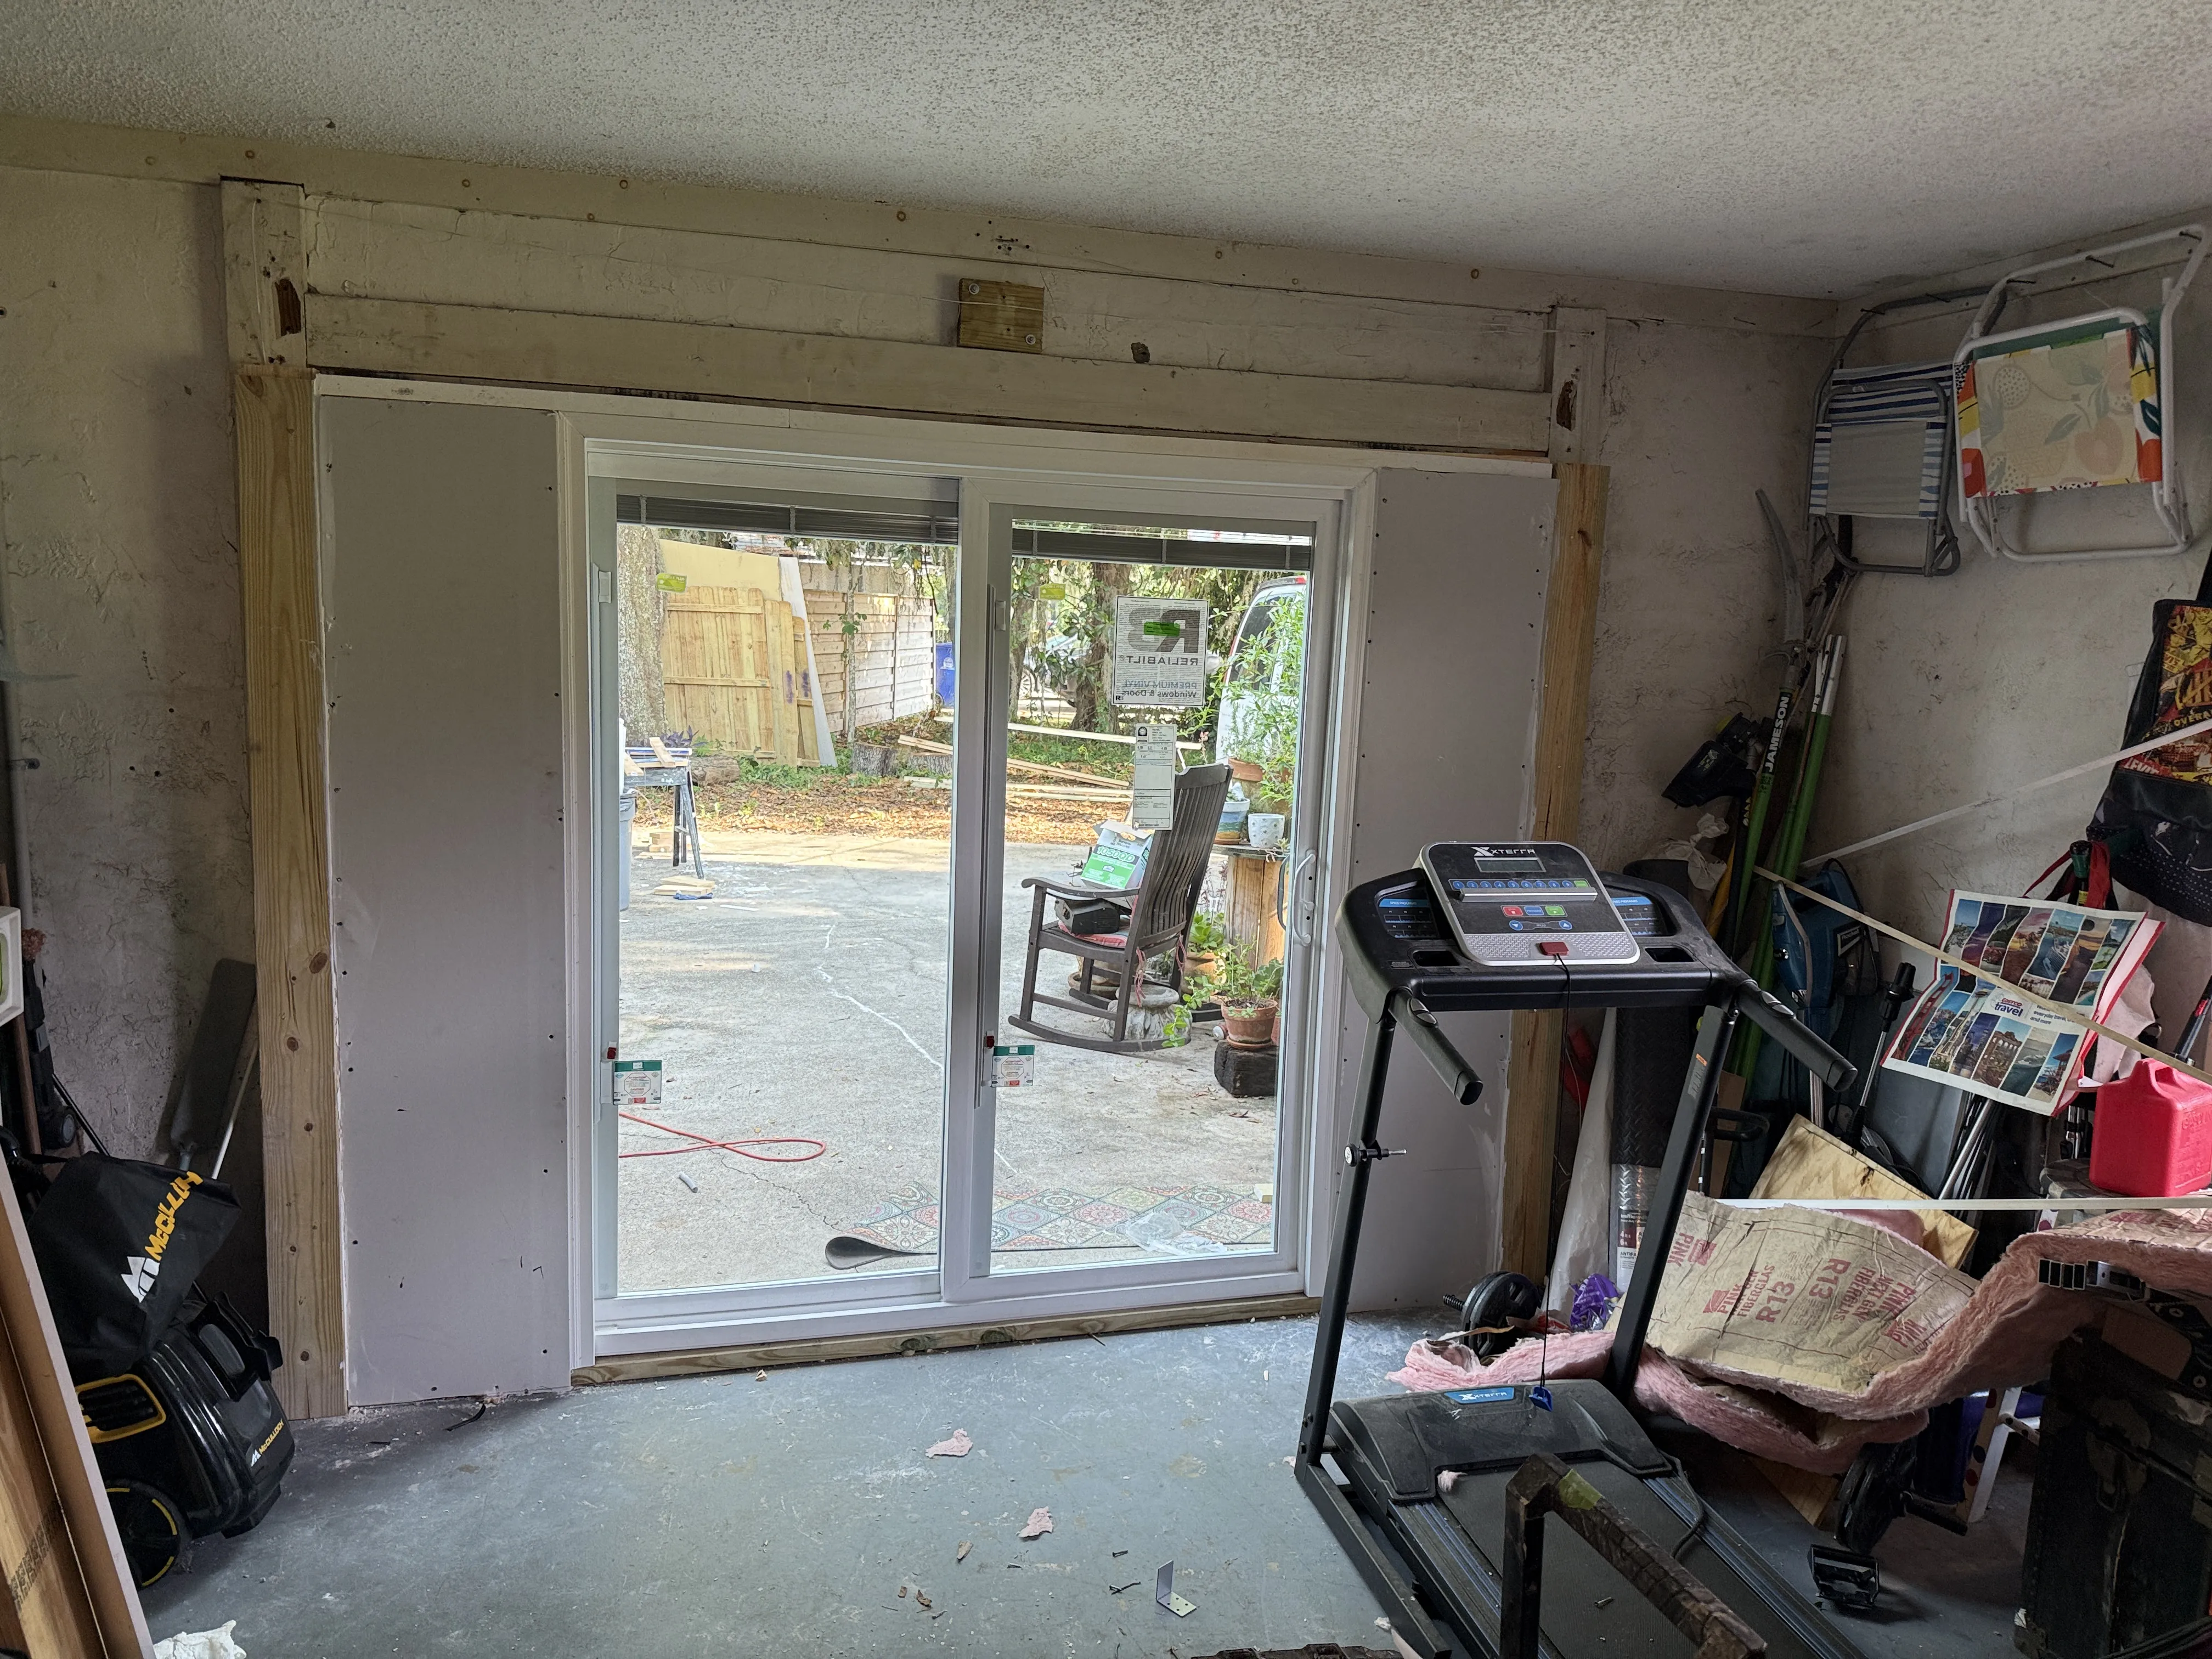
Follow the repair sequence in order
1. Find and correct the moisture path. Check the joint, roof edge, gutter, window or door detail that may be delivering water to the trim. A repair should not seal moisture into a detail that is still getting wet from above or behind.
2. Remove only what is loose or unsound. Scrape failed coating back to an attached edge, then inspect the wood itself. A sharp transition from sound paint to bare material needs feathering so it does not telegraph through the new finish.
3. Repair or replace stable material. Use a repair approach that fits the size and condition of the defect. The goal is a firm, shaped surface that can accept primer, not a filled area that looks smooth but moves or stays damp beneath the paint.
4. Let the material dry and cure. Repair compounds, caulk, primer and paint each have their own conditions and timing. Direct sun, a hot trim board, humidity and rain can change the window. The guide to painting in hot weather explains why surface conditions matter as much as the number on a weather app.
5. Prime and finish the repaired area. Bare wood and repair material need the primer and finish system specified for the surface. A sound finish includes clean edges, sealed joints where the detail calls for them, and enough drying time before the next coat or weather event.
Prepare the area so the repair can last
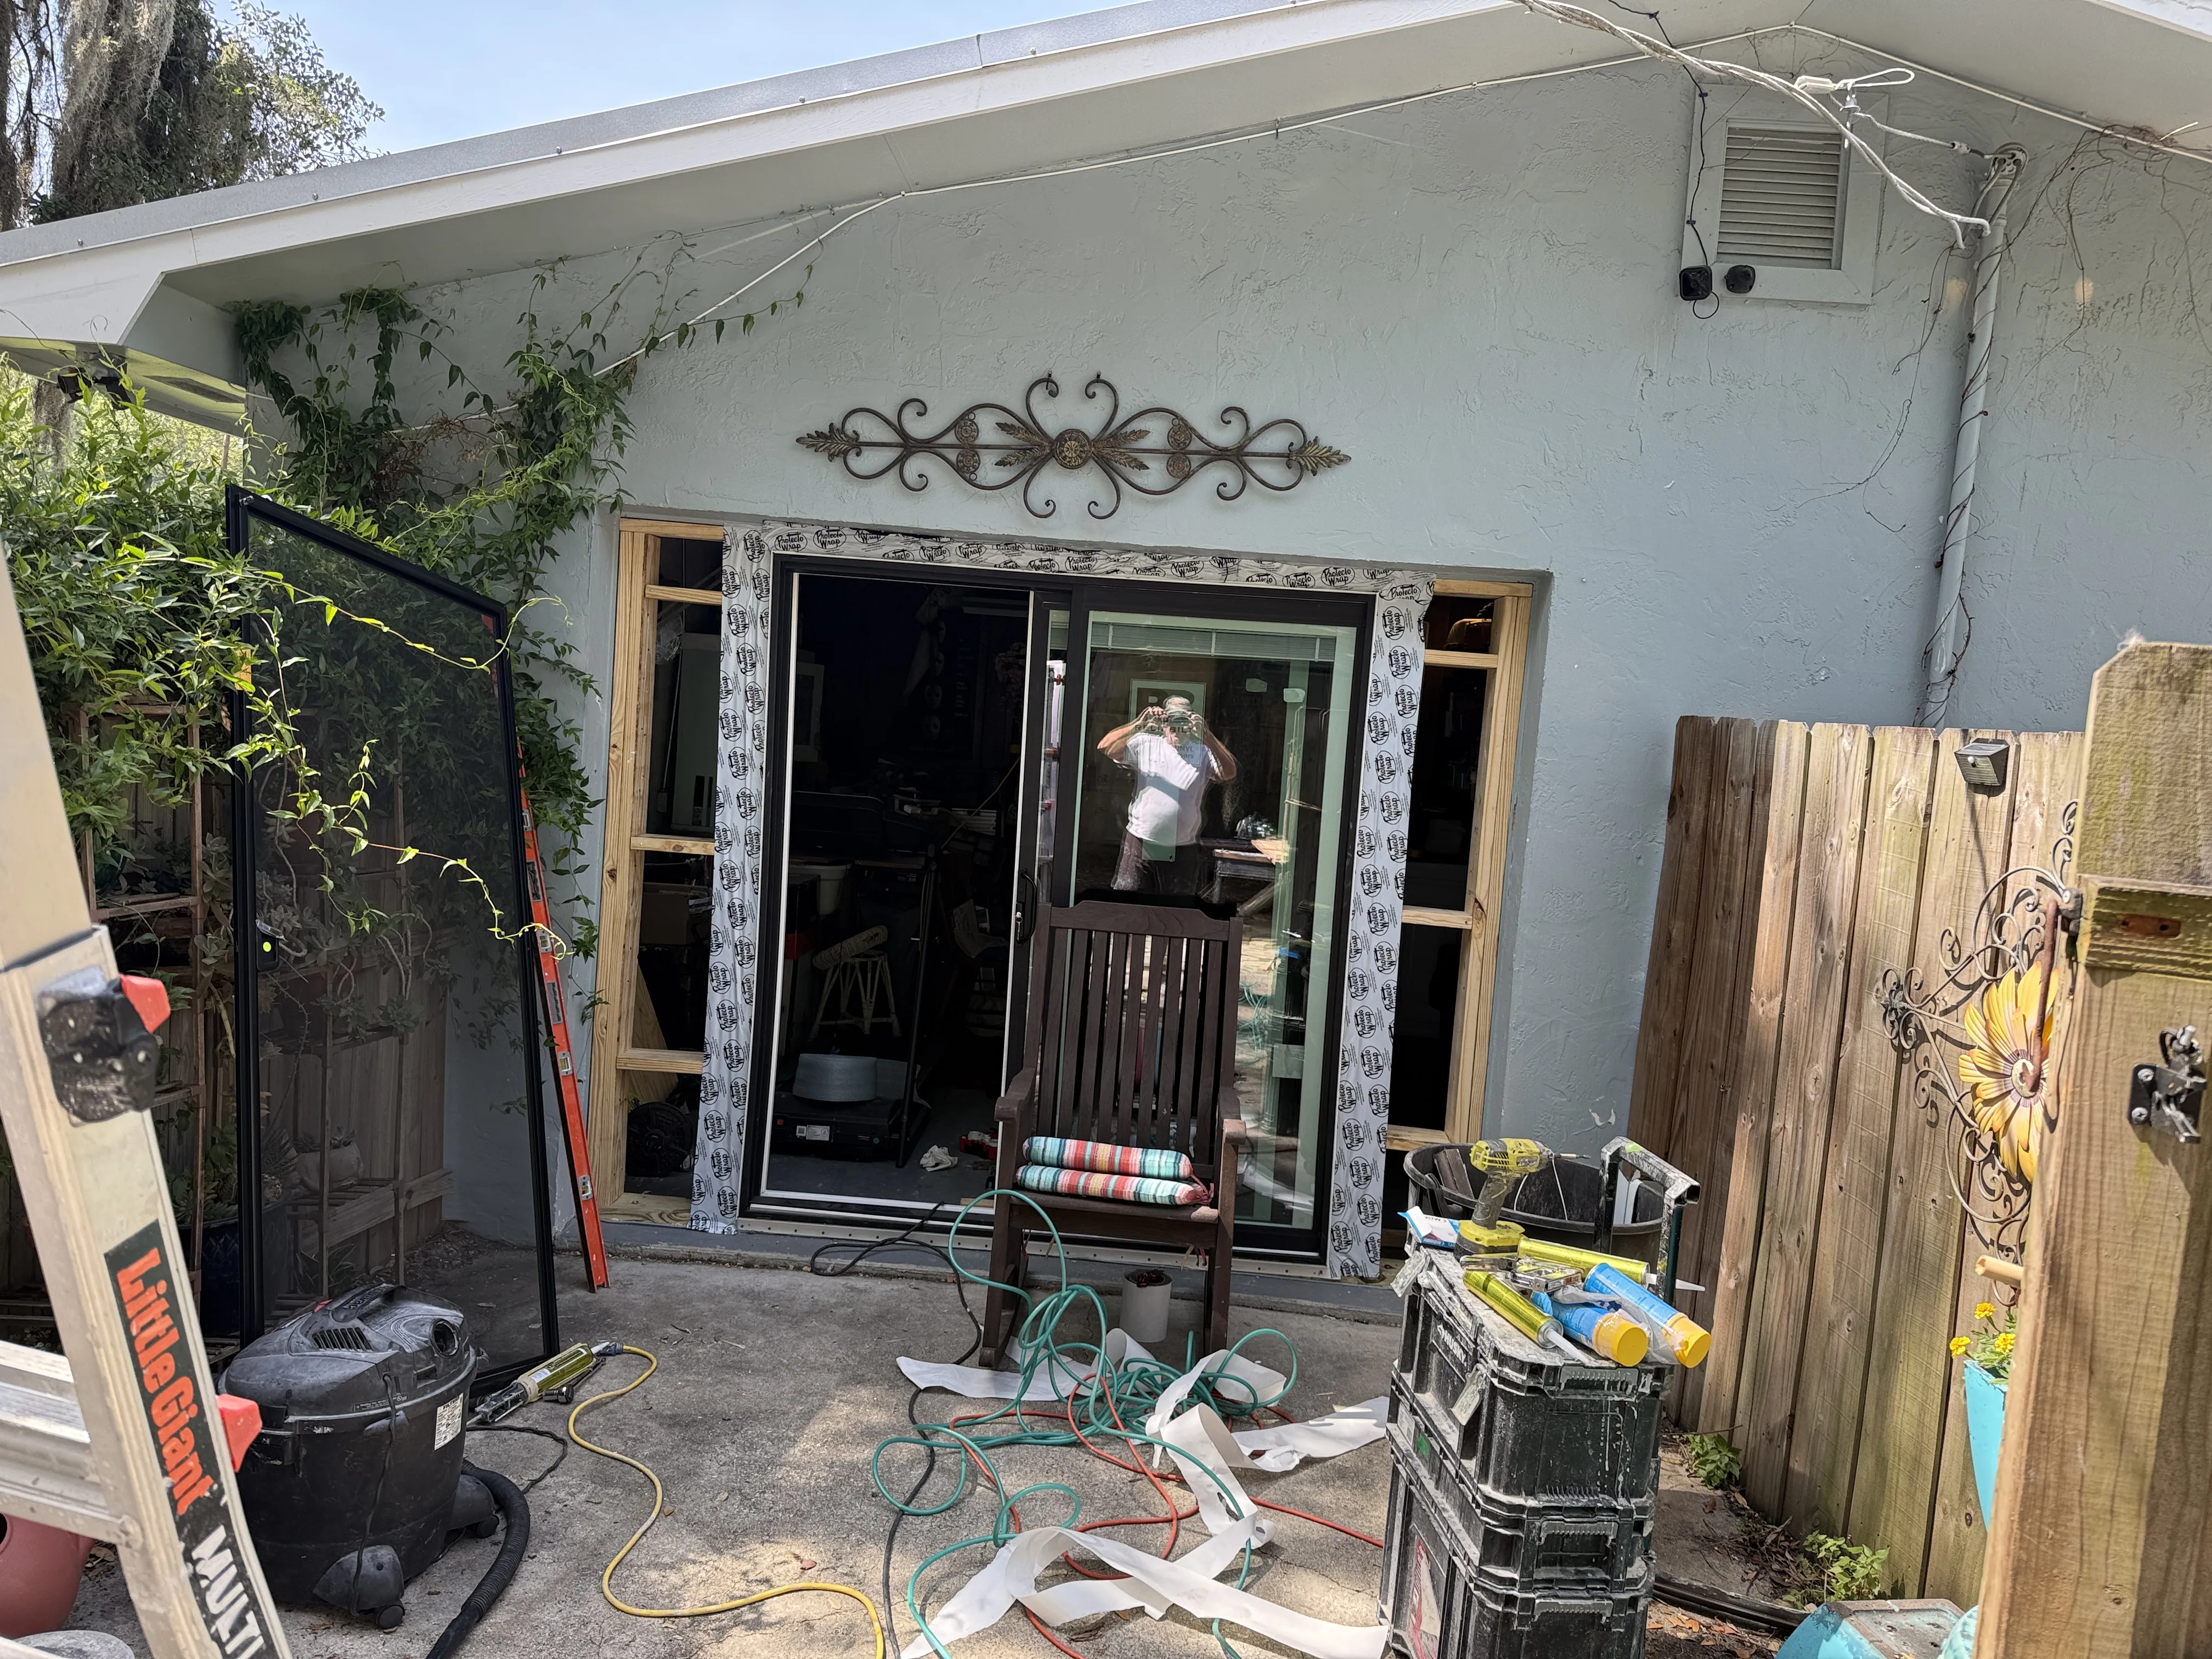
Preparation is the part of exterior trim repair that is easiest to rush and hardest to hide later. Protect nearby glass, siding, plants and hardware before scraping or sanding. Remove loose coating until the remaining paint is attached, then feather the edge rather than leaving a sharp ridge. A ridge becomes more visible after the finish coat catches side light, especially on white or light trim around an opening.
Dryness matters before every next material. Wood can look ready on the face while a seam, end grain or shaded corner still holds moisture. After washing or rain, inspect the slowest-drying part of the detail, not only the middle of the board. The same discipline applies after a repair material, caulk or primer is applied. Give each product the conditions and cure time its label requires before covering it with the next layer.
Choose materials by the surface and the repair, not by convenience. Exterior-rated wood repair products, caulk, primer and topcoat are systems that need to work together. A filler may shape a small void in stable wood, but it is not a substitute for a new piece when the surrounding board is soft. A bead of caulk can close a sound joint, but it cannot bridge a gap created by movement or replace a missing flashing detail.
Know when a trim problem belongs in a broader exterior plan
One soft window corner may be a focused repair. Several failing trim boards, peeling around multiple openings, worn porch details and fading paint across the same elevation usually point to a connected exterior scope. It is more efficient to assess the preparation, repairs and coating work together than to paint one weak surface and discover the next failed edge immediately after.
Walk the whole side of the house before treating one damaged spot as an isolated surprise. Compare the sunny elevation with the shaded one, check similar window corners, and note whether the same failure appears under a roof edge or near a downspout. Those observations help separate a one-board repair from a maintenance pattern that should be addressed in one planned visit.
Good Fellas can discuss trim, railings, porch details and paint-ready repairs as part of its exterior home repair work in St. Augustine. That conversation starts with what the homeowner can see, what sits above or beside the failed area, and whether the repair belongs with exterior painting or another finish detail. Clear photos of the whole elevation and the close-up damage make that first scope conversation more useful.
A repair-first approach also protects the final paint job. The exterior-paint preparation checklist can help homeowners identify the cleaning, drying, repairs and masking that need to be resolved before the finish coat goes on. Read the house exterior-paint preparation checklist when the trim work is one part of a larger repaint.
Frequently asked questions
How can I tell if exterior trim needs repair or only paint?+
Paint can be enough when the wood is dry, firm and sound, with only surface fading or small coating failure. Repair comes first when a probe finds soft fibers, a joint has opened, a board has split, fasteners have loosened or the same area keeps peeling after earlier painting.
Can I fill a damaged exterior trim board instead of replacing it?+
A small, stable defect in otherwise sound wood may be repairable with a compatible exterior wood repair material. A board that is soft beyond one small spot, split along its length, loose at the fastening points or repeatedly wet needs a wider repair or replacement so the finish has solid material beneath it.
Why does trim rot around windows and doors first?+
Window and door trim has joints, end grain and horizontal details that collect water. Failed caulk, missing flashing, a drip edge that does not shed water, gutters, sprinklers or condensation can keep one area wet longer than the broad wall around it.
Should exterior trim be primed before painting?+
Bare wood, repaired areas and exposed substrate commonly need a compatible primer before finish paint. The exact system depends on the trim material and coating instructions, but paint should only go on after the repair is dry, smooth and free of loose material.
What should I photograph before asking about exterior trim repair?+
Take one wide photo that shows where the detail sits on the house, then close photos of the failed caulk, peeling edge, split, soft spot or stain. Include the window, door, roofline, gutter or deck connection above it when that may be directing water toward the trim.